Accessing HOPEX
Activating your HOPEX Account
To sign in to HOPEX, you must first activate your HOPEX account, i.e.:
• define your password
• Your password must include at least 8 characters, one uppercase, one lowercase, one digit, and one special character..
• Your password must be complex enough to meet your enterprise security requirements.
• choose a security question and answer it
To activate your HOPEX account:
1. Access your HOPEX activation email and click the link included.
2. In the New Password field, enter your password.
A colored progress bar (red, orange, green) indicates your password complexity level as you type.
3. In the Confirm Password field, confirm your password.
 .
.4. In the Security question field, select a security question.
5. In the Answer to question field, answer the selected security question.
to check your answer.6. Click Apply.
Your HOPEX account is activated and you can connect to HOPEX.
Connecting to HOPEX
To connect to your HOPEX desktop:
1. Start the HOPEX application using its HTTP address.
The connection page appears.
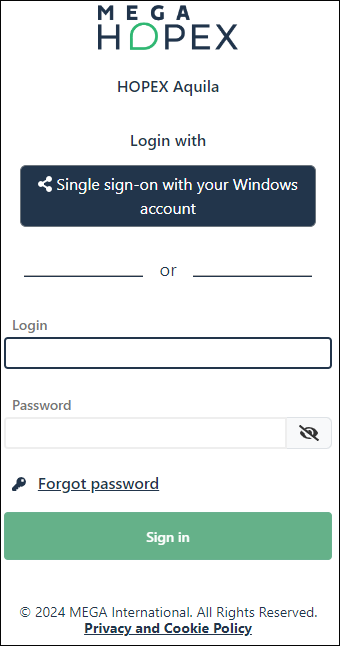
2. Click your own connection button, or use the connection managed by HOPEX :
• in the Login field, enter your identifier
• in the Password field, enter your password
.3. Click Sign in.
When you have been authenticated, a new dialog box appears.
4. (If you belong to a group of persons) In the drop-down menu for groups, select the group to which you want to connect, or “My assignments” to connect to one of your own assignments.
5. In the drop-down menu for repositories, select your work repository.
6. In the profile drop-down menu, select the profile with which you want to work.
The "Create a private workspace” message indicates you are going to work in a private workspace, see Workspace Types and Updates.
7. Below the window, click the Privacy and Cookie Policy link and read the privacy policy, then select I have read and accept the privacy policy.
The Enter button is active.
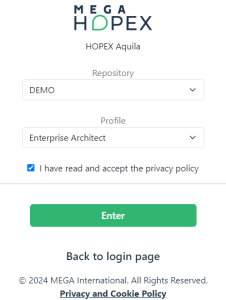
8. Click Enter.
Your desktop home page appears and a session is opened.
9. (If the selected profile gives access to several applications) In the drop-down menu, select the application to which you want to connect, then click Enter.
Switching Profile
In your HOPEX desktop, you can easily switch to another profile without logging out from HOPEX.
To switch to another profile without logging out from HOPEX:
1. In your HOPEX desktop, click Main Menu  .
.
.2. Click Switch profile and select another profile.
3. (Case of a private workspace) Select your desktop exit mode:
• Yes
Modifications you have made in your private workspace are saved in the repository.
• No
All the modifications you made since your last dispatch (private workspace) / save (public workspace) will be lost. You can use this option if you want to view data quickly and exit without impacting the repository.
• (Private workspace specific) Later
You work is kept, but other users are not yet seeing the changes you made.
The desktop associated with the selected profile is displayed.
Resetting your Password
If you lost your password to access a HOPEX application on the Web, you can reset it.
To reset your password:
1. Open the connection page.
2. Click Forgot Password.
The Lost password page appears.
3. In the Login field, enter your login.
4. Click Continue.
5. Answer the security question.
6. Click Reinitialize..
An e-mail containing a link with limited validity period is sent to you.
7. Click this link.
The Change your password window appears.
8. In the New password field, enter your password.
A colored progress bar (red, orange, green) indicates your password complexity level as you type.
9. In the Confirm Password field, confirm your password.
.10. In the Security question field, select a security question.
11. In the Answer to question field, answer the selected security question.
to check your answer.12. Click Apply.