Tags
In HOPEX, you can add tags to objects. These tags are used as #tags (hashtags) in the search tool.
A tag is a classifying description used to characterize objects.
Accessing the Repository Tags
You can access all the tags defined in the HOPEX repository.
To access the repository tags:
1. In your HOPEX desktop toolbar, click the Collaboration  menu.
menu.
menu.2. Select Notifications and Activities  > Tags
  .
.
> Tags .The list of Tags is displayed.

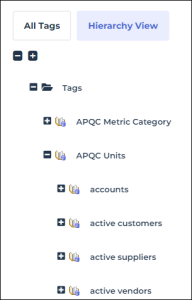
To display tags as a tree, click Hierarchy View, then:
1. Expand the Tags folder.
The Tags tree displays the tags and/or tag classifying folders.
2. Display the tagged objects:
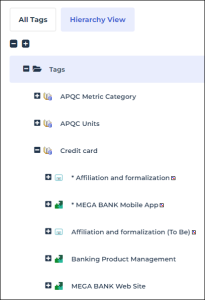
• To display the objects tagged with a specific tag, expand the tag folder concerned.
E.g.: unfold the folder of the “Credit card” tag.
• To expand all the folders and display their content (tagged objects and/or tag sub-folders), click Expand by one level  .
.
. again to display one more level.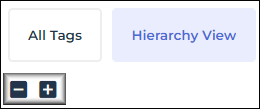
Classifying the Tags
You can classify the tags in folders and sub-folders.
To classify the tags:
1. Access the tags.
2. In the Hierarchy view tab, right-click a folder and select New > Tag Folder.
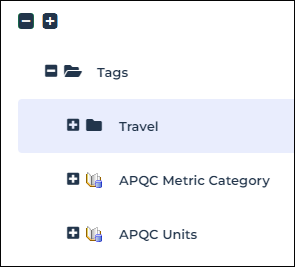
3. In the Local Name field, enter a tag classification name.
Example: "Travel".
4. Click OK.
The folder is added to the Tags folder.
5. In the tree, select a tag and drag and drop it to the tag classification folder.