Data Import via Excel
Accessing the Excel Import Wizard
To start the Excel export wizard in HOPEX:
1. Make sure the necessary options were activated.
2. In your HOPEX desktop, open the Main Menu  .
.
.3. Select Import > Excel.
The import wizard opens.
4. (Optional) Clear Keep History if you do not want to save the history of the modifications carried out during the import.
Selecting the Import File
Once the wizard launched, you may proceed to your import in two ways:
• import data from a predefined template
• import data from a file of your choice. Warning: this file must comply with HOPEX import standards.
In both cases, your file size must not exceed 100 MB.
Importing through a predefined template
To use a predefined template for your import:
1. Run the import wizard.
2. In the Download Template section, select the template you are interested in.
An empty .xlsx file is generated.
3. Fill out the file with the needed data and import it back subsequently.
Downloading the import file into HOPEX
To import the data of an Excel file into HOPEX using the import wizard:
1. Run the import wizard.
2. To the right of the Excel Import File field, click Browse .
3. Select the file to import in your browser.
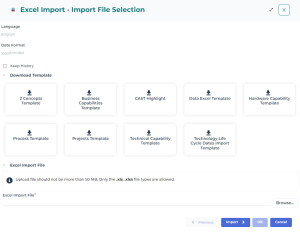
4. Click Import.
The wizard provides a report of import results.
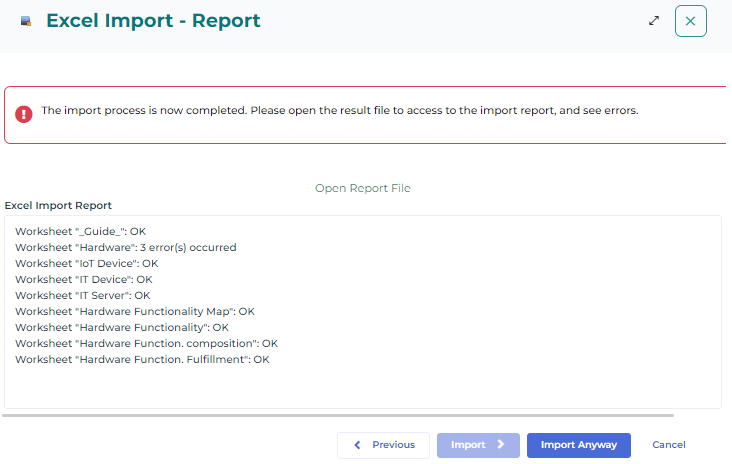
5. [If applicable] To obtain a detailed report of import errors, click Open Report File.
6. Click:
• Import anyway to import only the data with no error in HOPEX.
• Previous to modify import parameters.
• Cancel to discard the report.