1. Introduction
This walkthrough shows how to integrate a Power BI report into the HOPEX web desktop. It focuses mainly on the specifics of external web components embedding in the HOPEX desktop, either through an iFrame or a vendor JavaScript SDK. It will not go into details about the specifics of Power BI or explain all the customization possibilities offered by Hopex Versatile Desktop.
For further options about how to create Power BI reports and embed them, see the official Microsoft documentation https://docs.microsoft.com/en-us/power-bi/
For more information about all the possibilities to configure the HOPEX Versatile Desktop, see HOPEX Power Studio > Customizing the User Interface > Versatile Desktop documentation.
1.1. Preparing the Report
To prepare the report in Power BI Desktop:
1) Access Power BI Desktop and create your report.

2) In the Power BI Desktop:
a) Click Save to save your report.
b) Click Publish to publish your report online in the Power BI cloud service.
3) In Power BI (powerbi.com), expand My workspace pane, and open the report.
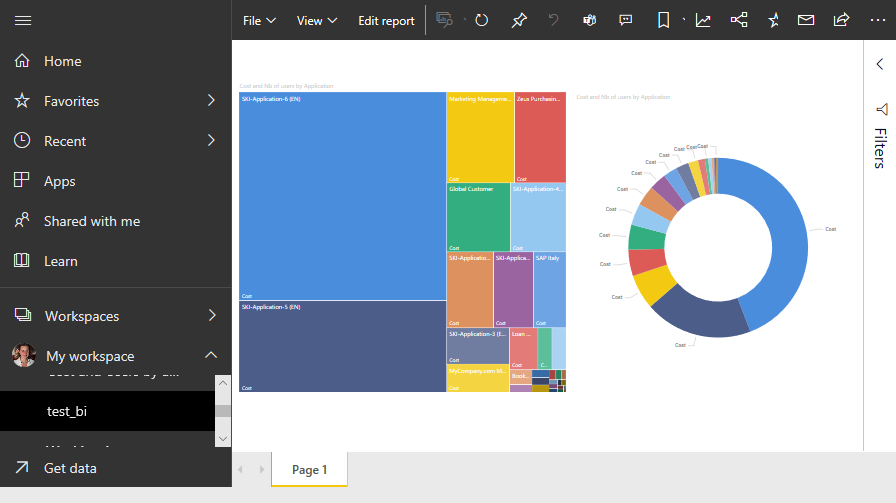
4) In the report tool bar, select File -> Embed to get a link to securely embed this report in a website or portal.
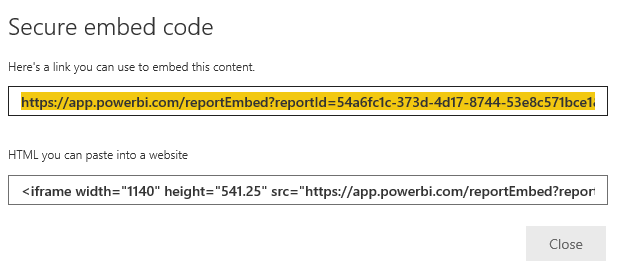
5) Take note of the link.
You will need it in the next steps.
1.2. Adding an Entry Point in HOPEX User Interface
You need to customize the HOPEX desktop, to which you want to add your Power BI report, i.e. you need to add a Navigation pane (a Working Environment Group Template), and its required topic and action.
To customize HOPEX desktop:
1) Connect to HOPEX Customization desktop (windows Front-End, profile: HOPEX Customizer).
2) Display the MetaStudio tab (View > Navigation Windows > MetaStudio).
3) In the Working Environment Template folder, right-click the Working Environment Template to which you want to add a navigation pane and select New > Working Environment Group Template.
For example: “Enterprise Architecture” Working Environment Template.
4) Right-click the “Enterprise Architecture” Working Environment Template and select New > Working Environment Group Template.
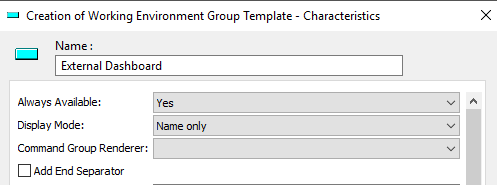
5) Configure the Working Environment Group Template:
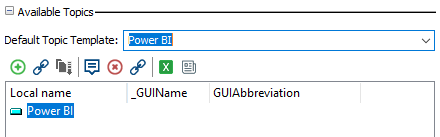
6) In the Available Topics section:
c)  Click New to create a Topic and name it (e.g.: Power BI).
Click New to create a Topic and name it (e.g.: Power BI).d) In the Default Topic Template field select the Topic you created.
7) Access the “Power BI” Topic properties:
a) In its Actions section, in Available Actions, click New to create an action
In its Actions section, in Available Actions, click New to create an actionb) Name it “Power BI action”.
c) In the Default Action field select the “Power BI action” action.

8) Access the “Power BI action” properties:
a) In its Behavior section, in the MEGA Parameterized Tool field, click the arrow and select Create MEGA Parameterized Tool.
b) In the Name field enter: “Power BI Iframe”.
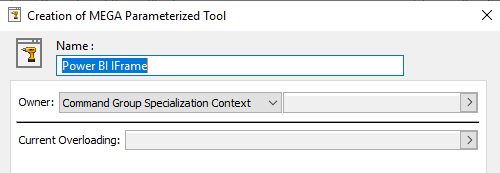
c) Click Next.
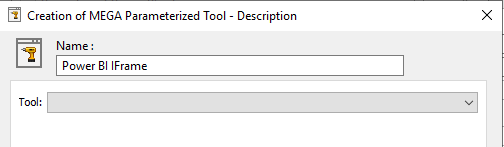
9) Integrate the report in HOPEX, using: