3. Integrating the Report with the PowerBI JavaScript SDK
You need to:
• Configure the Mega parameterized tool
• Register the HOPEX application in Azure Directory
• Create the JavaScript wrapper
• (if needed) Authorize external IFrame
3.1. Configuring the Mega Parameterized Tool
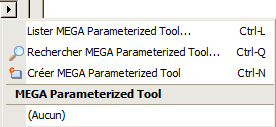
To configure the MEGA Parametrized Tool:
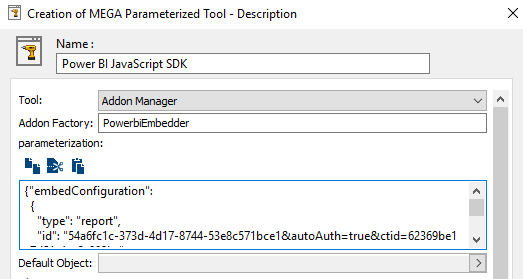
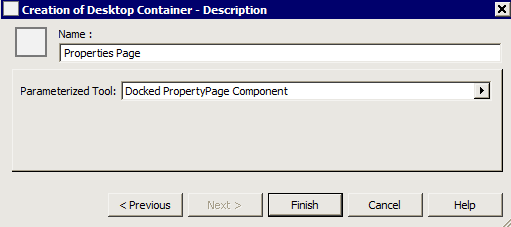
1) In the MEGA Parameterized Tool – Description creation wizard, in the Tool field, select Addon Manager tool.
2) In the Addon Factory field, enter “PowerbiEmbedder”.
Warning: this field is case sensitive.
3) In the parameterization pane, use this template to set the parameterization:
Make sure to replace the sample id shown here by the reportId found in the url given by PowerBI in the first steps.
{"embedConfiguration":
{
"type": "report",
"id": "8c9923b5-e7f2-4249-b0a7-d376a0c187ce",
"embedUrl": "https://app.powerbi.com/reportEmbed"
}
}
4) Click Finish.
5) Click OK.
6) Click Close.
7) Click OK.
8) In HOPEX tool bar click Dispatch  to dispatch your changes.
to dispatch your changes.3.2. Registering the HOPEX application in Azure Active Directory
These steps might require the help or approval of your IT staff.
To register the HOPEX application in Azure Directory:
1) Go to your Azure portal (https://portal.azure.com) and log-in.
2) In the Azure services, select Azure Active Directory.
3) In the Manage pane, select App registrations.
4) In the right pane, click New registration.
5) In the Register an application page:
a) In the Name field, enter a name: HOPEXPowerBiPoc.
b) In the Supported account types section, keep the Single tenant account type.
c) In the Redirect URI (optional) section, select “Single-Page application (SPA)”, and in the field enter the URL of the HOPEX installation, including the default.aspx. The installation MUST use HTTPS.
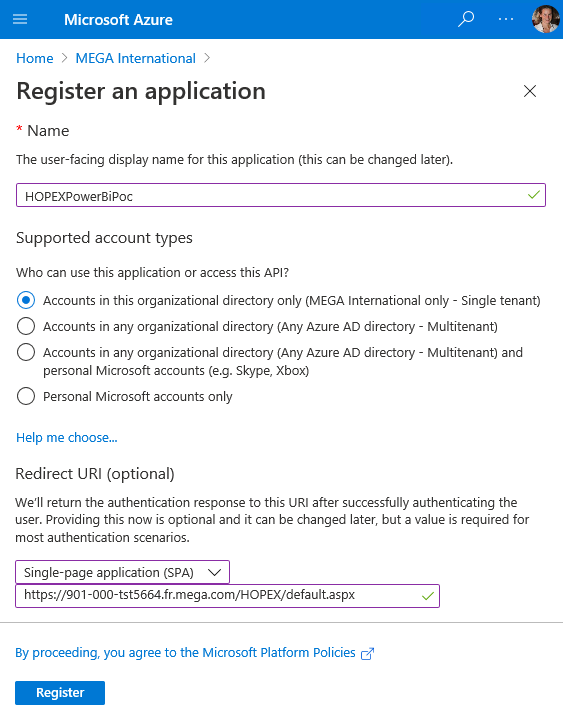
d) Click Register.
The new App page appears.
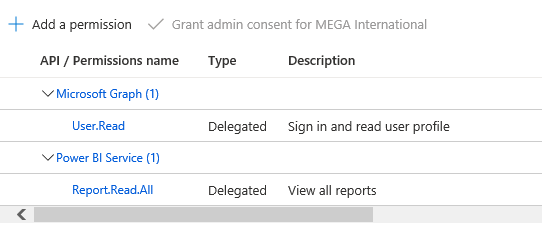
6) In the Manage section, select API permissions.
7) In the right pane, click Add a permission.
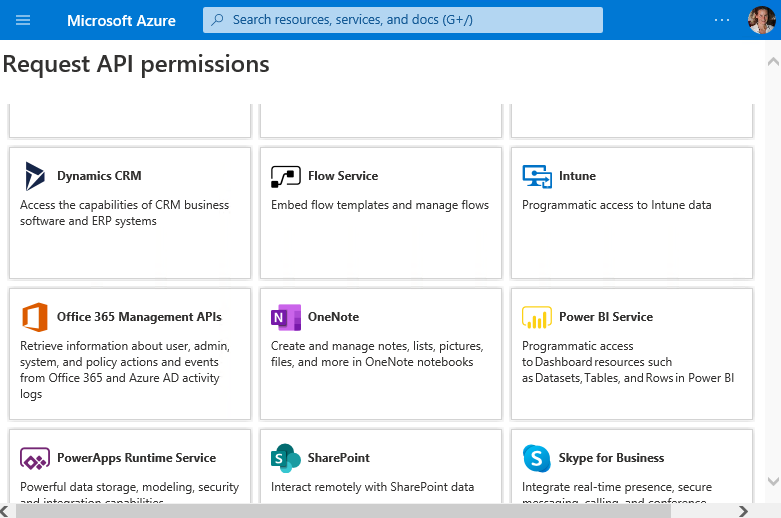
a) Click Power BI Service.
b) Click Delegated permissions.
c) Select the required permissions: in Report, select Report.Read.All permissions

8) Click Add permissions.
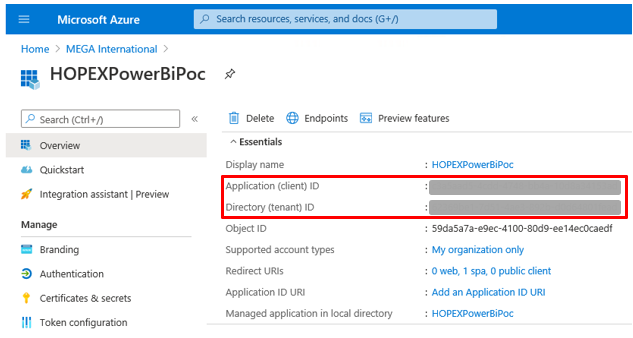
9) In the left pane, select Overview pane and in the rigth pane take note of both IDs for later steps:
3.3. Creating the JavaScript wrapper
To create the JavaScript wrapper:
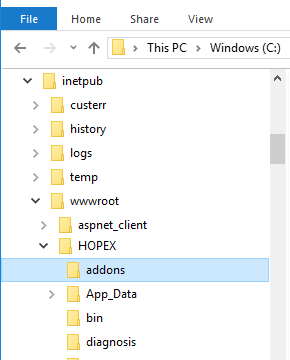
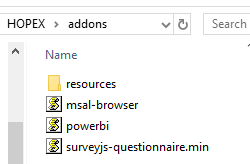
1) Access the addons folder: in the Hopex web application installation folder (usually c:\inetpub\wwwroot\HOPEX), select the addons folder (or create one if it does not already exist).
2) Retrieve the PowerBI JavaScript SDK:
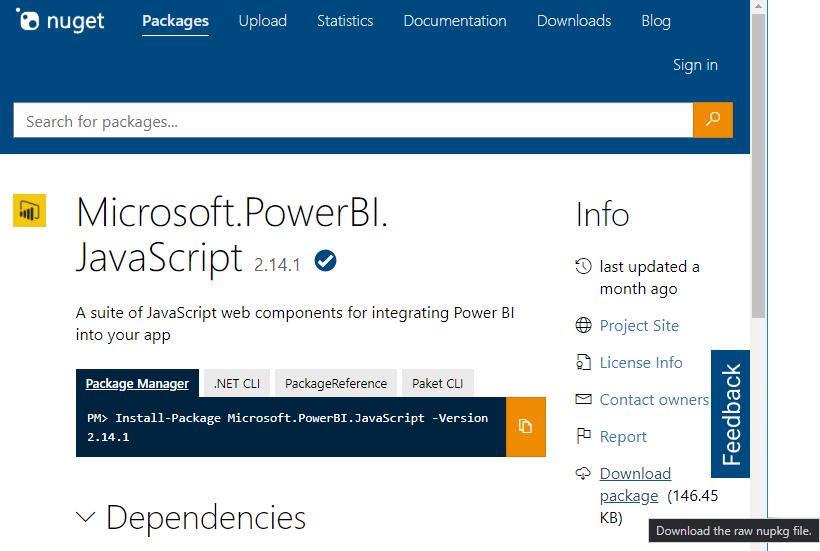
b) In the Info pane, click Download package.
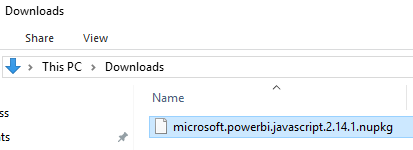
c) Open the downloaded file with WinZip (or similar utility). Rename the file with a zip extension if needed.
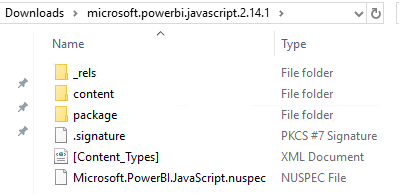
d) Access the content > scripts > powerbi.js file and copy it in the addons folder.
3) Retrieve the Microsot Authentication Library for JS:
a) Download the file from https://alcdn.msauth.net/browser/2.1.0/js/msal-browser.js.
b) Copy it in the addons directory.
4) Create the Addon Factory:
a) In the addons folder, create a file named “powerbi-hopex.js”.
b) Paste the following code.
(function(){
class AadAuthenticator { // (1)
async getToken() {
const msalInstance = this._getMsalInstance()
const scopes = ['https://analysis.windows.net/powerbi/api/Report.Read.All']
const account = await this._getAccount(msalInstance, scopes)
let aadToken = await this._getToken(account, scopes, msalInstance)
return aadToken.accessToken
}
_getMsalInstance() {
if (!this._msalInstance) {
const msalConfig = {
auth: {
clientId: '<your Application (client) ID>', // (2)
authority: 'https://login.microsoftonline.com/<your directory (tenant) ID>/' // (3)
},
cache: {
cacheLocation: "sessionStorage",
storeAuthStateInCookie: false,
}
}
this._msalInstance = new window.msal.PublicClientApplication(msalConfig)
}
return this._msalInstance
}
async _getAccount(msalInstance, scopes) {
if (msalInstance.getAllAccounts().length == 0) {
const loginRequest = { scopes }
await msalInstance.loginPopup(loginRequest)
}
const account = msalInstance.getAllAccounts()[0]
return account
}
async _getToken(account, scopes, msalInstance) {
const accessTokenRequest = { account, scopes }
let aadToken
try {
aadToken = await msalInstance.acquireTokenSilent(accessTokenRequest)
} catch (tokenError) {
if (tokenError.errorMessage.indexOf("interaction_required") !== -1)
aadToken = await msalInstance.acquireTokenPopup(accessTokenRequest)
else
throw (tokenError)
}
return aadToken
}
}
class PowerbiEmbedder { // (4)
constructor() {
this._authenticator = new AadAuthenticator()
}
getName() { return 'PowerbiEmbedder' } // (5)
getVersion() { return 'v1.0.0.0' } // (6)
async instantiate(containerId, params, callback, scope) { // (7)
const accessToken = await this._authenticator.getToken()
return new PowerbiReport(accessToken, containerId, params, callback, scope)
}
}
class PowerbiReport { // (8)
constructor(accessToken, containerId, params, callback, scope) {
const models = window['powerbi-client'].models;
const embedConfiguration = Object.assign({
viewMode: models.ViewMode.View,
tokenType: models.TokenType.Aad,
accessToken: accessToken
}, params.parameterization.embedConfiguration) // (9)
const $reportContainer = $('#'+containerId) // (10)
const report = window.powerbi.embed($reportContainer.get(0), embedConfiguration) // (11)
report.on('dataSelected', e => { // (12)
if (e.detail.dataPoints.length > 0) {
var value = e.detail.dataPoints[0].values[0].value
callback(scope, 'error', {value}) // (13)
const PROPERTY_PAGE_OPENER_MACRO = 'oNTsLVG)Cn)8' // (14)
const aRepositoryObjectId = 'MDtzcd0w5jS1'
callback(scope, 'loading', {value: true}) // (15)
callback(scope, 'runMacro', { // (16)
macroId: PROPERTY_PAGE_OPENER_MACRO,
param: aRepositoryObjectId,
callback: () => {
console.log(arguments)
callback(scope, 'loading', {value: false}) // (17)
}
})
callback(scope, 'emitCurrent', {path: aRepositoryObjectId}) // (18)
}
})
}
onCurrentObjectChange() { } // (19)
save(_, _1, done) { // (20)
done(true)
}
onCloseContainer(_, _1, done) { // (21)
done(true)
}
}
const catalog = window.hopexaddons.getCatalog() // (22)
catalog.register('PowerbiEmbedder', new PowerbiEmbedder())
})()
c) (Important) Replace the following IDs with the ones retrieved in the App registration steps:
- ClientId (2) with the Application (client) ID
- part of the authority url (3) with the Directory (tenant) ID
The following sections describe what are the several parts of this sample code.
Registration of an Addon Factory
All the js files placed in the addons folder will be automatically loaded with the HOPEX desktop. The loading order is not guaranteed.
You need to register in Hopex a factory object which will be called by the Mega Parameterized tool we have defined. This is done by calling hopexaddons.getCatalog() (22) ; hopexaddons is available globally. Then, call register() on the catalog. The first parameter must match exactly, in a case-sensitive manner, the name put in the factory settings of the Mega Parameterized tool in page 12.
The second parameter of the register method must be an object implementing several methods. In our case, we pass an instance of the class PowerBiEmbedder we defined at (4).
Implementation of the Addon Factory
The PowerBiEmbedder implements getName (5), getVersion (6) and instantiate (7)
The most important method is instantiate (7):
- It must return a Promise (or be async)
- It Is responsible for doing the integration of the report in the DOM (11). It is given as parameters :
o params: an object containing all the settings made on the “Mega Parameterized Tool” (9)
o containerId: the id of the div which can be used to mount the content (10)
- Note that in our sample code, we have delegated this responsibility to another class constructor
o A callback and a scope to perform action on the rest of the Hopex desktop
- It must return another object representing the embedded content. This is our PowerBiReport class (8). This allows the HOPEX to callback this component to trigger some lifecycle events.
Implementation of the Addon Instance
This returned object (instance of our PowerBIReport class) must implement:
- onCurrentObjectChange (19) to be notified when the user a repository object anywhere else in the desktop
- save (20) to be notified when the desktop requires the component to save their states. The component must acknowledge they have done so by calling done(true), even if they have no state to save.
- onCloseContainer (21) to be notified when the desktop wants to remove the component. Like for save, the component must acknowledge it is ready to be removed from the DOM by calling done(true)
Interactions with the Hopex Desktop
To perform actions on the Hopex desktop, you must use the callback and scope given by the instantiate methods. In this sample, we are reacting to an event emitted the Power BI SDK when a data point is clicked in the report (12) and performs 3 actions:
- Sending a notification to the desktop (13)
- Opening a property page in a popup (14)
o As the action takes some times to complete, we first add a “Loading” mask on top of the report (15)
o We then run a Macro defined in the back-end which is responsible for triggering the display of the property page (16)
o When the property page is closed, we removed the “Loading” mask (17)
- We change the “Current Object” of the desktop (18). This triggers the refresh of other components in the desktop (like a docked property page) to display data about this objects
For more information on Microsoft specific SDKs
- For authentication (1): https://github.com/AzureAD/microsoft-authentication-library-for-js/tree/dev/lib/msal-browser
- For Power BI Embedding (11): https://github.com/Microsoft/PowerBI-JavaScript/wiki
3.4. Content-Security-Policy tuning
Depending on HOPEX versions, for security reasons, loading of external iframe and connecting to external APIs might be disabled or generate a warning.
To authorize Power Bi to edit the Web.Config file of the HOPEX IIS application:
1) Accces the Web.config file.
2) If present, change both the Content-Security-Policy-Report-Only and Content-Security-Policy headers, add:
<configuration>
<system.webServer>
<httpProtocol>
<customHeaders>
<add name="Content-Security-Policy-Report-Only"
connect-src 'self' https://login.microsoftonline.com; default-src 'self'; script-src 'self' 'unsafe-eval' 'unsafe-inline'; style-src 'self' 'unsafe-inline'; img-src 'self' data:"/>
<add name="Content-Security-Policy"
connect-src 'self' https://login.microsoftonline.com;"/>
3.5. Testing
To test your customization:
1) Connect to HOPEX (Web Front-End) with the profile corresponding to the Working Environment Template.
E.g.: Enterprise Architect.
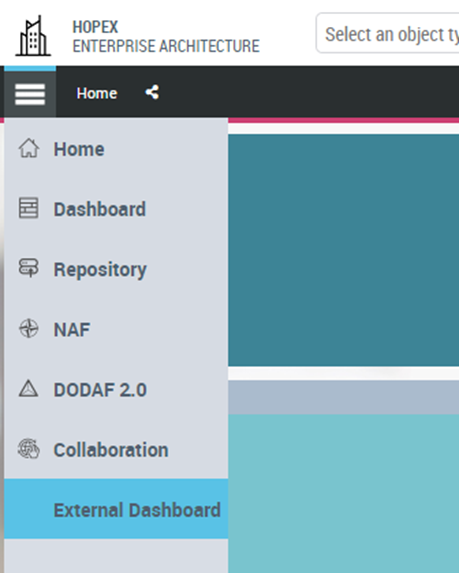
2) Click the Navigation menu.
The External Dashbord navigation pane (Environment Group Template) you created is available.
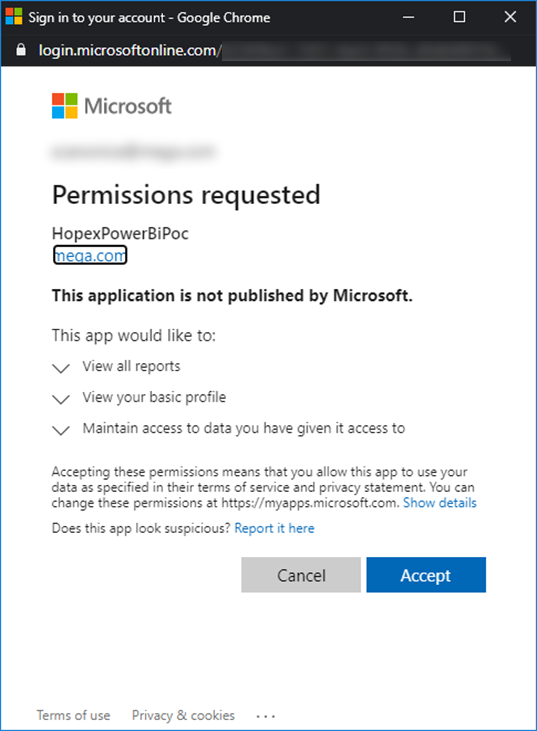
You might then be asked to login with you AD account, as well as for consent to give HOPEX access to the report.
The report is displayed in the center panel.