6 Creating Desktop Containers
|
Prerequisites
|
Before creating Containers and desktop components, you must:
• have already created desktop structure, see Creating a desktop
|
A Container can be represented in the following forms:
A Container can contain:
• a group of tools, see Creating a toolbar.
6.1 Creating a Desktop Container of Border Layout type
The Desktop Container, is a container of Border Layout type for the desktop. It comprises:
• a Center Container (mandatory container)
• Top, Left, Right, and Bottom Containers (optional).
For example, the Desktop Container of Border Layout type can contain:
• a Center Container, which can contain the home page, see Creating the Center Container of a Border Layout Container.
• a Bottom Container, which can contain the Properties page, see Creating the Bottom Container of a Border Layout Container.
Creation of this Desktop Container of Border Layout type calls three creation wizards:
• Desktop Container creation wizard ("Edit Area")
• Center Container creation wizard ("Main Page") of Desktop Container ("Edit Area")
• Bottom Container creation wizard ("Properties Page") of Desktop Container ("Edit Area").
6.1.1 Creating the Center Container of a Border Layout Container
To create the Center Container of a Desktop Container of Border Layout type:
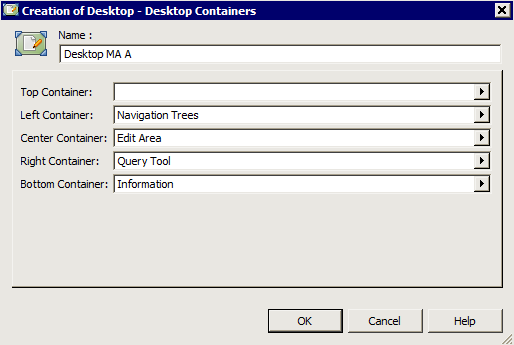
1. From the Creation of Desktop – Desktop Containers dialog box (see Creating a desktop), click the Center Container field arrow and select New.
The first step of the Creation of Desktop Container wizard appears: Usage.
2. Enter the Name of the Container of Border Layout type (example: «Edit Area").
3. Select Container of Sub-Containers.
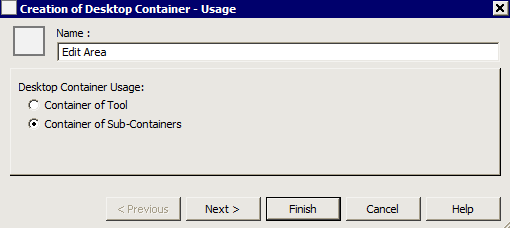
4. Click Next.
The second step of the Creation of Desktop Container wizard appears: Description.
5. In the Container Layout frame, select the Container layout type, example: Border Layout.
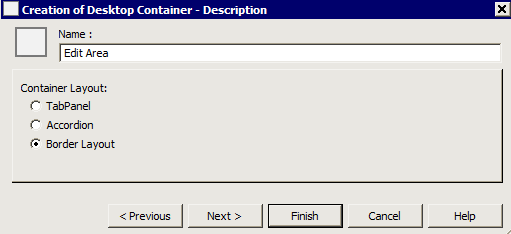
6. Click Next.
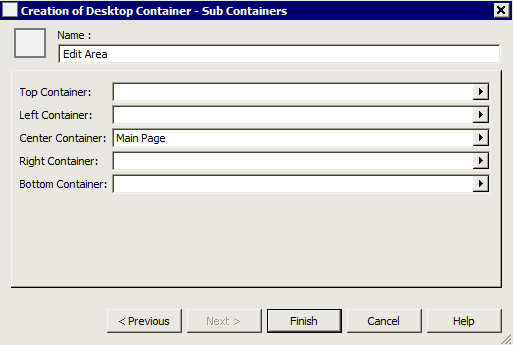
The third step of the Creation of Desktop Container wizard appears: Sub Containers.
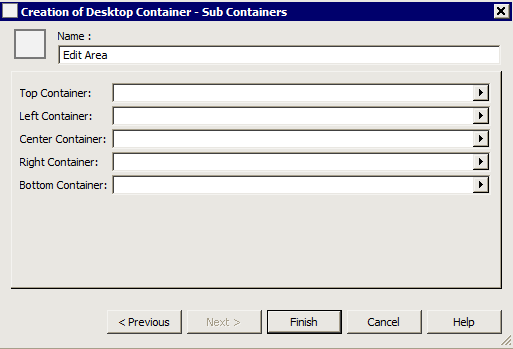
7. Click the Center Container field arrow and select New.
The first step of a new Creation of Desktop Container wizard appears: Usage. This enables definition of use of the Center Container of the "Edit Area" Container.
Depending on the layout of the Container you want to create, click arrows of the Top, Left, Right and/or Bottom Container fields and select New.
8. Enter the Name of the container (example: "Main Page").
9. In the Desktop Container Usage frame, select Container of Tool.
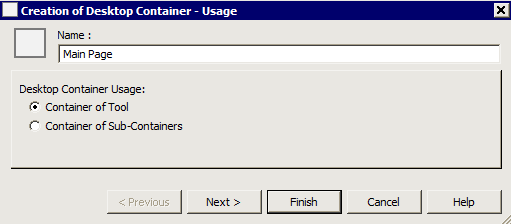
10. Click Next.
The second step of the new Creation of Desktop Container wizard appears: Description. This enables description of the Center Container of the "Edit Area" Container.
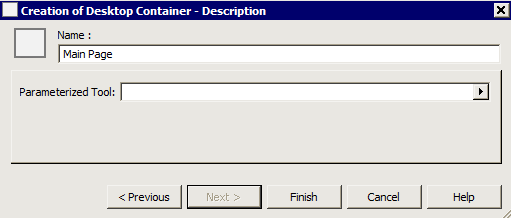
11. In the Parameterized Tool field, click the arrow and select or create the tool you require (example: "Widget Component").
12. Click Finish.
"Main Page" (which contains the "Widget Component" tool) appears in the Center Container field.
The Container of the home page is created.
6.1.2 Creating the Bottom Container of a Border Layout Container
To create the Bottom Container of a Desktop Container of Border Layout type:
1. From the Creation of Desktop Container – Sub Containers dialog box, click the Bottom Container field arrow and select New.
The first step of a new Creation of Desktop Container wizard appears: Usage. This enables definition of use of the Bottom Container of the "Edit Area" Container.
2. Enter the Name of the Bottom Container (example: "Properties Page").
3. In the Creation of Desktop Container frame, select Container of Tool.
4. Click Next.
The second step of the new Creation of Desktop Container wizard appears: Description. This enables description of the Bottom Container of the "Edit Area" Container.
5. In the Parameterized Tool field, click the arrow and select (or create) the MEGA Parameterized Tool you require (example: Docked PropertyPage Component).
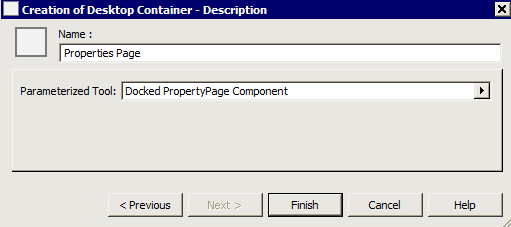
6. Click Finish.
The Properties of Desktop Container "Edit Area" dialog box appears.
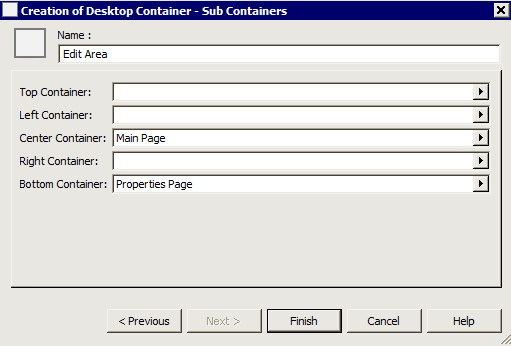
The two Containers ("Main Page" and "Properties Pages") of the "Edit Area" Center Container are created.
7. Click Finish.
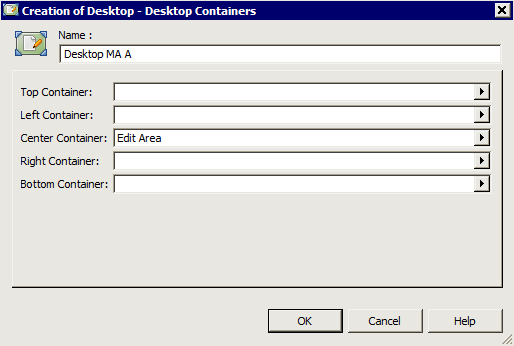
The "Edit Area" Center Container of Border Layout type of desktop ("Desktop MA A") is created and configured.
 When the Center Container has been specified, you can interrupt creation of other Containers of your desktop.
To create a new Container later, see Adding a Desktop Container to a desktop.
6.2 Creating a Desktop Container of Accordion type
To create a Desktop Container of Accordion type:
1. From the Creation of Desktop – Desktop Containers dialog box (see Creating a desktop), click the Left Container field arrow and select New.
The first step of the Creation of Desktop Container wizard appears: Usage.
2. Enter the Name of the Desktop Container of Accordion type (example: "Navigation Trees").
3. Select Container of Sub-Containers.

4. Click Next.
The second step of the Creation of Desktop Container wizard appears: Description.
5. In the Container Layout frame, select the Container layout type: Accordion.
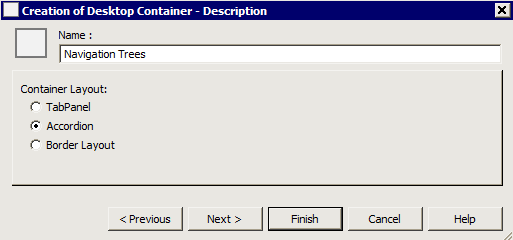
6. Click Next, to specify content of the Accordion Container ("Navigation Trees").
Click Finish, if you want to postpone till later the specification of the content of the Accordion Container ("Navigation Trees").
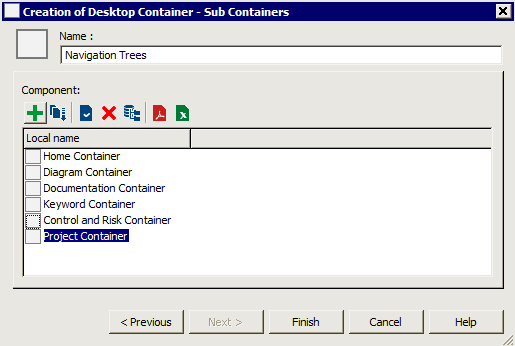
The third step of the Creation of Desktop Container wizard appears: Sub Containers.
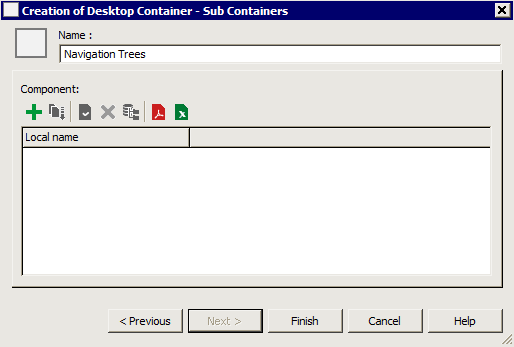
7. In the Component frame, click New  .
.
. The first step of a new Creation of Desktop Container wizard appears: Usage. This enables definition of use of the first Container of the "Navigation Trees" Container.
8. Enter the Name of the Container (example: "Home Container").
9. Select for example Container of Tool.

10. Click Next (or Finish if you wish to complete later).
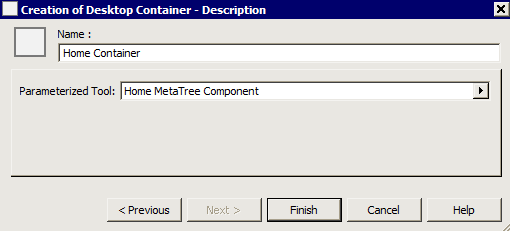
The second step of the new Creation of Desktop Container wizard appears: Description. This enables description of the first Container of the "Navigation Trees" Container.
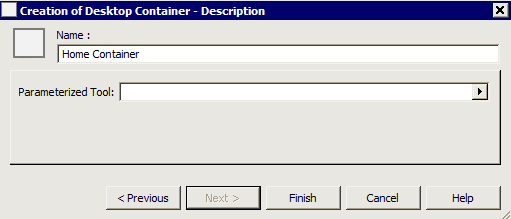
11. In the Parameterized Tool field, click the arrow and select or create the tool you require (example: "Home MetaTree Component").
12. Click OK.
13. Click Finish.
15. Click Finish.
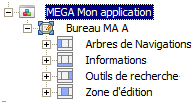
"Navigation Trees" (which contains the trees created) appears in the Left Container field of the desktop ("Desktop MA A").
6.3 Creating a Desktop Container of TabPanel type
To create a Container that contains tabs that are always visible, you must create a Desktop Container of TabPanel type.
To create tabs on the fly, see Defining Container candidates.To create a Desktop Container of TabPanel type:
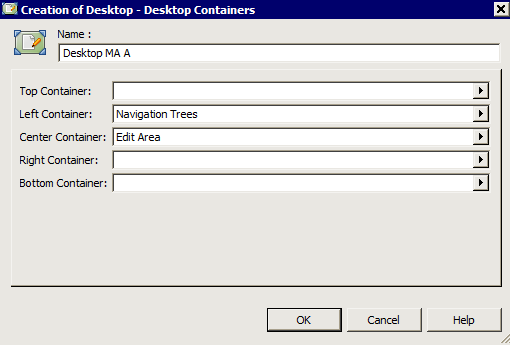
1. From the Creation of Desktop – Desktop Container dialog box (see Creating a desktop), in the Bottom (Top, Left, Center or Right) Container field, click the arrow and select New.
The first step of the Creation of Desktop Container wizard appears: Usage.
2. Enter the Name of the Container (example: "Information").
3. In the Desktop Container Usage field, select Container of Sub-Containers.

4. Click Next.
The second step of the Creation of Desktop Container wizard appears: Description.
5. In the Container Layout frame, select the Container layout type: TabPanel.
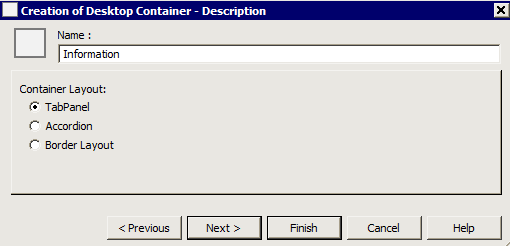
6. Click Next.
The third step of the Creation of Desktop Container wizard appears: Sub Containers.
7. In the Component frame, click New  to insert the tabs you require.
to insert the tabs you require. The first step of a new Creation of Desktop Container wizard appears: Usage. This enables definition of use of the first tab of the "Information" Container.
8. Enter the Name of the tab (example: Products).
9. In the Desktop Container Usage frame, select Container of Tool.
10. Click Finish (you can create tools later).
11. Repeat steps 7 to 10 as many times as there are tabs to define.
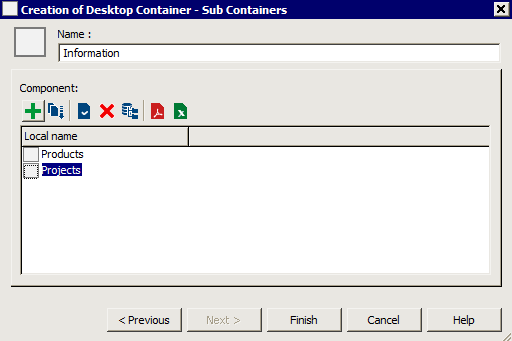
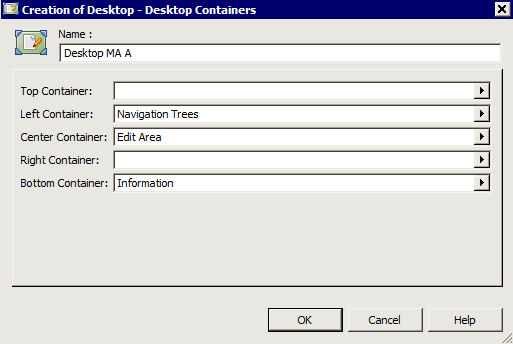
12. Click Finish.
"Information" (which contains tabs "Products" and "Projects") appears in the Bottom Container field of the desktop ("Desktop MA A").
6.4 Creating a Desktop Container of Tool type
To create a Desktop Container of Tool type:
1. From the Creation of Desktop – Desktop Containers dialog box (see Creating a desktop), in the Right Container (Top, Left, Center or Bottom) field, click the arrow and select New.
The first step of the Creation of Desktop Container wizard appears: Usage.
2. Enter the Name of the Container (example: "Query Tool").
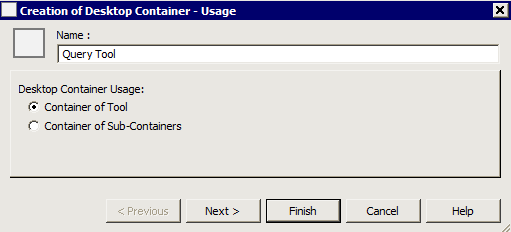
3. In the Desktop Container Usage frame, select Container of Tool.
4. Click Next.
The second step of the Creation of Desktop Container wizard appears: Description.
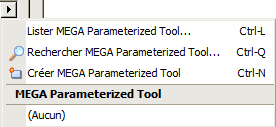
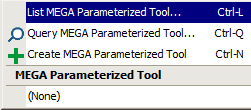
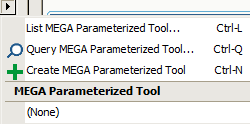
8. Click the Parameterized Tool field arrow, select List MEGA Parameterized Tool and select the tool you require (example: "Query Component").
Alternatively: if you know the name of the tool, select Query MEGA Parameterized Tool; if the Tool you want to insert does not exist, select Create MEGA Parameterized Tool.
9. Click Finish.
The name of the tool (example: "Query Tool") appears in the field concerned (example: Right Container).
6.5 Completing Desktop Container creation
When Desktop Containers have been specified, to complete desktop creation:
1. From the Creation of Desktop – Desktop Containers dialog box (see Creating a desktop), click OK (or Finish).
The desktop and its Containers appear in the tree of your application.
When the Center Container has been specified, you can interrupt creation of the other Containers (optional) of your desktop.
To create a new Container, see Adding a Desktop Container to a desktop.
To create a new Container, see Adding a Desktop Container to a desktop.