Testing the Installation
A pre-requisite for the test is to install an environment.
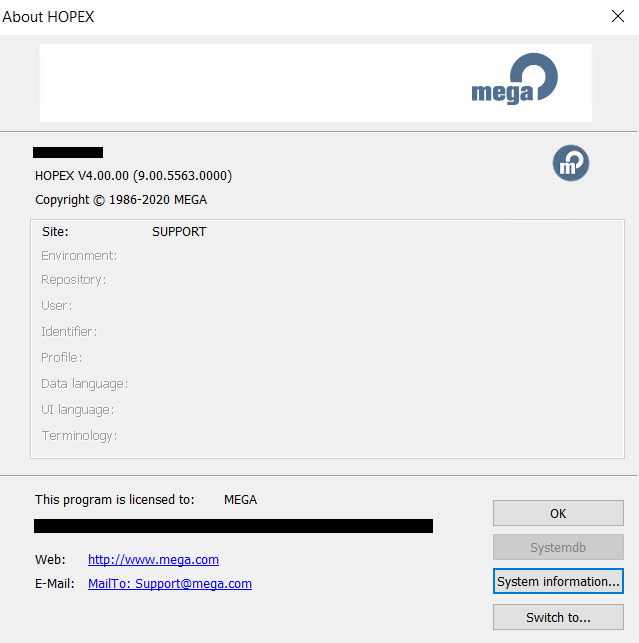
On the server, run MEGA Administration Console (Administration.exe).
Click the menu Help > About MEGA and check the license used.
It must be the MUST license name generated for this installation.
If the Administration Console does not start or if the license is not the one expected, you need to review the license configuration before going further.
Testing MEGA HOPEX (Web Front-End)
Prerequisite: a HOPEX environment is referenced on your platform.
On the server, open a supported browser and browse to https://<servername>/HOPEX/.
The login page should appear.
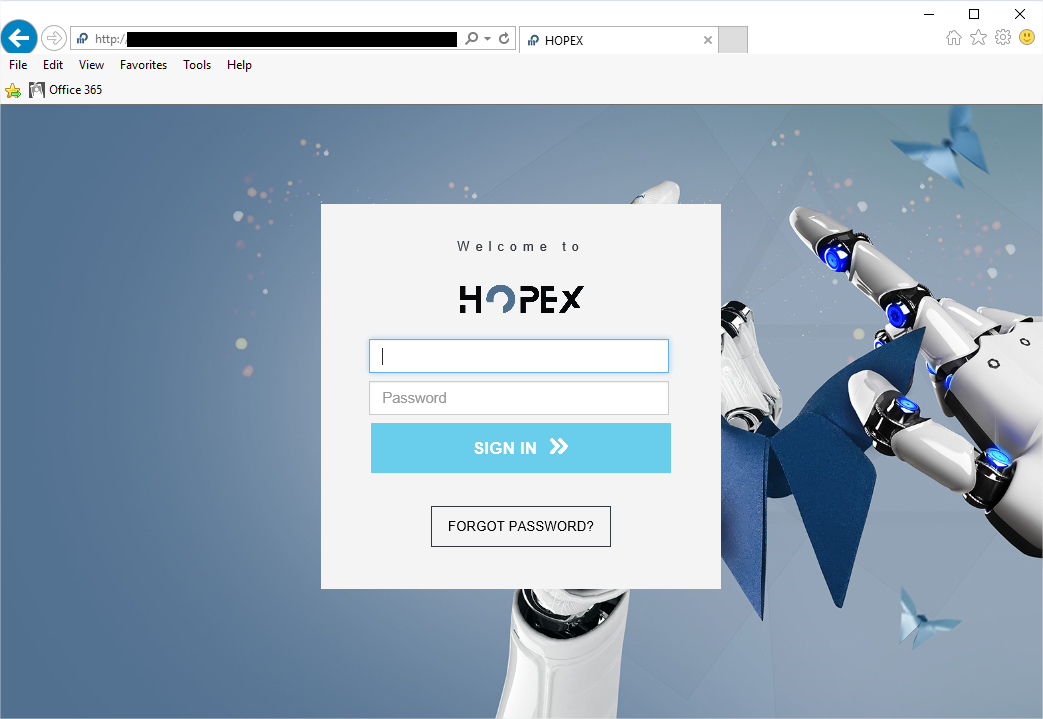
Now, use another client machine with any supported browser and browse to https://<servername>/hopex/. The login page should appear.
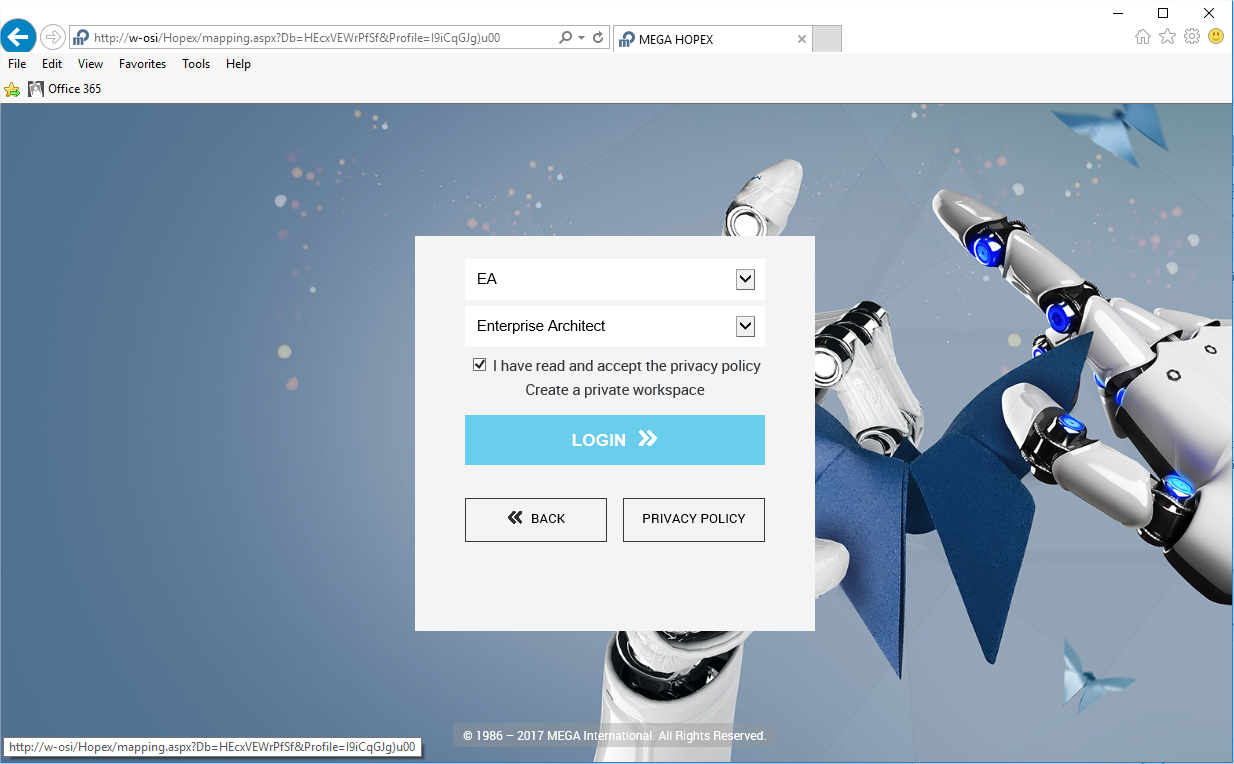
Log in to the environment with the Login “mega” and an empty password.
Then select:
The web workspace should be displayed:
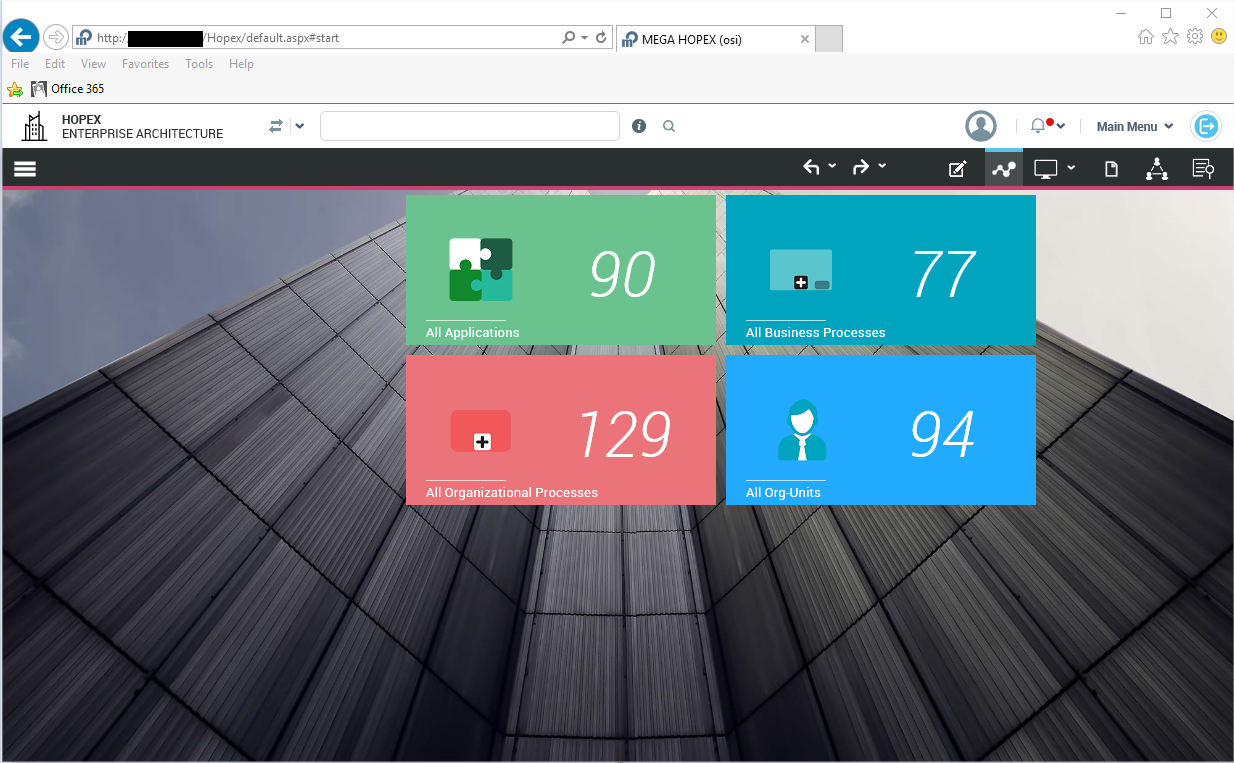
Depending on available licenses, the displayed content may vary.
More required configuration
Word, Excel and PDF exports
Please, make sure your browser authorizes to download files.
IE may display the following message in the status bar preventing from opening the PDF file:

Reports (MS Word)
In Hopex V4, generated documents of new environments are automatically converted to the RTF format.
However, the format of Reports documents was MS Word.
So if you are performing a migration from a source that still has this MS Word format, you must follow the below steps, in order to use documents on the Web Front-End.
You must exit any web session by dispatching or discarding your private workspace.
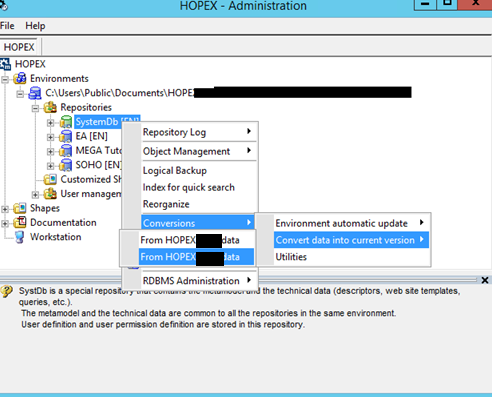
Then, from a computer where Microsoft Word is installed, go to the Administration Tool, open the environment you wish to convert with the user ‘System', navigate to the systemDB and right-click “Conversions > Convert data into current version > From HOPEX V1Rx data”, ‘x' obviously being the version of your environment in the process of being migrated:
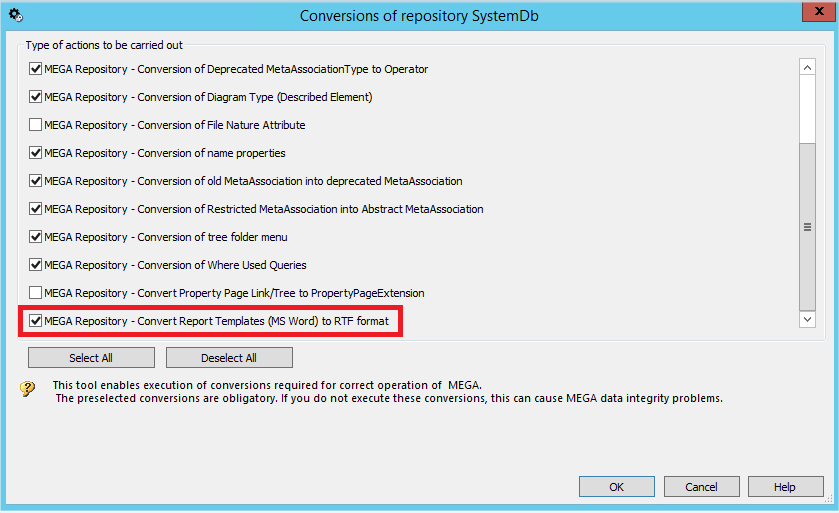
This is the last possible conversion called “MEGA Repository - Convert Report Templates (MS Word) to RTF Format”, that is checked by default:
Required options configuration
You must fill-in a number of site options using Administration.exe, at the root level:
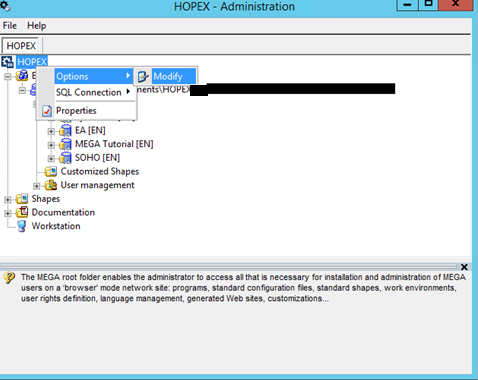
The following options are required for MEGA HOPEX Web front-end to operate:
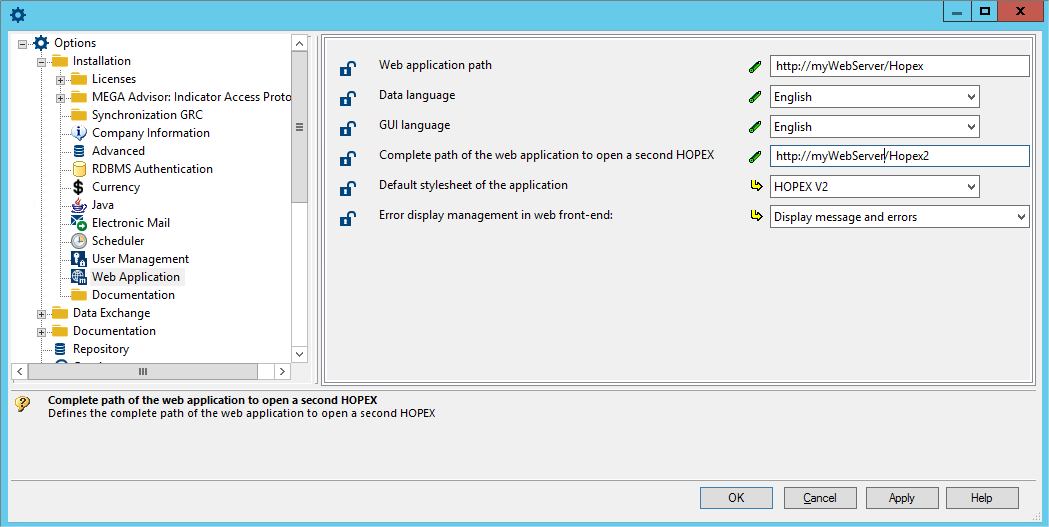
• In the Installation > Web Application folder:
o “Web Application path” (e.g. https://myWebServer/HOPEX/) and “Complete path of the web application to open a second HOPEX”, are already filled-in by the setup. However, you may have to change it if a DNS alias is put in place after the setup, or if your web servers are behind a Load Balancer or a reverse-proxy that has a different address than the server name itself:
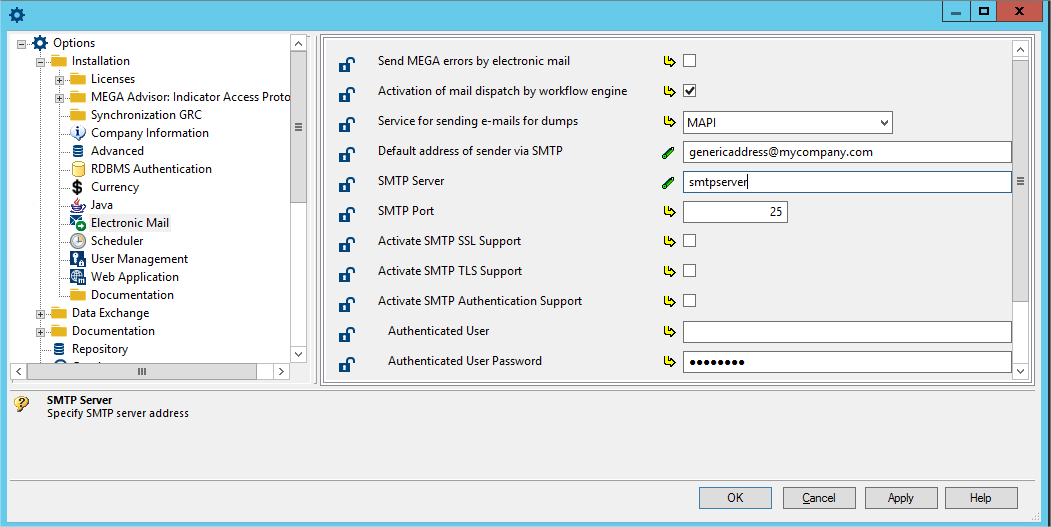
• In the Installation > Electronic mail folder:
o Default address of sender via SMTP
o SMTP Server
o Any SMTP configuration (port, SSL, authentication, etc.) required by your infrastructure
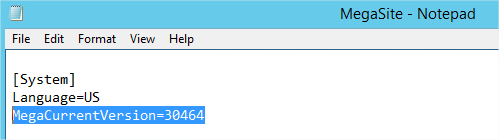
In V4, please note that your MegaSite.ini will contain the version number. So if you upgraded a V1R2 version to a V2R1 version, and wanted to keep your settings, make sure that you have those information in the [System] section of your MegaSite file :
MegaCurrentVersion=30464
Allowing the use of verbose logs and activation
To allow Mega to perform deep analysis of the logs, it can be asked to activate the verbose mode.
The verbose mode activation includes two steps:
To deactivate this configuration, see Disabling the verbose mode.
Registry update
To update the registry before activating the verbose mode:
1. Allow the impersonate account (see “Windows User for MEGA HOPEX” section) to have read/write access to a key (see Windows User(s) for MEGA HOPEX p. 1).
2. Make sure that the account that runs the “Mega Site Service Provider” Windows service has the same access level.
a. Check which account is running the service:
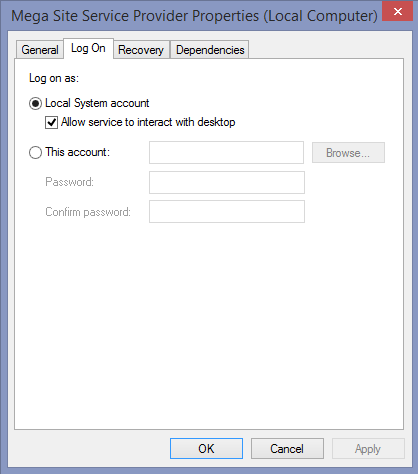
If it is « Local System », you do not need to update the registry for that service, only for the impersonate user.
Otherwise, if you run the service with a local account or domain account different than the impersonate account, we advise you to add this account in the IIS_IUSRS local group.
b. Launch the “regedit.exe” executable to open the registry.
c. The registry key on which you need to change the permissions is:
HKEY_LOCAL_MACHINE\SOFTWARE\Wow6432Node\MEGA
Right-click the key and select Permissions.
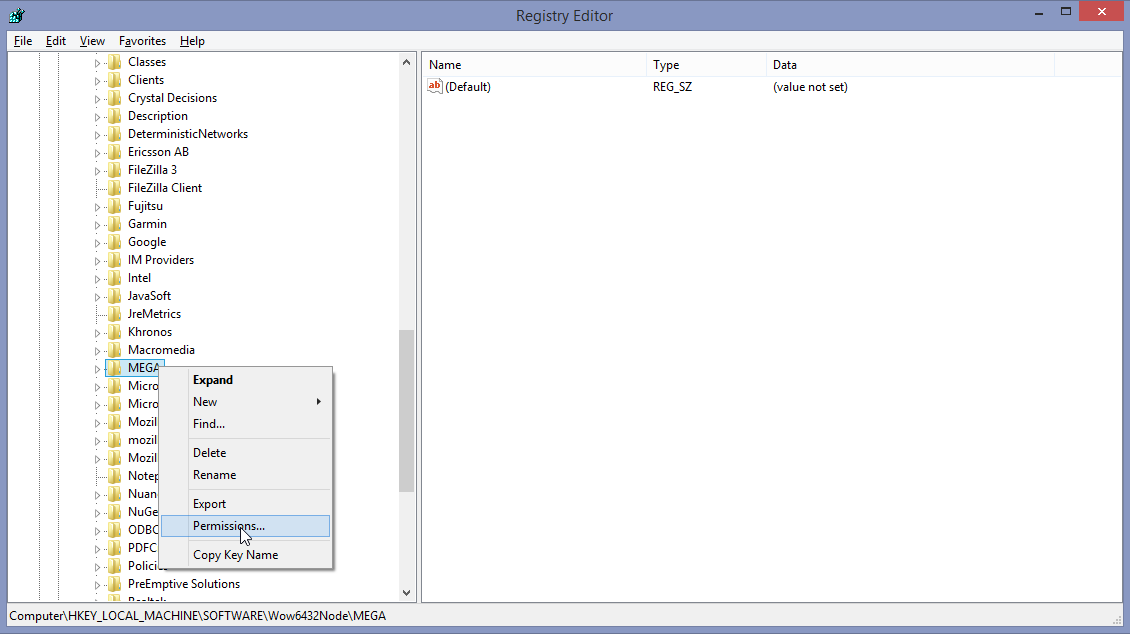
d. On this key, add the “IIS_IUSRS” local group.
The impersonate acount is normally included in the “IIS_IUSRS” local group, and as stated before, that can contain the account that runs the “Mega Site Service Provider”.
e. Allow: “Full Control” and “Read”.
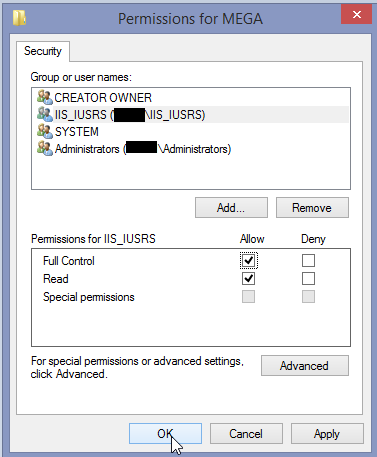
f. Apply and close the registry.
Mega Server Supervisor: « verbose mode » activation
1. In the MEGA installation folder, expand the Utilities > Mega Server Supervisor folder of Mega binaries.
2. Right-click « MEGA Server Supervisor.exe » tool and select Run as administrator.
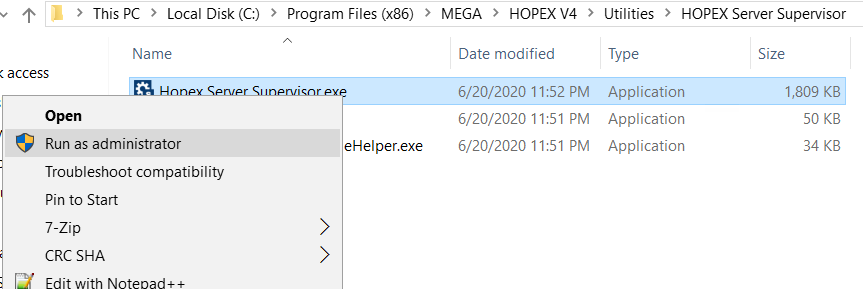
The MEGA Server Supervisor icon  appears in the system tray of your workstation.
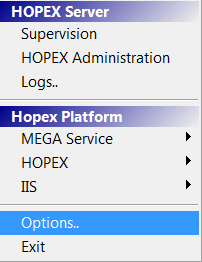
appears in the system tray of your workstation.3. Right-click the icon and select Options.
4. Select Verbose Mode.
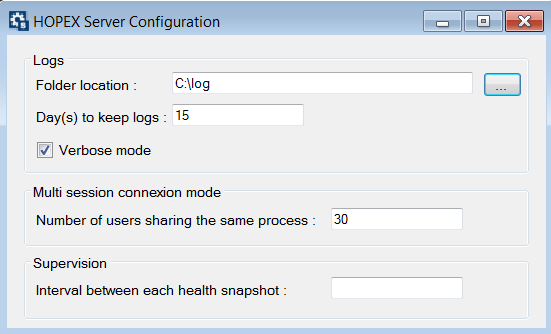
5. Close the configuration window to apply.
6. If your application was started, you need to restart it. You can use the Mega Server Supervisor to do so: right-click the MEGA Server Supervisor icon and select HOPEX > Restart HOPEX Processes Services and Web Application.
and select HOPEX > Restart HOPEX Processes Services and Web Application.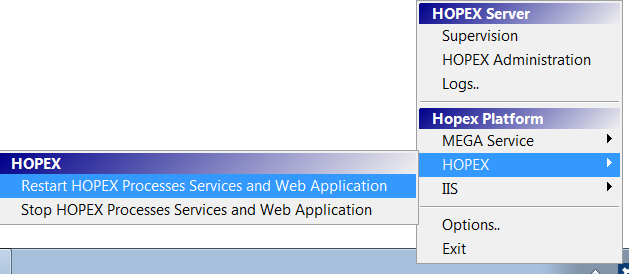
Disabling the verbose mode
To deactivate the verbose mode:
1. Follow the Mega Server Supervisor: « verbose mode » activation procedure p. 1 and clear Verbose mode.
2. Restart the application to take the modification into account.