Usind Data Discovery in Stand-alone mode
The use of HOPEX Data Discovery tool in Stand-alone mode is subject to installation constraints.
Extracting Data Source Schema
After installing the “has.desktop.exe” program, you must run it.
To extract the Data Source Schema:
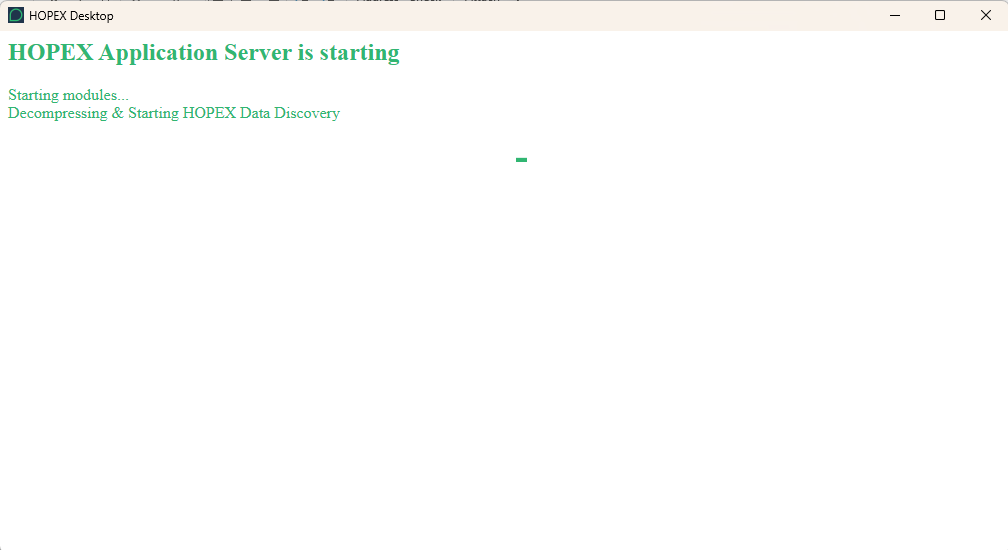
1. Starting the “has.desktop.exe” execution.
The loading screen for the various connectors is displayed.
2. After opening the HOPEX Data Discovery tab, check that all connectors have been loaded.
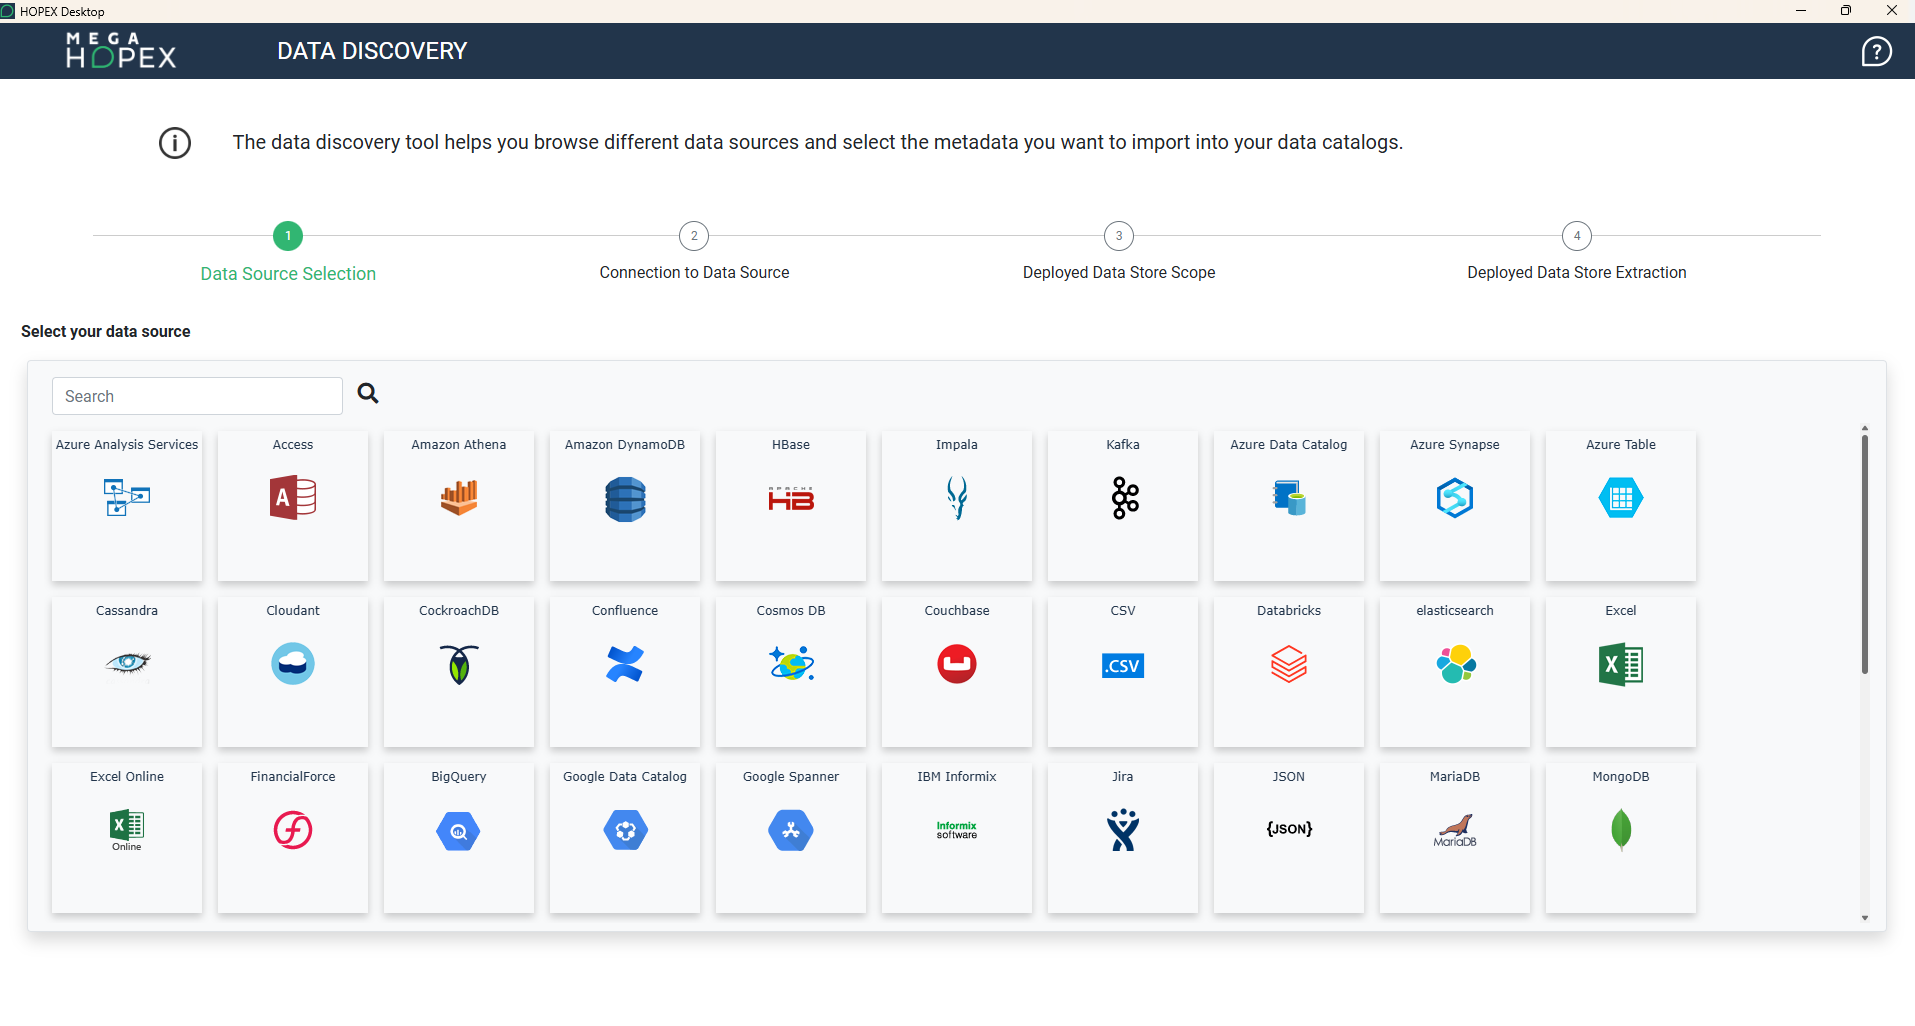
3. From the Search field, search for the type of your data source.
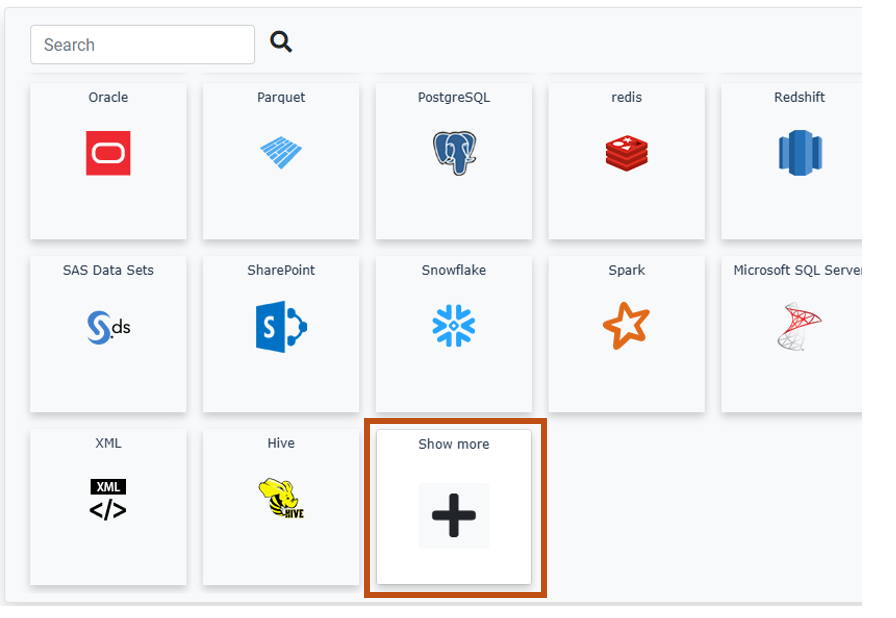
Note that the Show more tile allows you to display other connectors available in the tool in the foreground.
4. Click Connect.
A connection window opens.
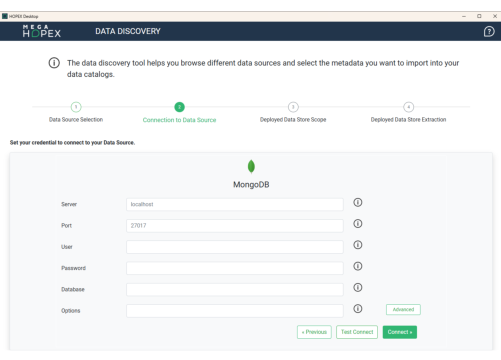
5. Specify the connection parameters.
6. (Optional) Click Test Connect to check your connection.
7. Click Connect.
A new window opens. Connection to data source is available. Metadata are displayed in the left tree.
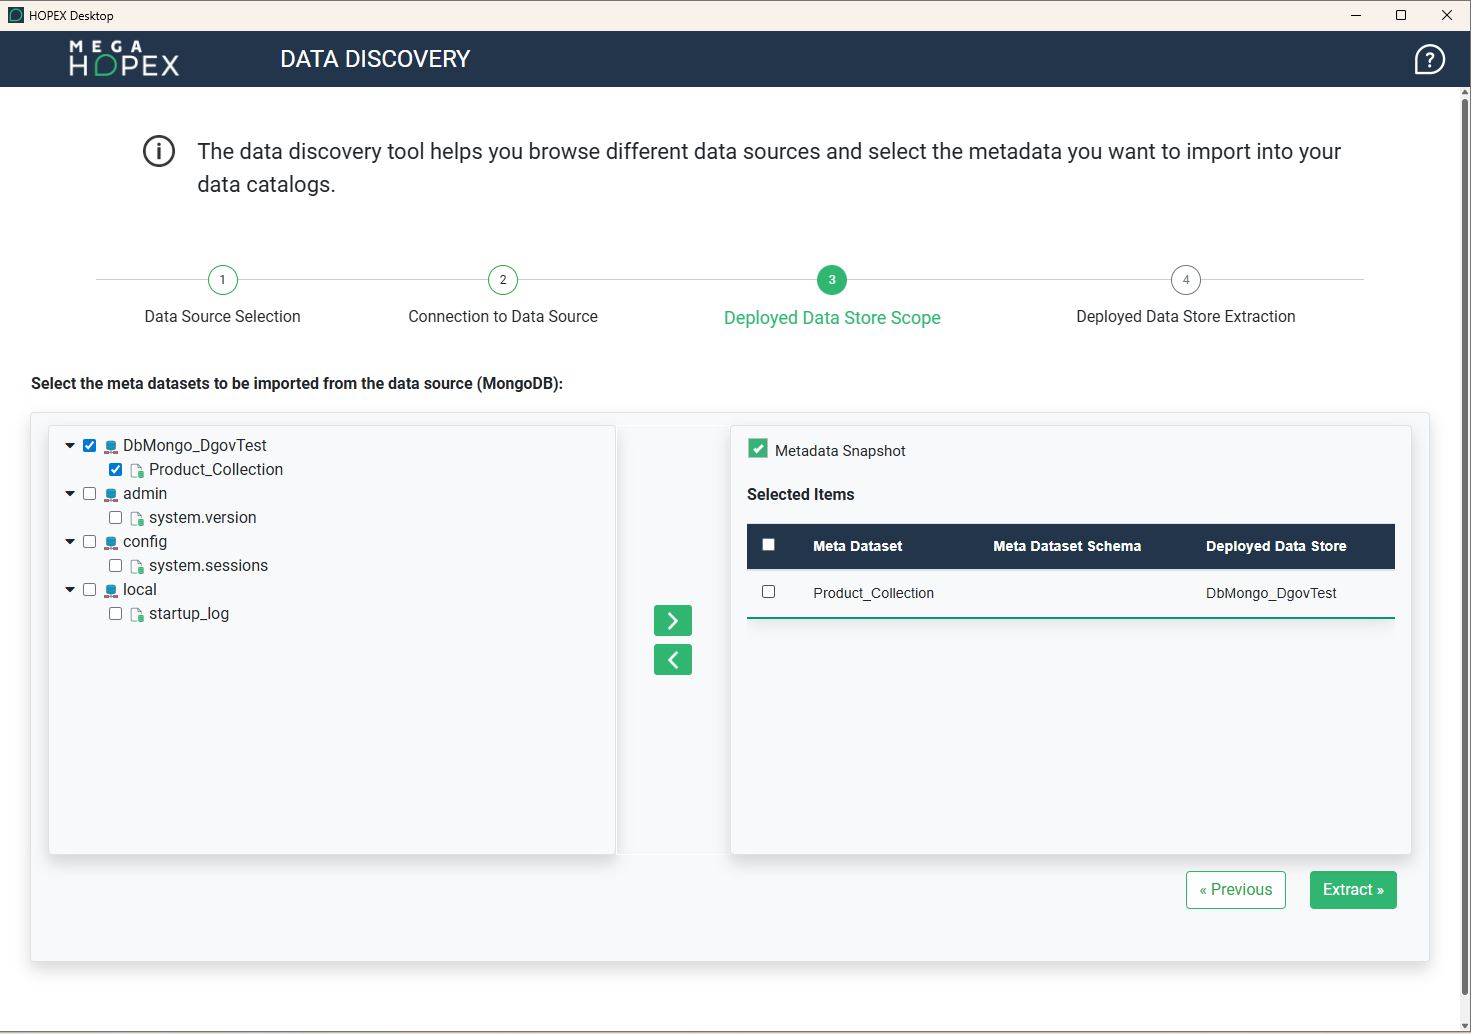
8. On the left side, select the objects to be imported in your HOPEX repository.
9. On the right, select the repository data center that will hold the metadata and the catalog that references it.
10. (Optional) You can create a snapshot of the selected metadata set by checking the MetaData Snapshot box. For more details, see Data Source Infrastructure.
11. Click Extract to run metadata extract.
12. Click Download JSON File to download the JSON file containing the extraction results.
To import the JSON file containing the extraction results into your repository, see Running Import in Stand-alone mode.
Running Import in Stand-alone mode
HOPEX Data Discovery tool in Online mode is required to import the JSON file resulting from the standalone mode execution. For more details on this module deployment, see HOPEX Data Discovery deployment in Online mode.
To import Metadata using the .json file:
1. In the navigation bar, click Tools.
2. Click Metadata Import.
A dialog box opens.
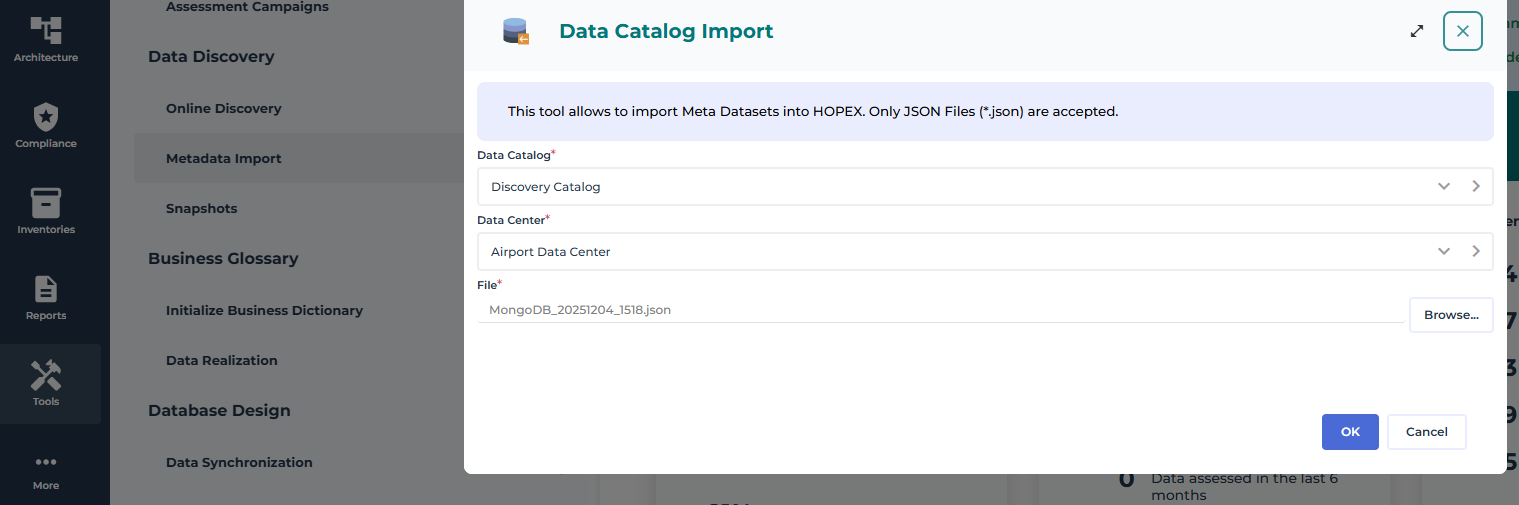
3. Select:
• the data catalog to which to import data
• the holding data center
• the .json file
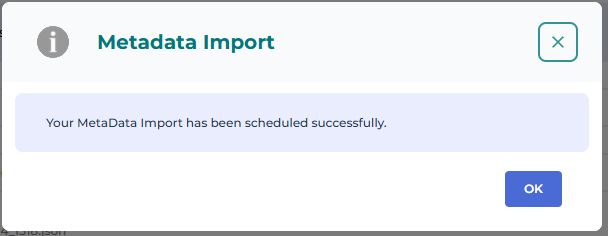
4. Click OK.
The wizard schedules the import, which will be executed in the background.
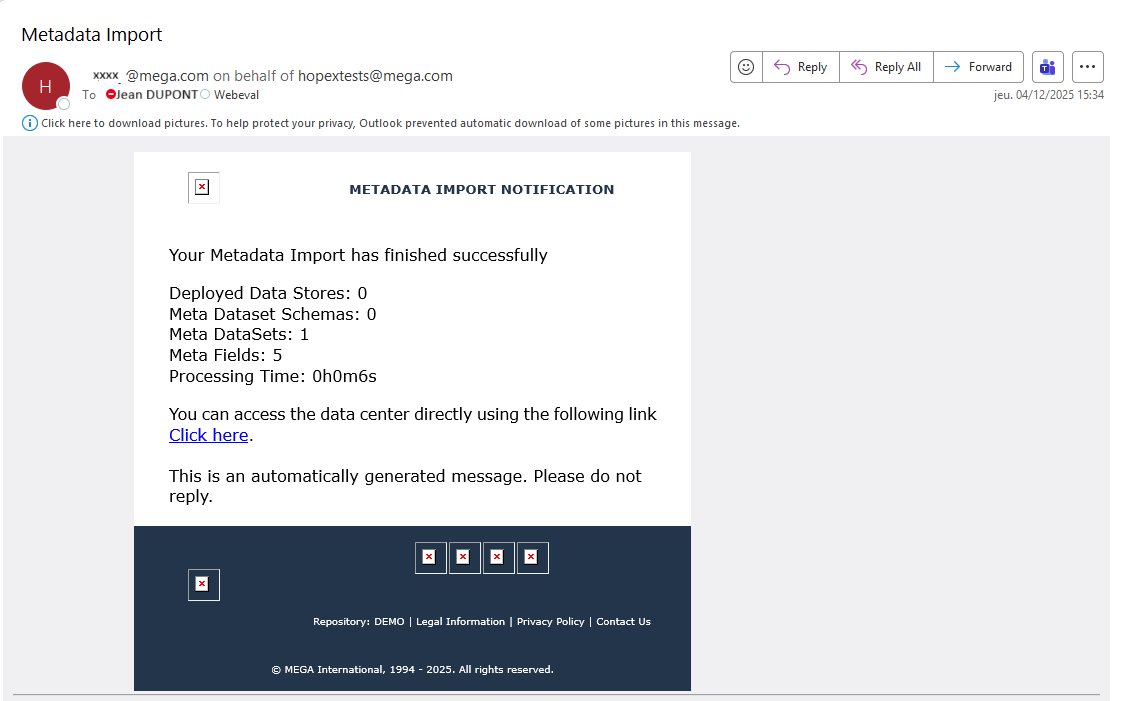
At the end of the treatment, the user responsible for the import is notified of the result via two channels:
• HOPEX notifications,

• Email reception.
See also: Connection Options to Data Sources.
Incremental import
After a first initialization of metadata in HOPEX, it is possible to make other imports from the same source. In this case, only new objects and property updates are taken into account (example: creation of a new meta dataset, new meta field).
Metadata in HOPEX is identified by its name + the name of the deployed datastore (from the source database) + the name of the datacenter. As soon as a component of the name is modified, the correspondence is broken and new objects are created. So, for example, if you change the deployed data store of a table in HOPEX, when you import it again from the same source, this table is recreated in the original data store.
See also: Contents of a Data Catalog.