Creating a Process Diagram in Graphical Mode
To create a process diagram in graphical mode:
1. In the process list, click the Create Diagram  icon related to the relevant process.
icon related to the relevant process.2. Select Process Diagram in graphical mode.
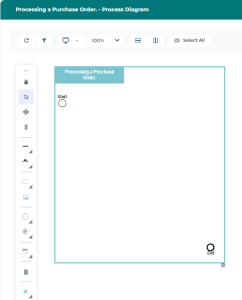
The diagram creation window opens.
3. To complete the process diagram, add existing or new objects into the frame, using the following icons:
• Sequence Flow 
• Message Flow with Content 
• Operation 
• Processes 
• Event 
• Gateway 
• Participant 
• Data Object 
• Application Used 
• Risks  and Control
and Control Handling objects in graphical mode
Object display
Some objects are not displayed by default in the graphical editor. To make them appear:
 icon.
icon. 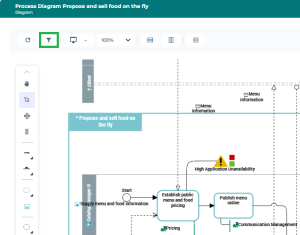
Actions on objects
For more details on:
• Adding objects, see Add Objects in a Diagram.
• Links between objects, see Handling Links Between Objects.
• Deleting objects, see Removing and Deleting an Object from a Diagram.
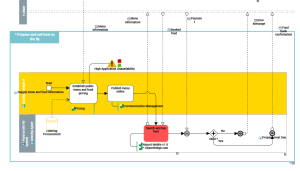
Object coloring
To highlight an object, you can change the color of its graphical shape (fill and/or outline).
Rearranging objects in the diagram
The following icons allow you to automatically rearrange the objects in the diagram:
• BPMN Vertical Diagram  : Rearranges the diagram objects vertically.
: Rearranges the diagram objects vertically.• BPMN horizontal Diagram  : Rearranges the diagram objects horizontally.
: Rearranges the diagram objects horizontally. 
Diagram rearrangement thresholds
Rearranging a complex diagram may take several minutes.
By default, a warning appears if the diagram contains more than 50 Sequence Flows, requiring user confirmation before proceeding with the rearrangement.
To adjust this value:
By default, automatic rearrangement is disabled if the diagram contains more than 100 Sequence Flows.
To adjust this value: