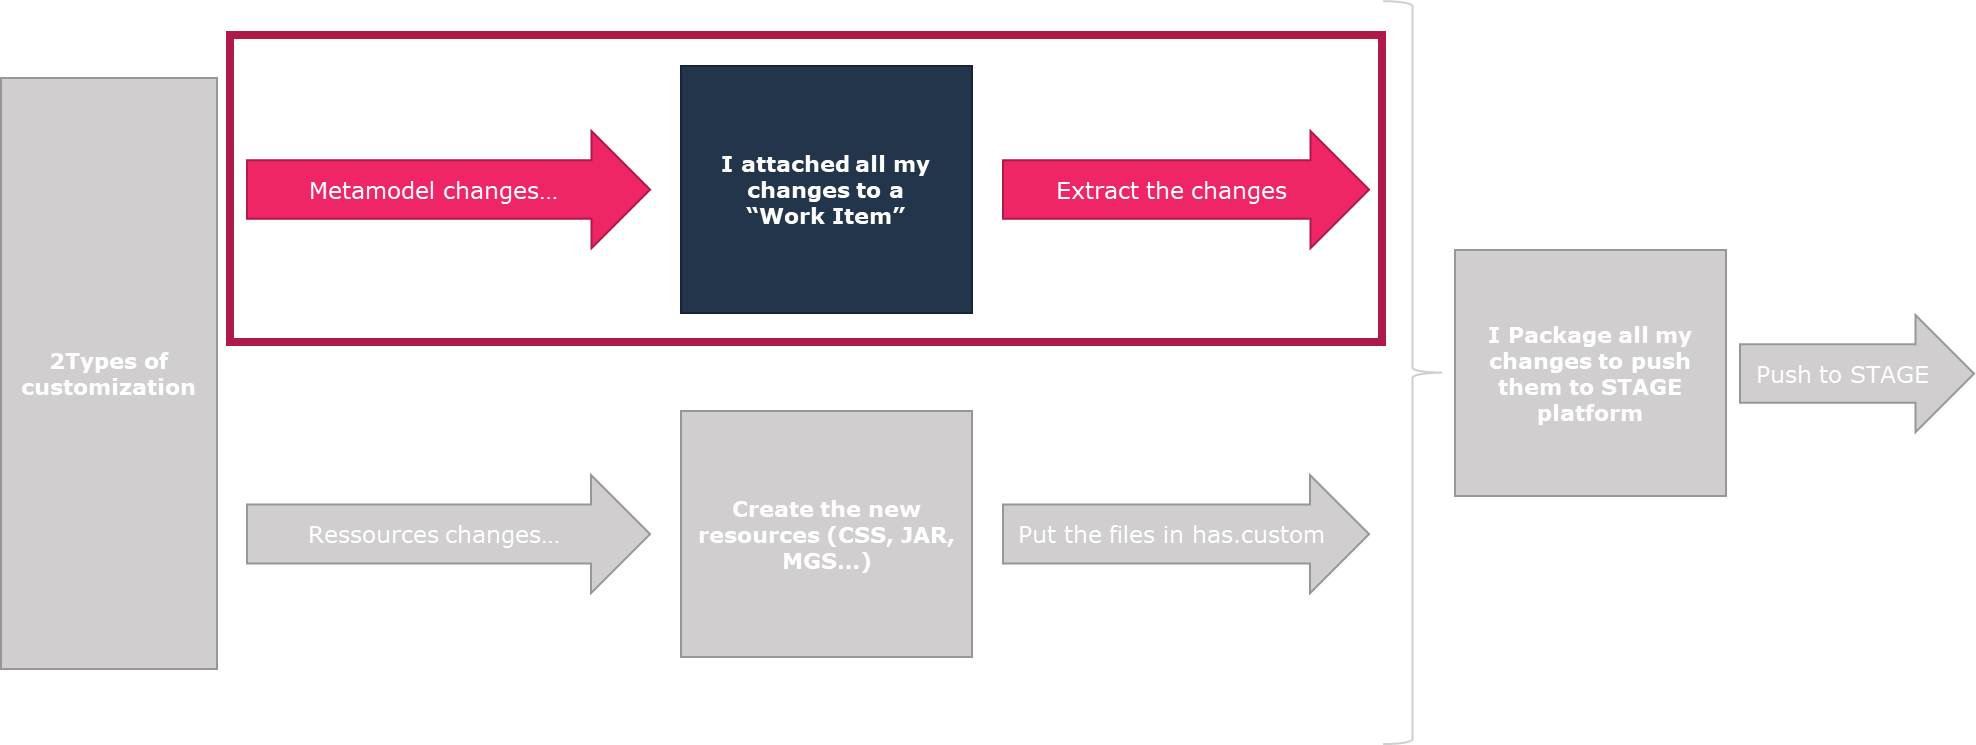
5. Extracting Customization in MGR/XMG format
You can generate a group of Work Items to extract your customization.
Work Items are sorted in:
• the Active Work Items folder: all Work Items that are not completed yet.
• the Completed Work Items folder: all Work Items that are completed. Only this completed Work Items are taken into account for the extraction.
To extract customizations to files:
1. Connect to HOPEX Studio (HOPEX Customizer profile).
2. From the Navigation menu select Report Studio > Custom Packaging.
5.1. Meeting the prerequisites
If you get this “Please ensure the module 'has.custom' is installed.” error message, go to the Getting Ready for Customization chapter and launch the Environment Automatic Update.

5.2. Generating the MGR/XMG files
Customizations candidates to extraction are those in Completed Work Items folder.

1. Click New to generate a Work Item Group.

2. Click Yes to confirm the group generation.
3. All completed Work Items are included.
Although it is possible, we do not recommend you amend dispatches or work item selected by default at that stage.

4. Click Generate.
A Work Item group is created as defined.

The naming convention for this group is: YY.MM.DD.HHMMSS
• YY: Year on 2 digits
• MM: Month on 2 digits
• DD: Day on 2 digits
• HHMMSS: timestamp in UTC+0
5.3. Checking generated files
Once the generation of the file is successful, the file is available in the installation folder.
Location:
C:\...\HOPEX Application Server\<HAS instance name>\.shadowFiles\has.custom\<Custom module version>\hopex.core\Install
The folder includes the following sub folders:
• SystemUpdate: This folder contains the modification you made that will be imported in the SystemDB.
• Dataupdate: This folder contains the modification you made that will be imported in ALL the repositories.
CAUTION: Make sure in this DataUpdate folder you did not embedded demo/sample data by mistake.
This timestamp is used to know which files have been already imported or not.
You have now successfully completed the creation and extraction of customization contained in the repositories (SystemDB and Data).