Managing Tags
In HOPEX (Web Front-End), you can add tags to objects. These tags are used as #tags (hashtags) in the quick search tool.
A tag is a classifying description used to characterize objects.
Accessing the Repository Tags
You can access all the tags defined in the HOPEX repository.
To access the repository tags:
1. From your HOPEX desktop, click the navigation menu  and select Collaboration.
and select Collaboration.The collaboration features appear in the form of tiles in the Browse  edit area.
edit area.2. Click the Tags tile.
The Tags list appears in the Browse  edit area.
edit area.
3. To display the tags in hierarchy, click Hierarchy View.
4. Expand the Tags folder.
The Tags tree displays its tags and/or tag classifying folders.
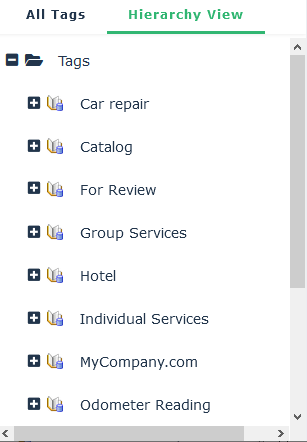
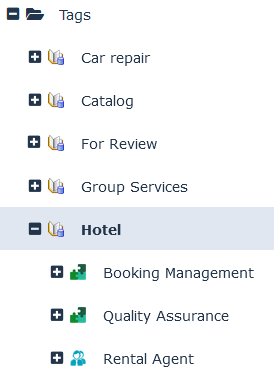
5. Expand a tag to display the objects tagged by this tag.
E.g.: expand "Hotel" tag.
Classifying the Tags
You can classify the tags in folders and sub-folders.
To classify the tags:
1. Access the tags.
2. In the Hierarchy View tab, right-click tags and select New > Tag Folder.
3. In the Local Name field, enter a tag classification name.
Example: "Travel".
4. Click OK.
The folder is added to the Tags folder.
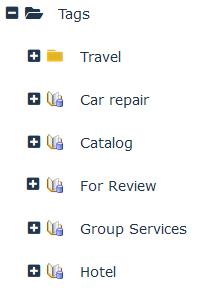
5. In the Tags tree, select a tag and drag and drop it to the tag classification folder.
Example: move the "Hotel" and "Catalog" tags to the "Travel" folder.