Prerequisites
Operating system
In this deployment, 2016 was the chosen OS for all virtual machines.
The list of servers used in this example is the following:
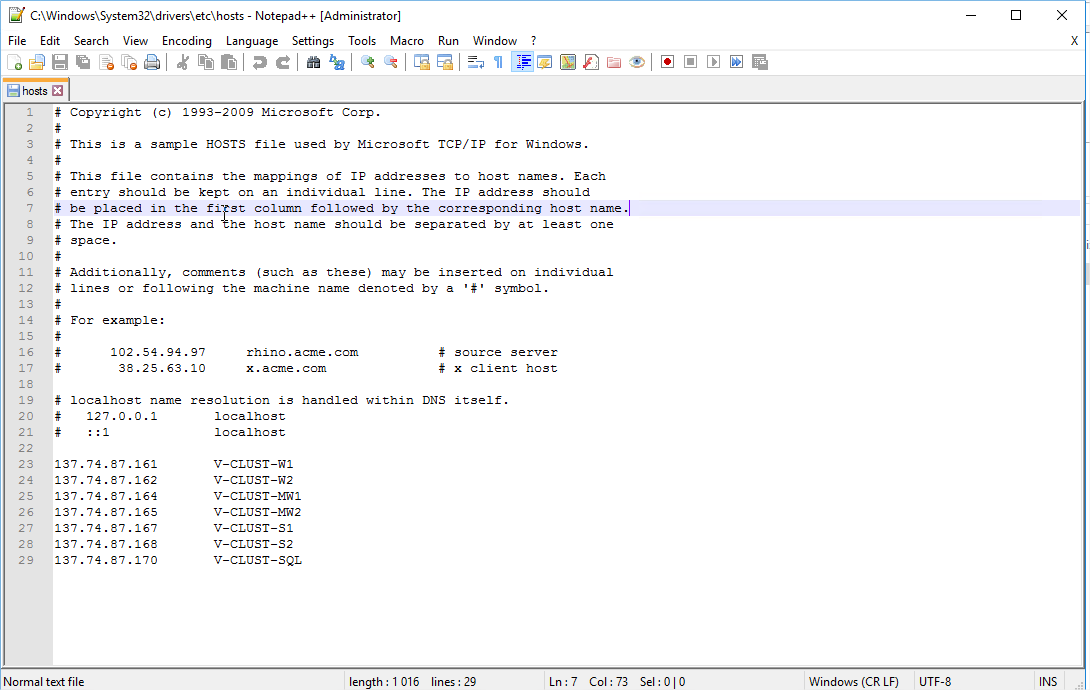
- 137.74.87.161 (V-CLUST-W1): first web server.
- 137.74.87.162 (V-CLUST-W2): second web server.
- 137.74.87.163: IP of the Load Balancer in front of the web servers -> use this IP address when setting up URLs about Hopex front-end website.
- 137.74.87.164 (V-CLUST-MW1): first application (MWAS) server.
- 137.74.87.165 (V-CLUST-MW2): second application (MWAS) server.
- 137.74.87.167 (V-CLUST-S1): first SSP server.
- 137.74.87.168 (V-CLUST-S2): second SSP server.
- 137.74.87.169: IP of the Load Balancer in front of the SSP servers -> use this IP address when setting up URL of the SSP.
- 137.74.87.170 (V-CLUST-SQL): hosting the SQL Server instance.
Tweaks
When you work in a deployment with no domain, and no Active Directory, some tweaks are mandatory.
If you are in a cluster deployment case but with servers within a domain, you do not have to perform the tweaks, and we recommend you to use domain accounts instead of local ones.
Tweak 1: Users
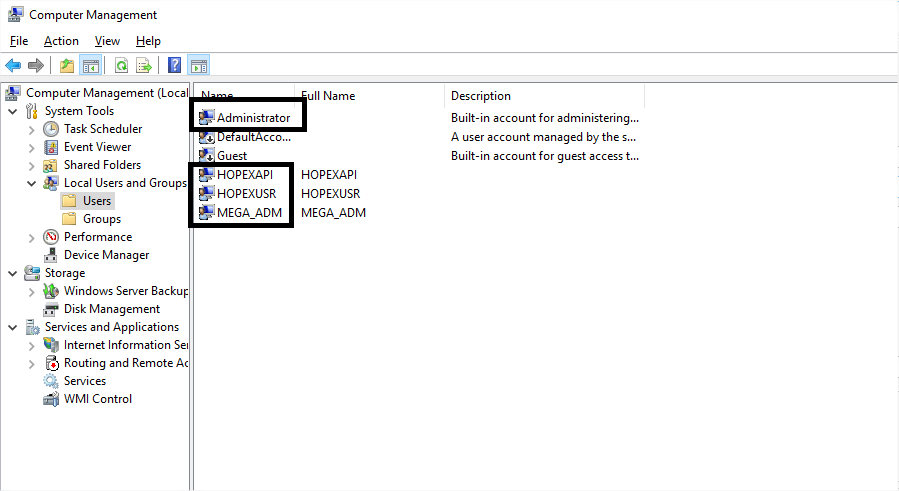
Create the same local users on all servers:
On a single server, each account can have its own password. However, for a specific username, you need to provide the same password on all servers.
This is the only way to make you access a remote share with a user that is local to your server.
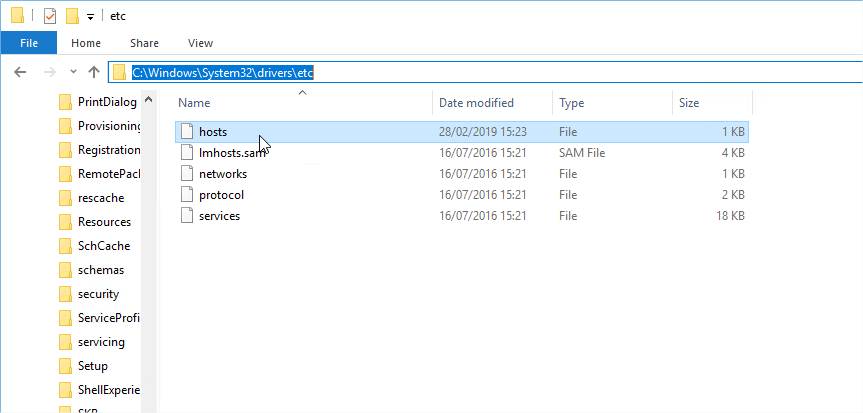
Tweak 2: « hosts » file
As the DNS server does not know the correspondence between the server name and its IP address, you can use an internal mechanism of Windows to make a link between name and IP address.
On all servers:
1. Edit the “hosts” file (located in “C:\Windows\System32\drivers\etc”):
2. Enter the lines that help the server to know which IP address to contact when using the hostname of the other servers:
Server Windows 2016
Install the "Web Server (IIS)" and "File Services roles" on both Web Front-End and application server.
1. From the “Server Manager”, select Manage > Add Roles and Features.
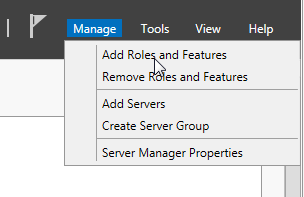
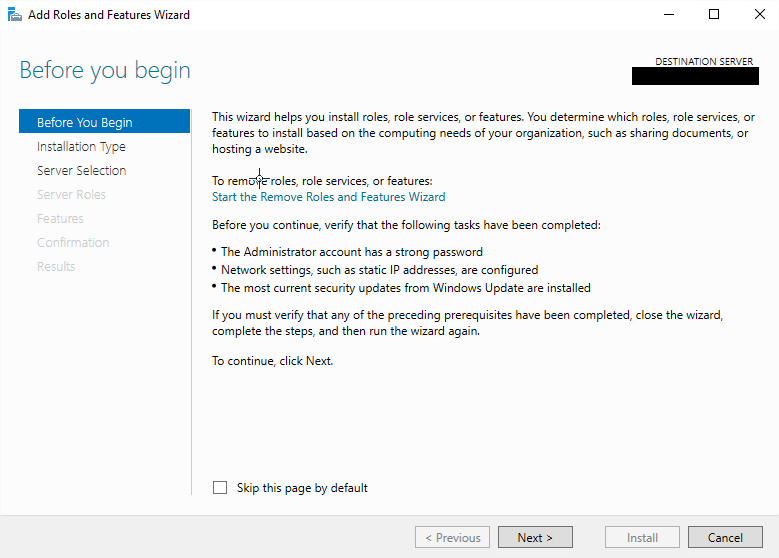
The Add Roles and Features Wizard appears.
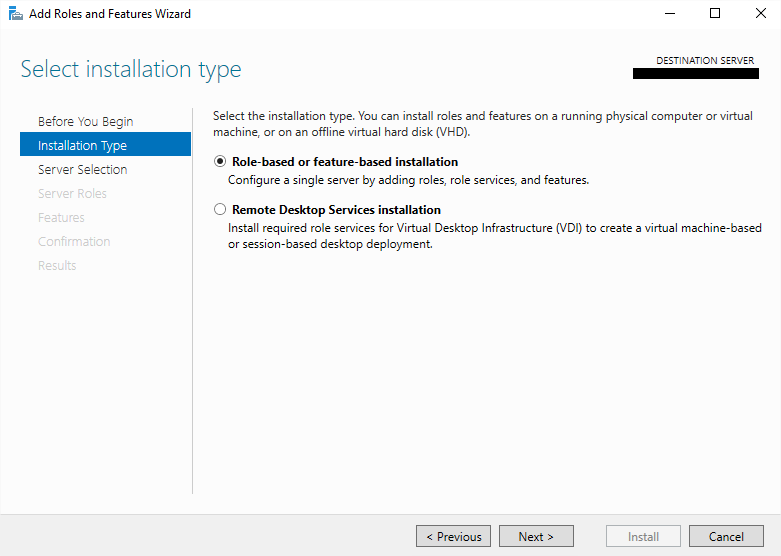
2. In the left pane, select Installation Type.
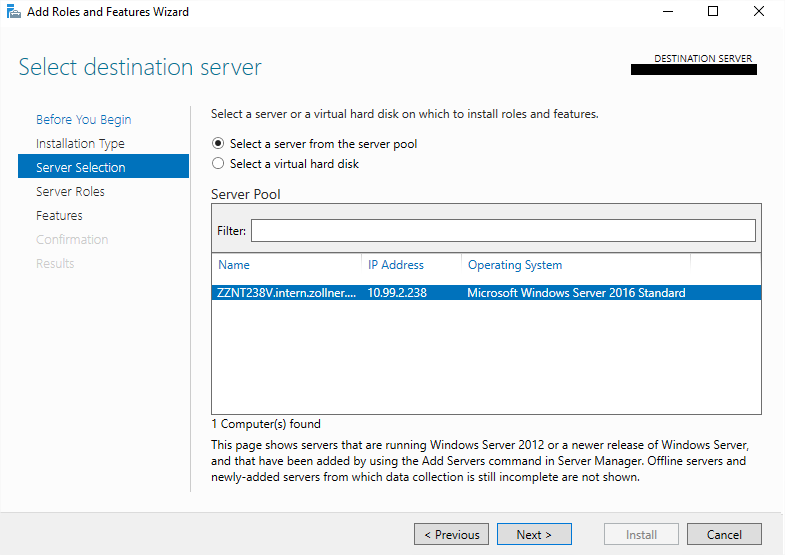
3. In the left pane, select Server Selection.
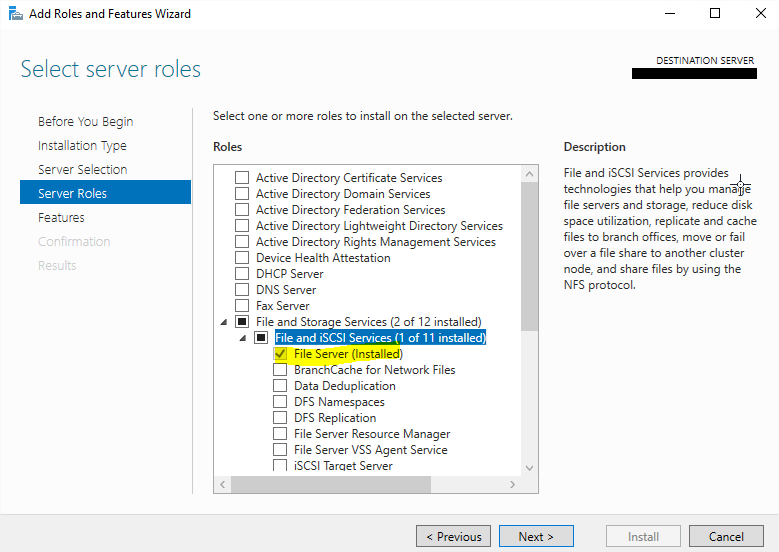
4. Check the “File Server” is installed. If not, activate it:
5. Activate the “Web Server (IIS)” and its features.
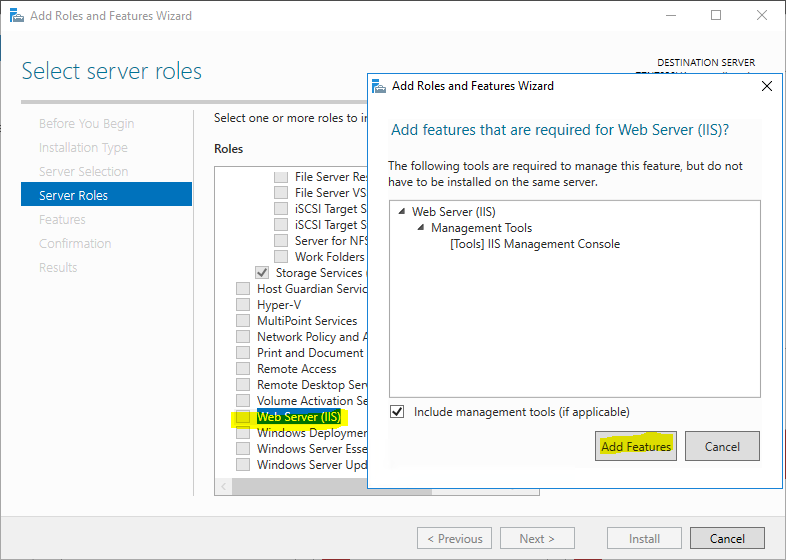
6. Click Next.
7. In the left pane select Features, and activate the „ASP.NET 4.6“.
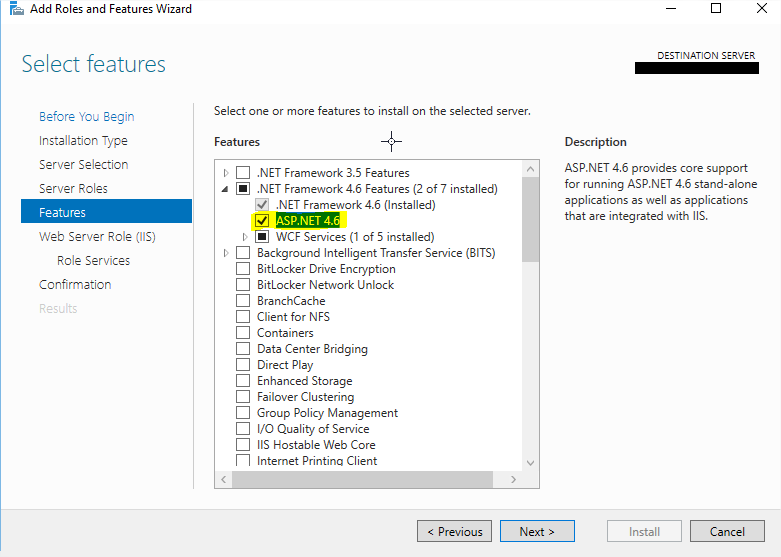
8. Click Next.
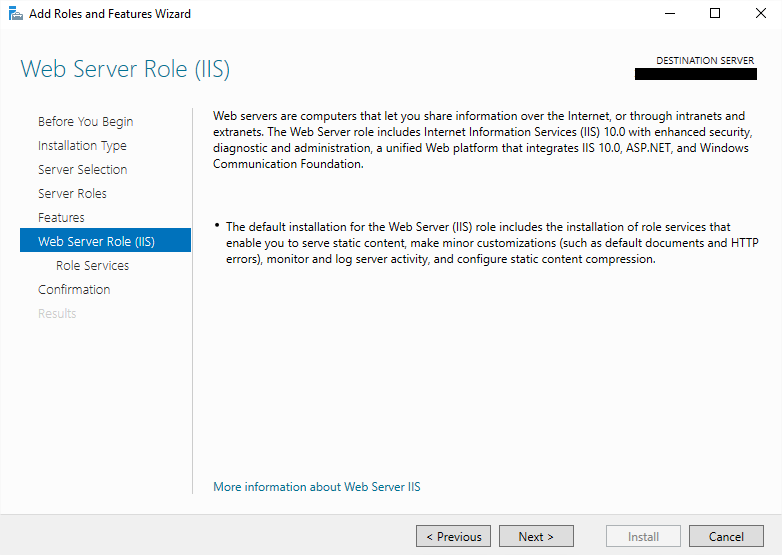
9. Click Next.
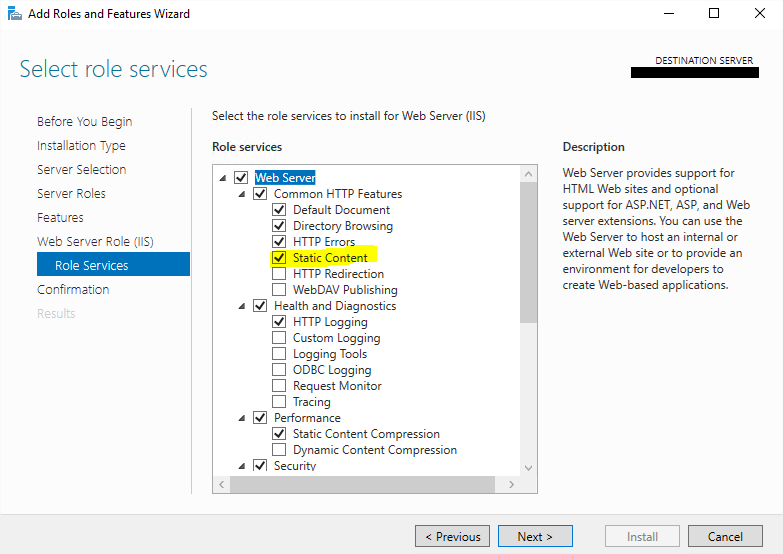
10. In the Role Services part:
a. Check that Static Content is enabled.
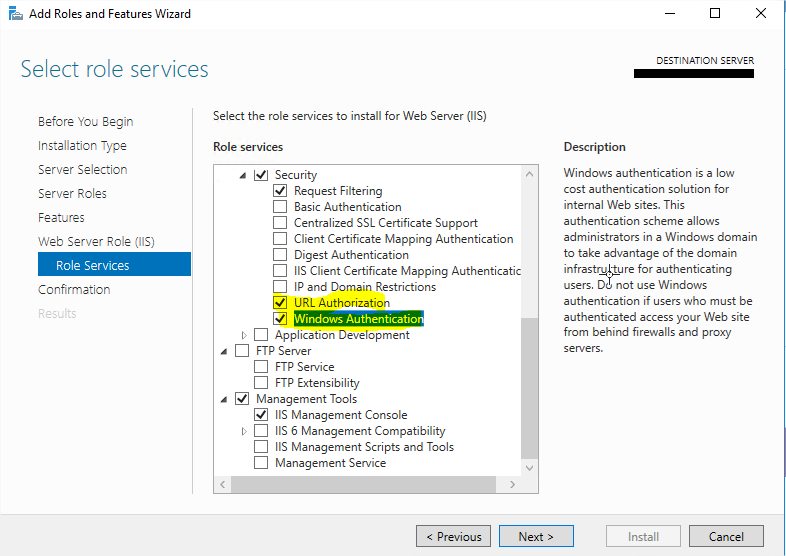
b. In Security, manually add „URL Authorization“ and „Windows Authentication“:
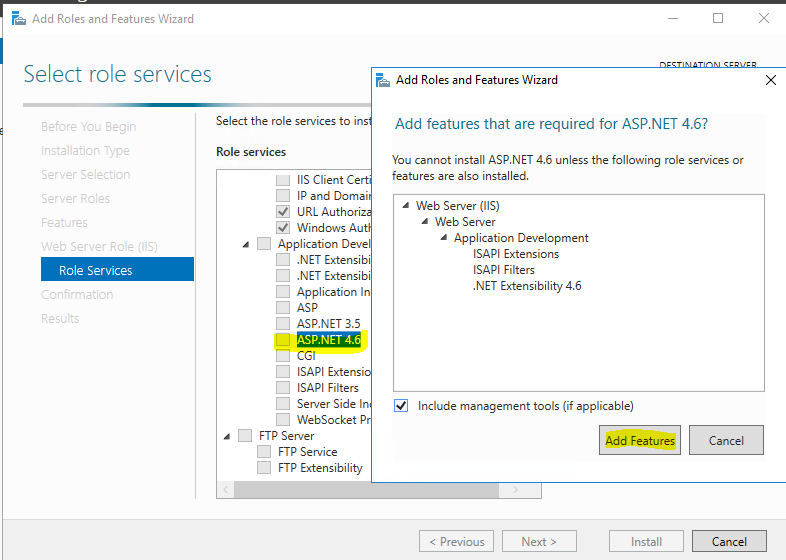
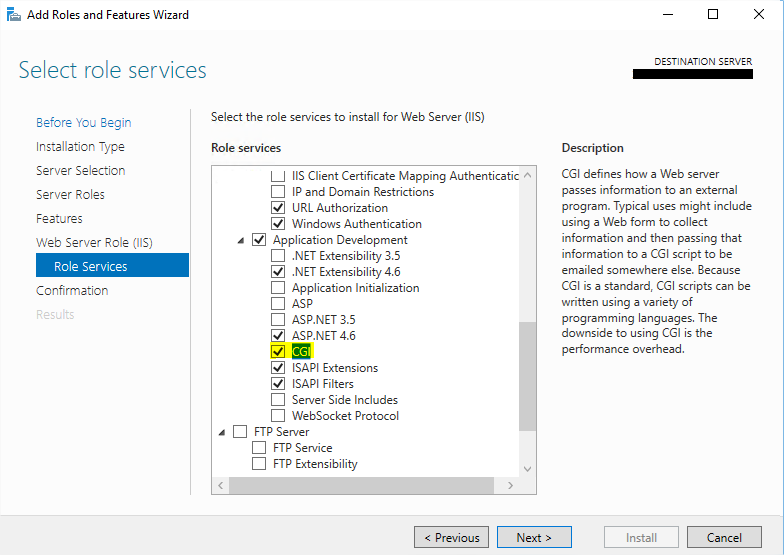
c. In Application Development, add:
- „ASP.NET 4.6“ and related features.
- „CGI“.
11. Click Next.
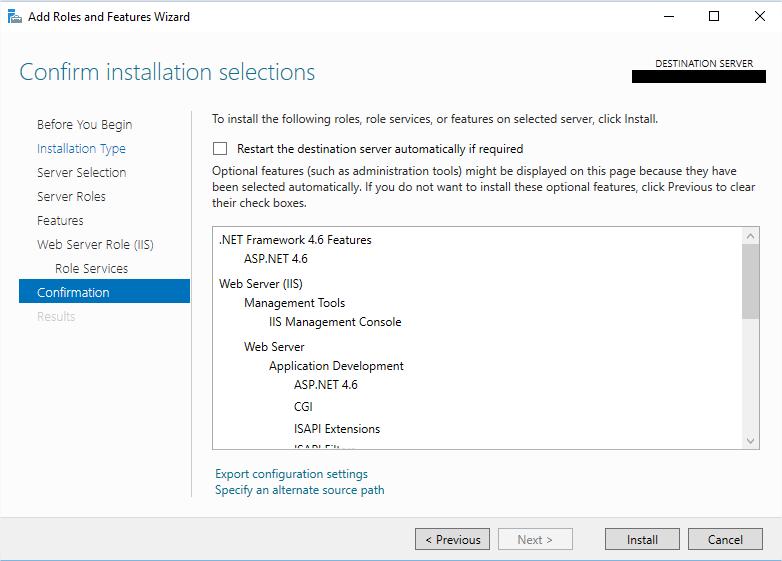
12. Cick Install.
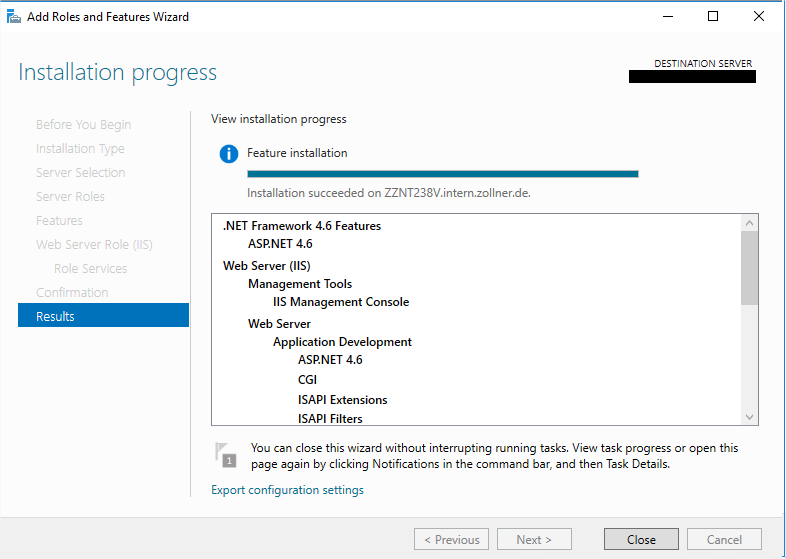
13. Click Close.
Installing .Net 4.7
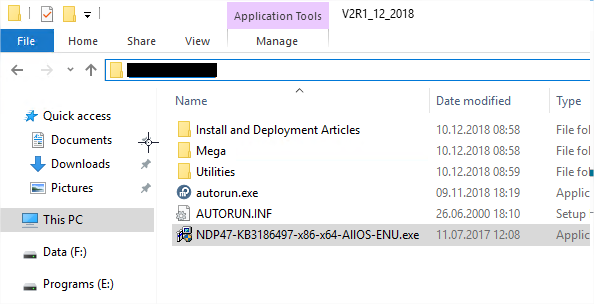
With Mega Hopex V4, we need to use at least version 4.7 of the .Net Framework.
We deployed the 4.7 version that was copied on each server:
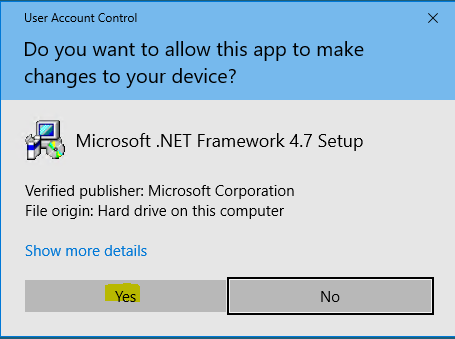
1. Click Yes:
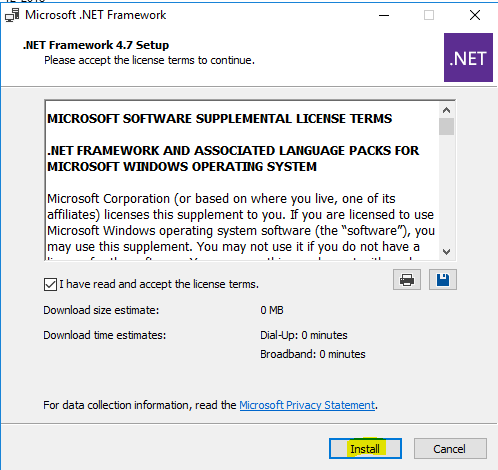
2. Accept the license terms and click Install.
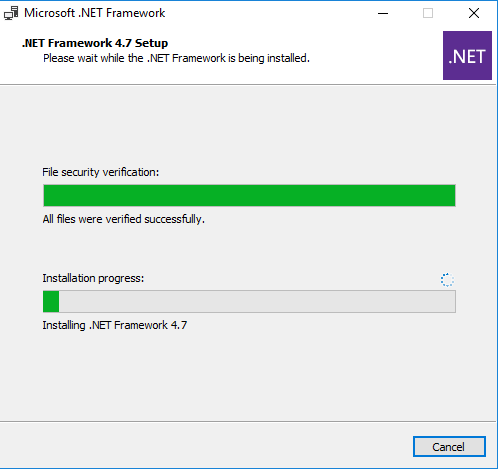
Let the installation proceed:
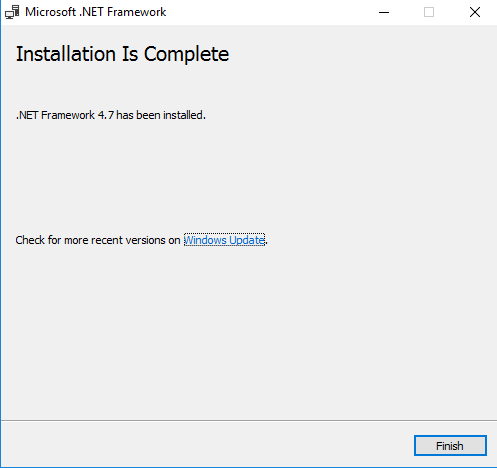
3. Click Finish:
4. Restart the servers:

Windows users for MEGA
When you install MEGA Hopex, at least one user is necessary to manage the process authentication. It's recommended to avoid using a user that is Local Administrator of the server. You then need an additional user, preferably in the Domain.
If it is not possible, and that all resources, such as the license file and the Mega environments, are hosted locally, it is possible to have a local user.
This user is going to be impersonified for the web applications. All actions done in MEGA Hopex will be done using the identity of this user.
In our case, we want to deploy Mega Hopex with all its features, including the Web Services part, called “HOPEX API”. Because of that, we need a second impersonate user, as you cannot use the same account for both the web front-end, and the web services.
We then have (“.\” means that those are local users):
.\HOPEXUSR: for the web front-end.
.\HOPEXAPI: for the web services.
Define the group permissions
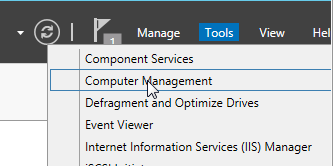
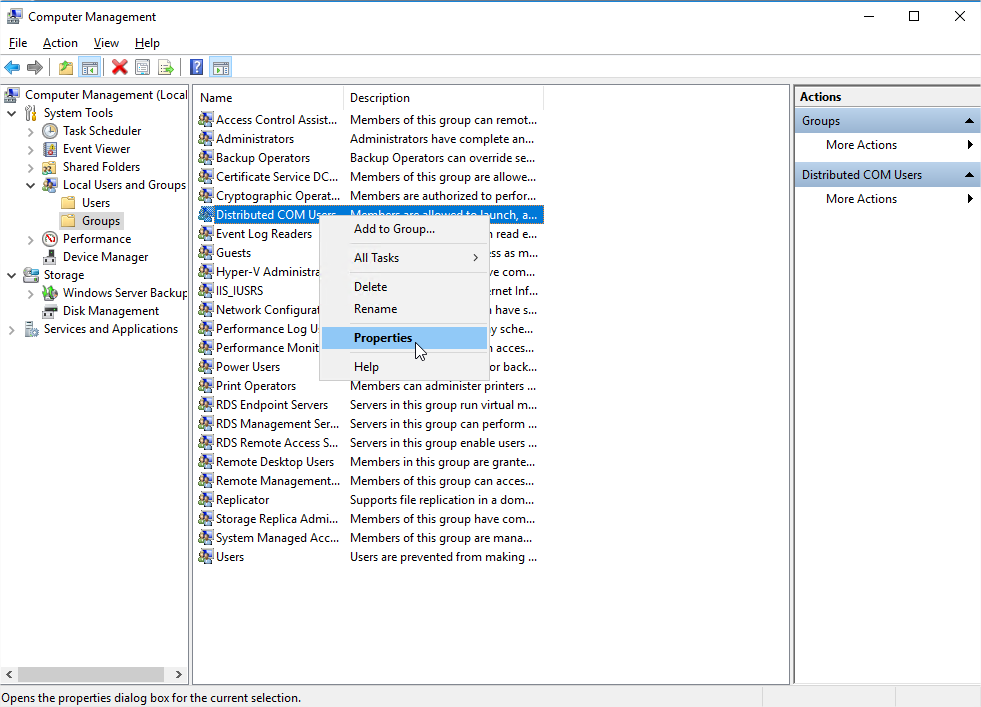
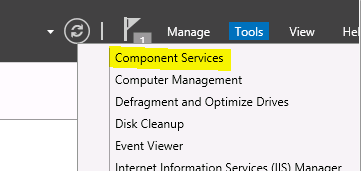
1. From the “Server Manager”, select Tools > Computer Management:
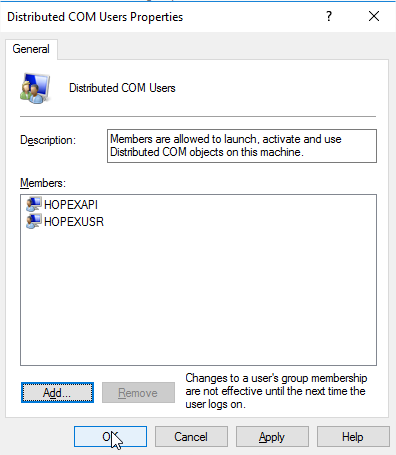
2. The impersonate user needs to be part of both the local groups “IIS_IUSRS”, and “Distributed COM Users”.
a. Start with “Distributed COM Users” by opening its properties:
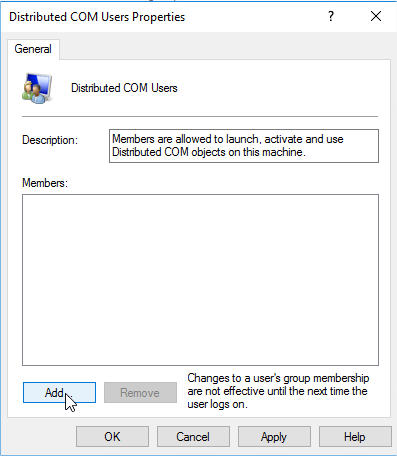
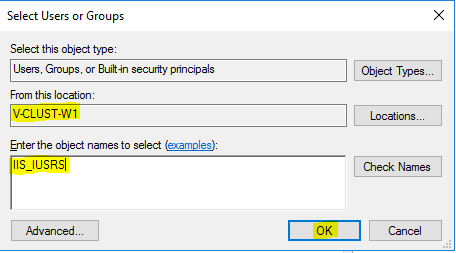
b. Click “Add”:
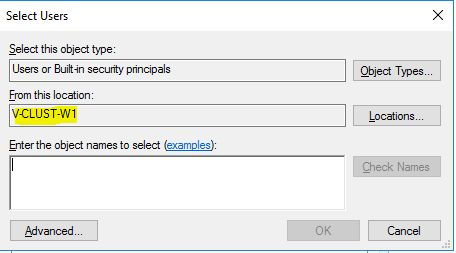
c. In our case, the users are local, so we need to make sure that the “Locations” are set to the server itself:
d. Enter the names of both accounts, with the ‘;' separator, and click OK:
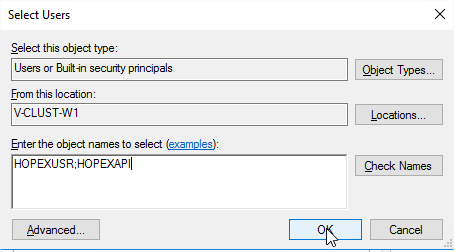
e. Click OK to validate:
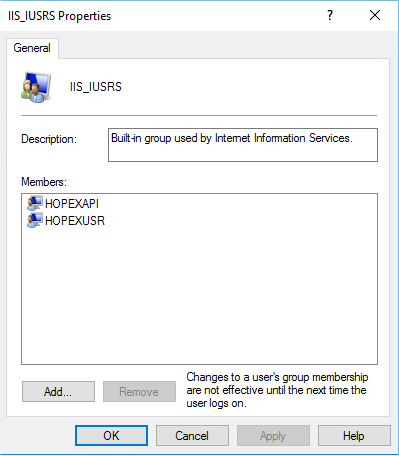
3. Perform the same steps for the « IIS_IUSRS » group:
Define the COM rights
The impersonate user must be able to launch COM applications by default.
To give that right:
1. From the “Server Manager”, expand the Component Services node.
2. Expand the tree Component Services > Computers > My computer:
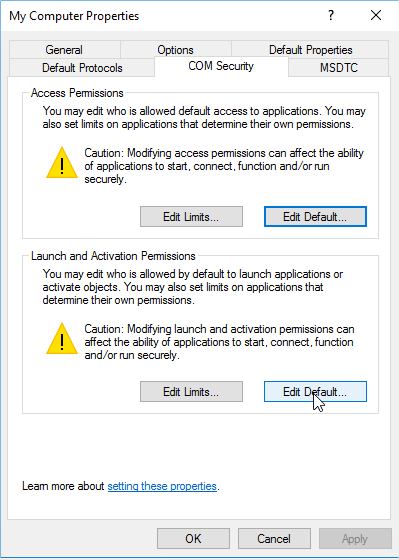
3. Right-click My Computer and select Properties.

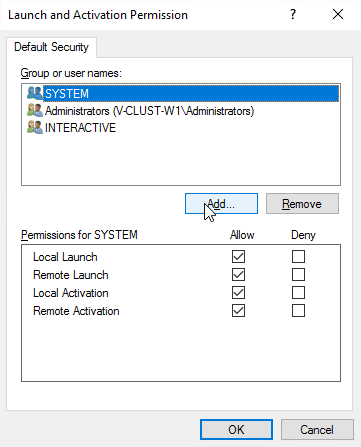
4. In the COM Security tab, in the Launch and Activation Permissions pane, click Edit Default:
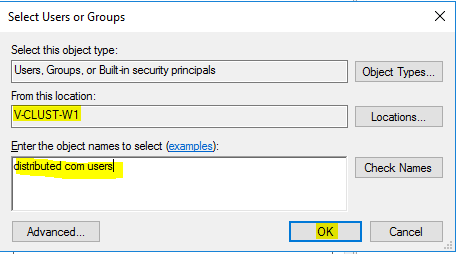
5. Click Add:
6. Add the local « Distributed COM Users » group and click OK:
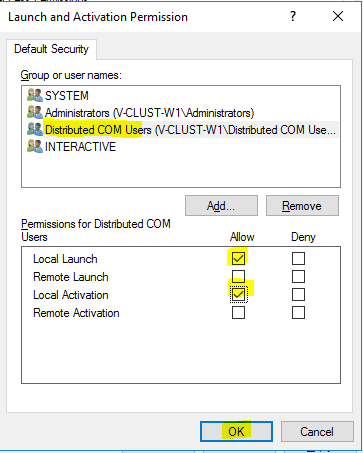
7. Grant it Local Launch and Local Activation, and click OK to validate:
8. Close the properties, and the Component Services feature.
Create folders
On this specific deployment, we only have a C drive available, so we will use the default installation folders for the web components, and the Mega binaries.
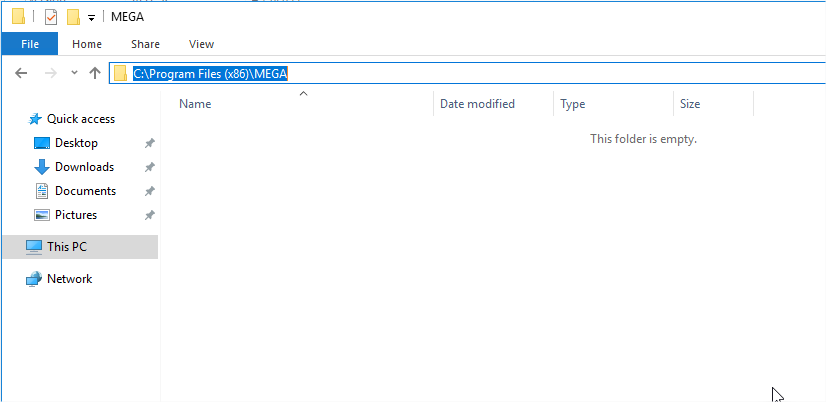
To save time later on, we create on all servers except the RDBMS server, the “C:\Program Files (x86)\MEGA” folder:
Then, on the RDBMS server, the folders that we need to create are those that will be transformed to shared folders. The three folders are:
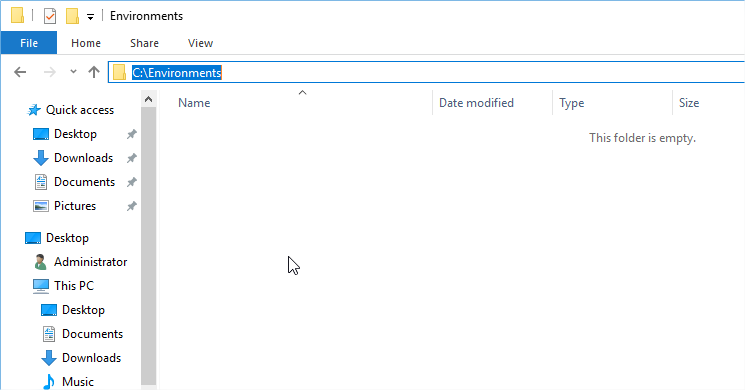
• “C:\Environments” for the environments folders:
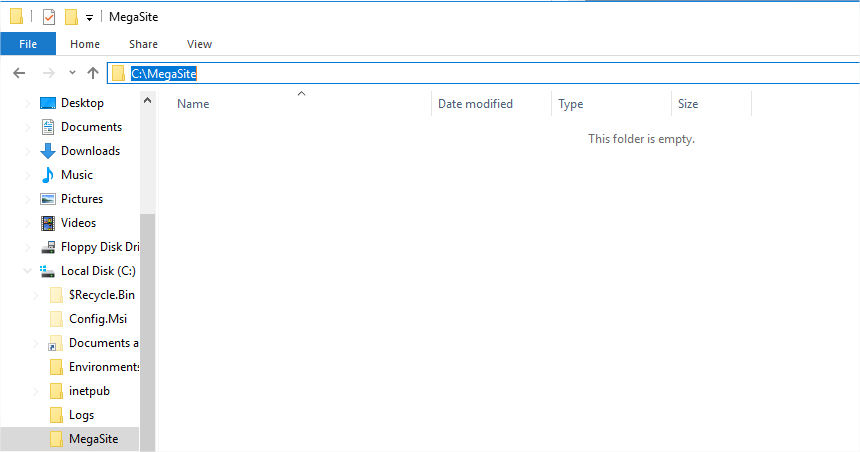
• “C:\MegaSite” to host the clustered configuration file:
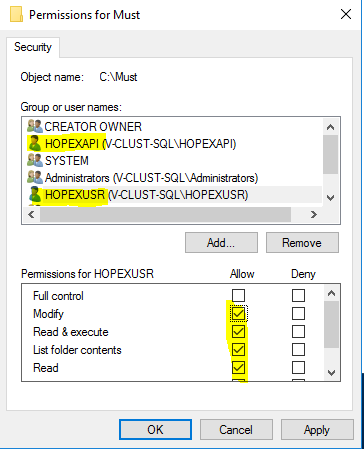
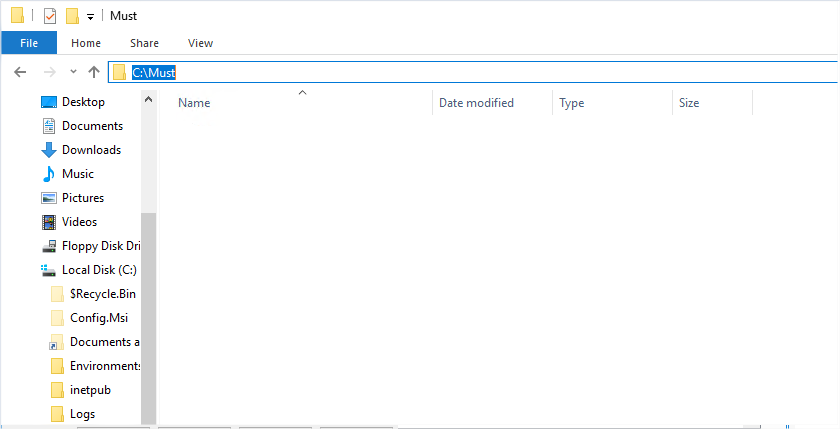
• “C:\Must” that will host the license file:
Give rights on the proper folder
Web/Application Servers
The local “IIS_IUSRS” group needs to have read/write rights on the older that will host the Hopex website and the Mega binaries.
1. Start with the “C:\Program Files (x86)\MEGA” folder:
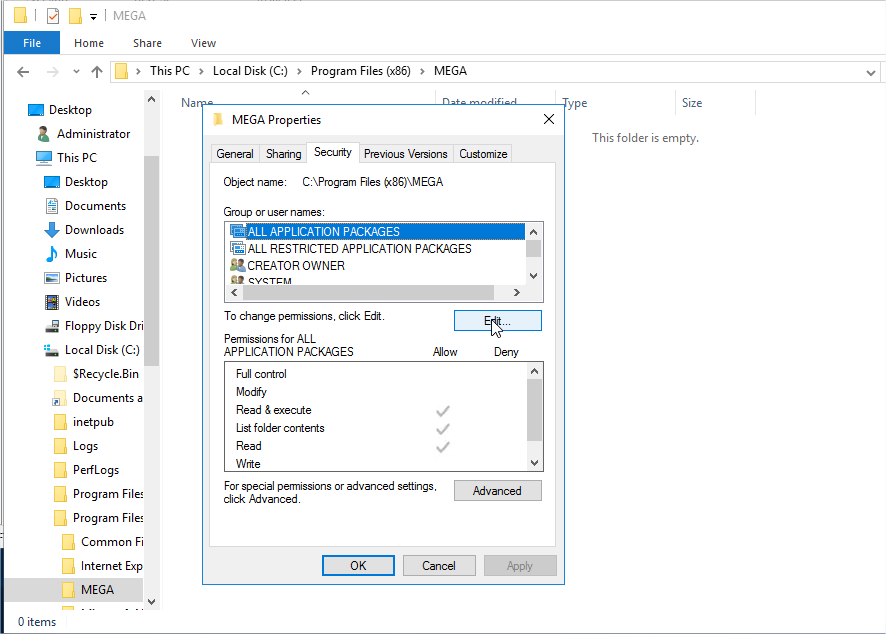
2. Click Add:
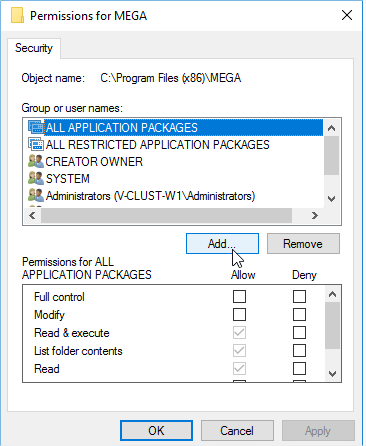
3. Add:
- the local “IIS_IUSRS” group:
- with “Read & Execute” and “Modify” rights:

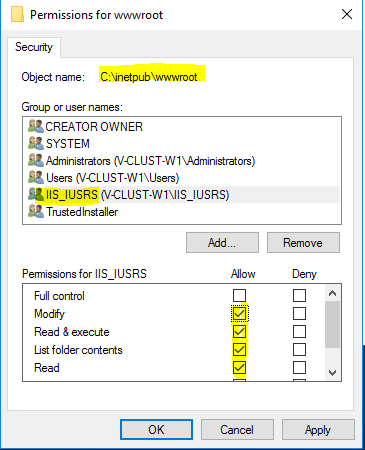
4. Same thing on “C:\inetpub\wwwroot”. By default, the group already has read access on the folder. Add the “Modify” right:
RDBMS Server
Grant the local users HOPEXUSR and HOPEXAPI read/write rights on three folders:
• “C:\Environments”:
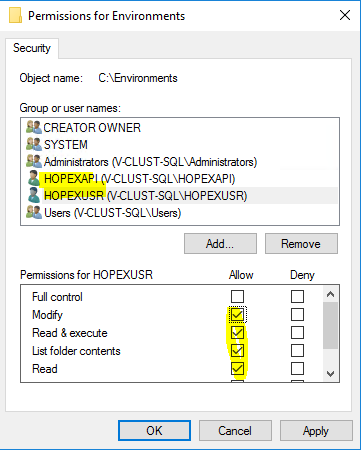
• “C:\MegaSite”:
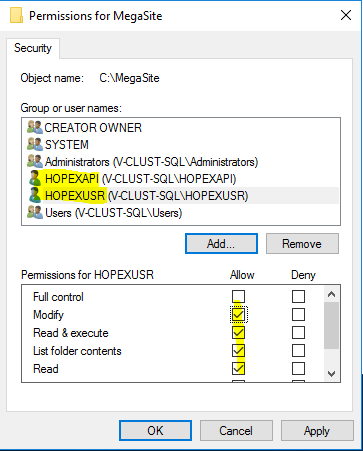
• “C:\Must”: