Backup/Restore of SQL Server databases
Backup and file transfer
1. Connect to the server hosting the source database.
Example: SQ100401.
2. Launch Microsoft SQL Server Management Studio.
If possible, connect with a Windows user that will have been granted sysadmin rights on the instance. Otherwise, you might encounter issues when creating the backup file to a specific location, or later, when you need to restore the database on the target instance.
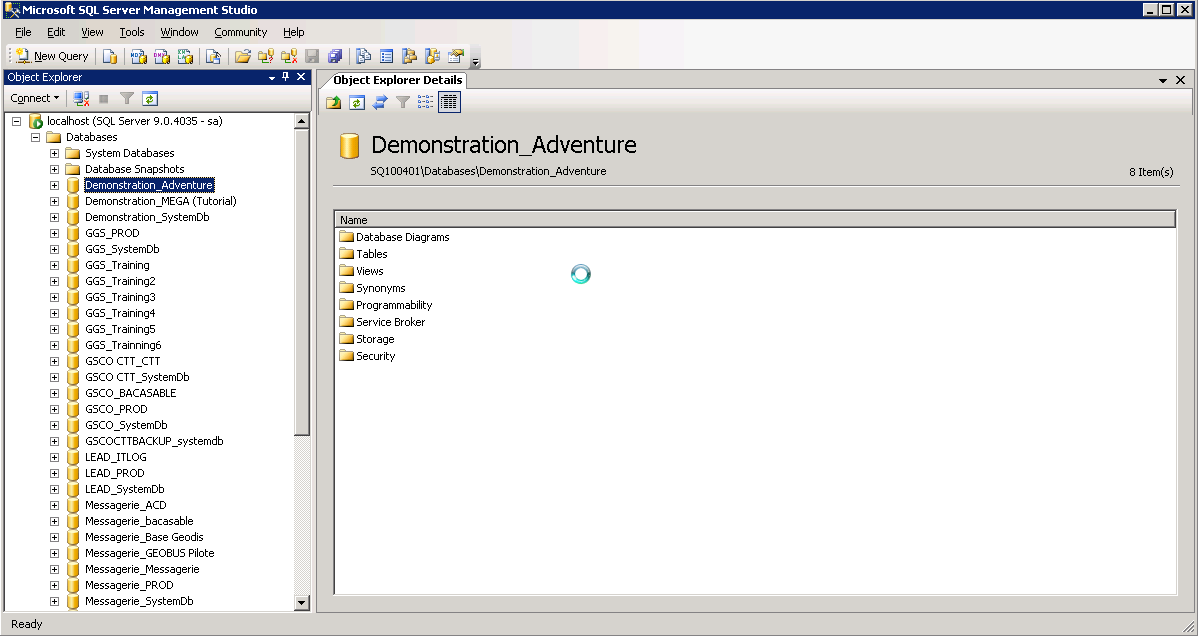
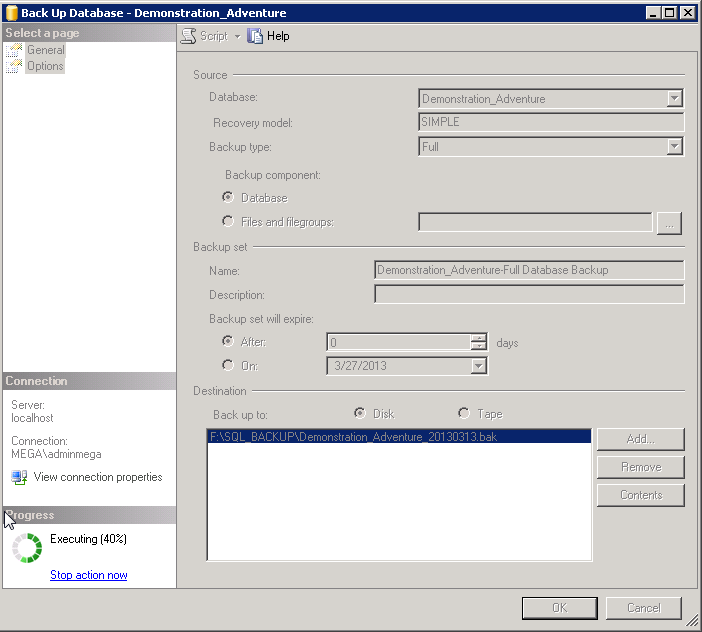
3. To make a backup of the source database (for example, Demonstration_Adventure), right-click the database and select Tasks > Back Up.
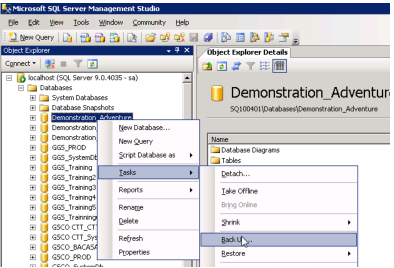
The Back Up Database window appears.

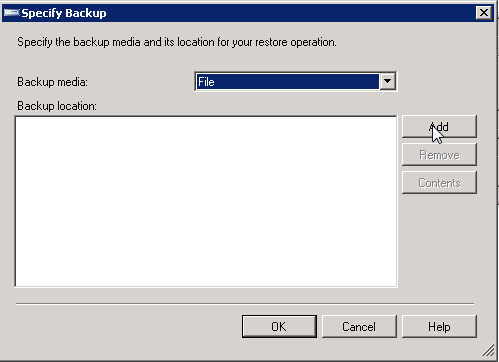
4. In the right pane, in the Destination pane, make sure that the destination list is empty. If it isn't, select each line and click Remove. Once it is empty, click Add.
5. In the Select BackUp Destination, click  .
.
.
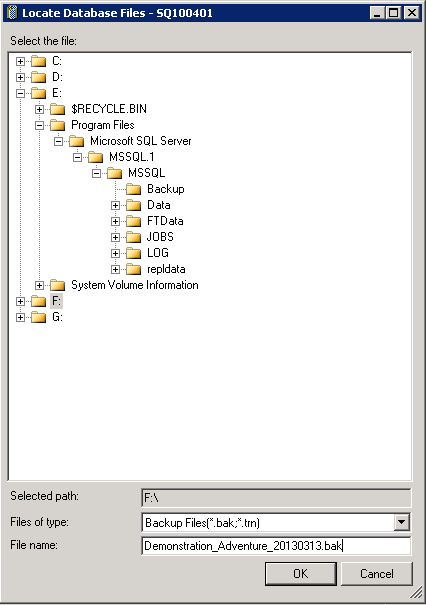
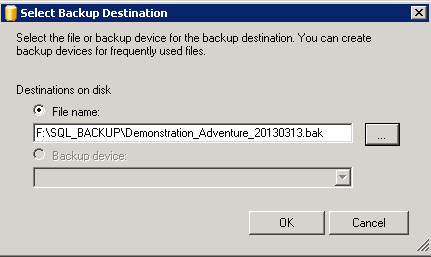
6. Choose a location where you know that the user you authenticated with, has rights to write on. In this example in « F:\SQL_BACKUP » of the F drive, and give the name of the backup file to create (here Demonstration_Adventure_20130313.bak).
Please note that the known format of a full backup in SQL Server is .BAK files. You have to explicitely put it in the file name, otherwise it will not have any format.
7. Click OK.
8. Click OK.

9. Click OK and check the progress of the restore by looking at the left-bottom section of this window (here, we are 40% done with the restore).
10. Check that the database was fully restored, and click OK.

11. Transfer the backup file created on the SQL Server server, to the target server (for example, here it is SQL002601).
In this example, the drive hosting the databases on the target instance, as well as the daily backups, is the J drive.
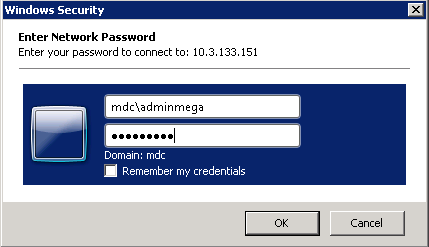
We used its IP address instead of its name, as we were working over two different domains, that did not see each other.
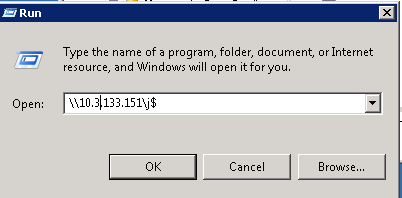
This is also the reason why we had to authenticate with another user.
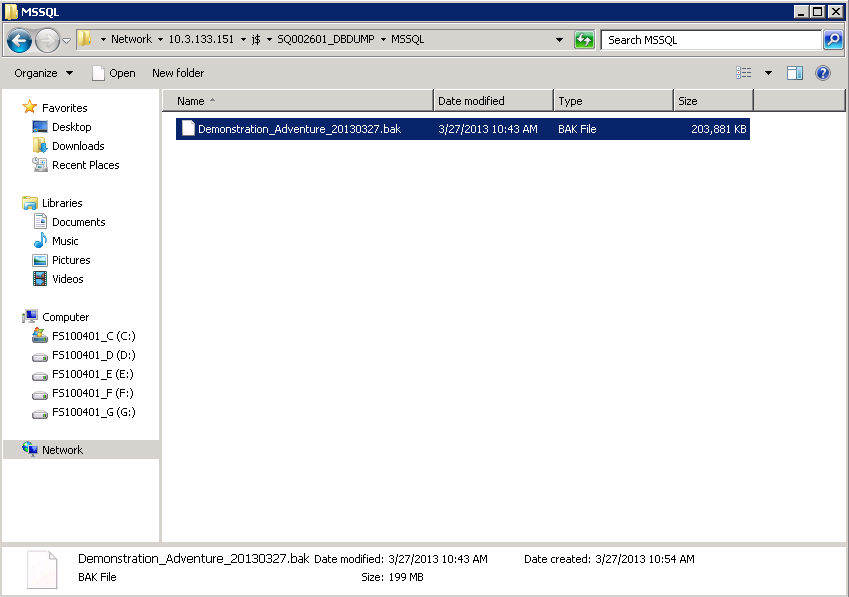
12. Go to the subfolder hosting the daily backups.
(for example: « SQ002601_DBDUMP\MSSQL » on the J drive)
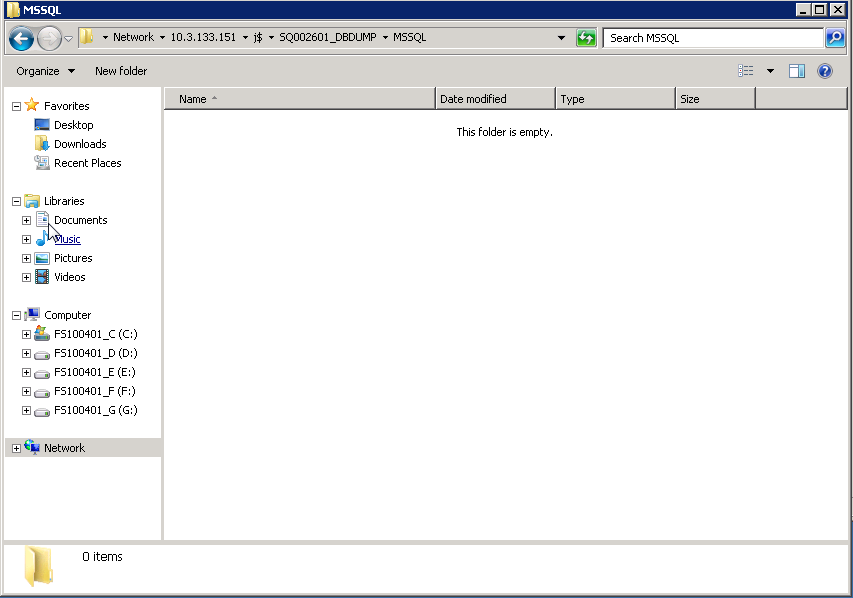
13. Copy the file from the source folder to this one.
Restore
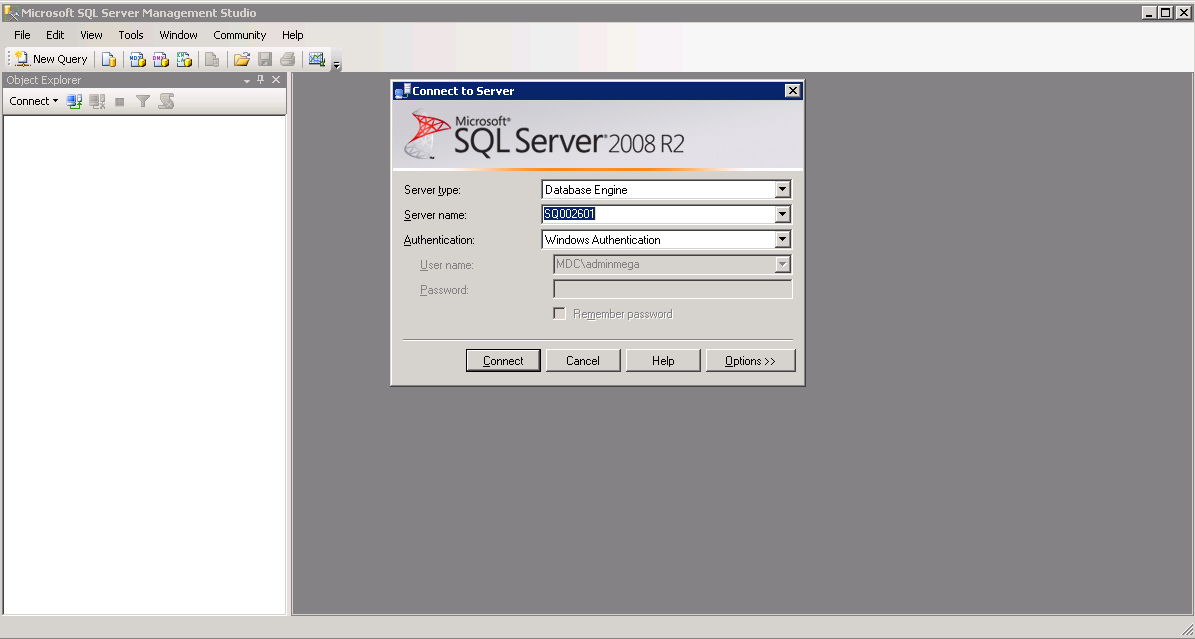
1. Connect to the target SQL Server server (example: SQL002601).
2. Launch the Management Studio, and connect to the instance using, if possible, a Windows account that is both sysadmin, and has access rights to the folder where the backup file was copied (example: mdc\adminmega).
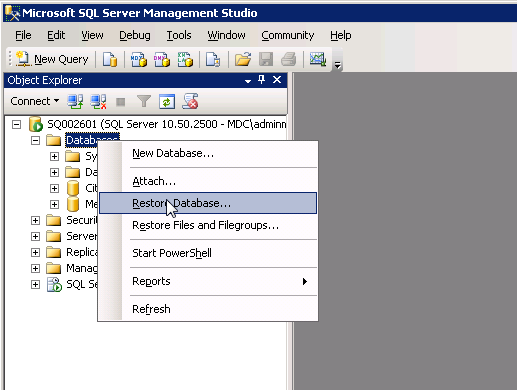
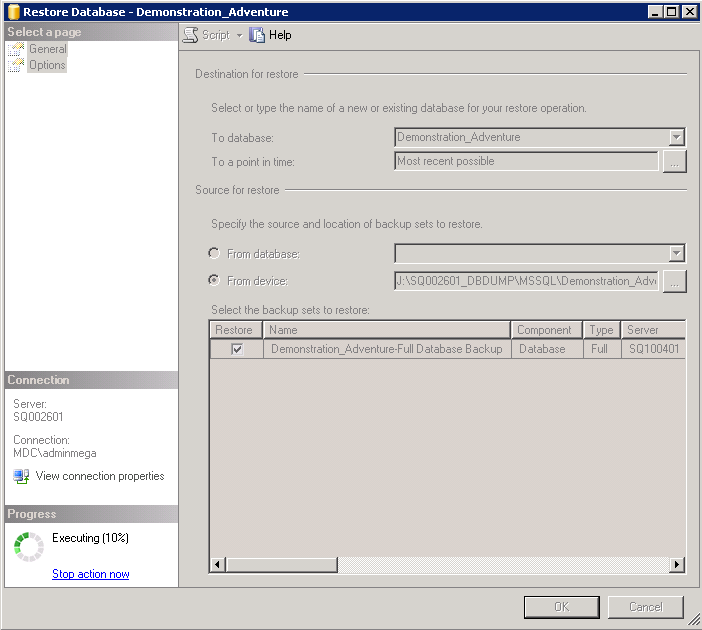
3. Right-click Databases, and select Restore Database.
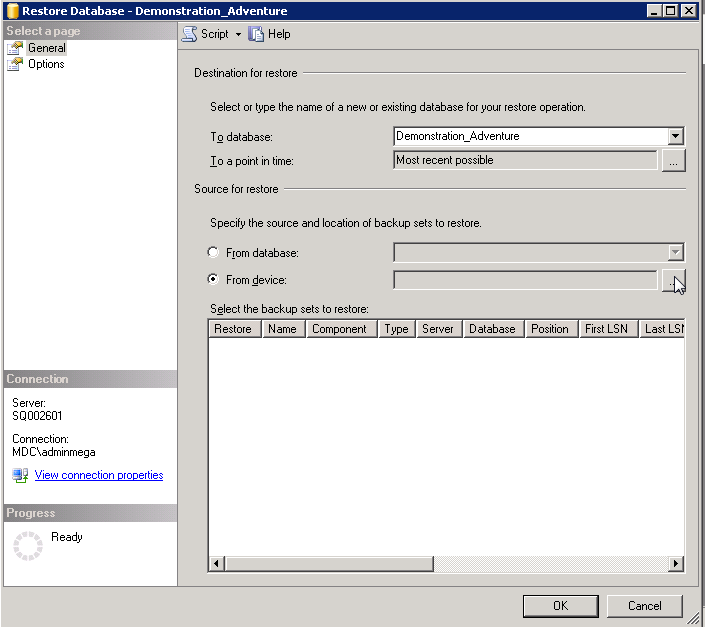
4. From the General page, in the Destination for restore pane, in the To database field, provide the name of the database that will be created (example: Demonstration_Adventure).
5. In the Source for restore pane, select From Device option and click  .
.
.
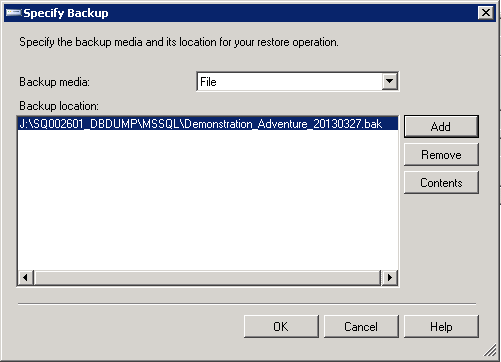
6. Click Add.
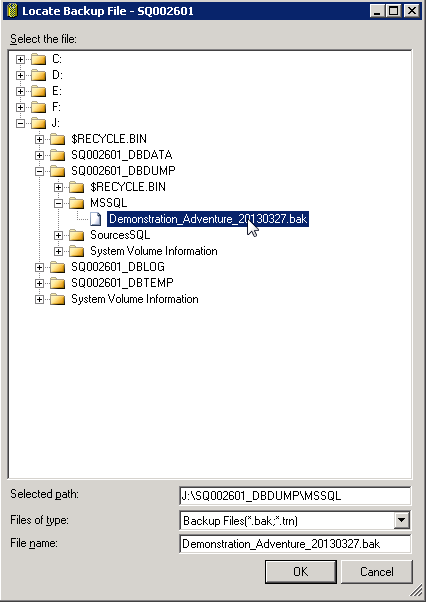
7. Check that we are correctly put in the folder « J:\SQ002601_DBDUMP\MSSQL».
Otherwise, browse the folders to get to it. Then, click the .bak file that you just copied on the server (for example: « Demonstration_Adventure_20130327.bak »).
Check that the « File Name » field is correctly filled, and click OK.
8. Click OK.
9. In the Source for restore pane, in the Select the backup sets to restore table select Restore at the beginning of the line.
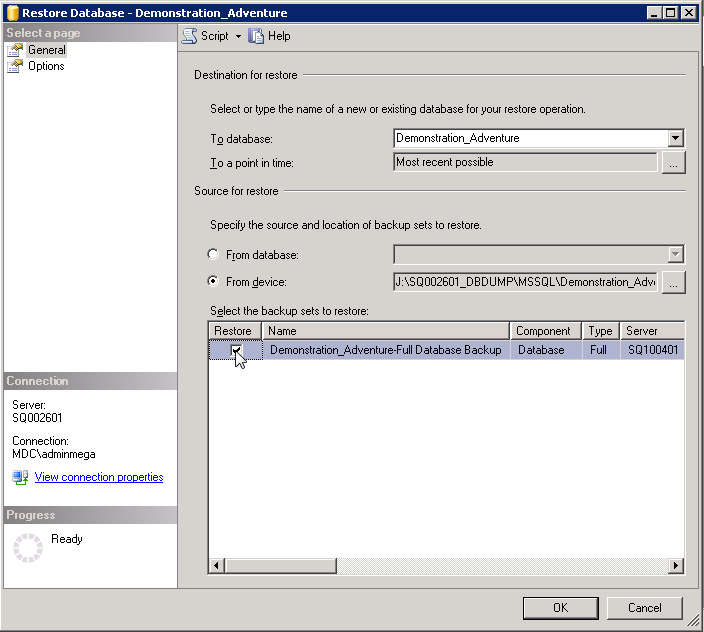
10. click OK.
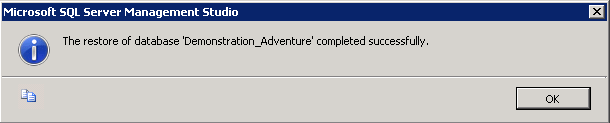
11. Once the restore completed successfully, click OK.
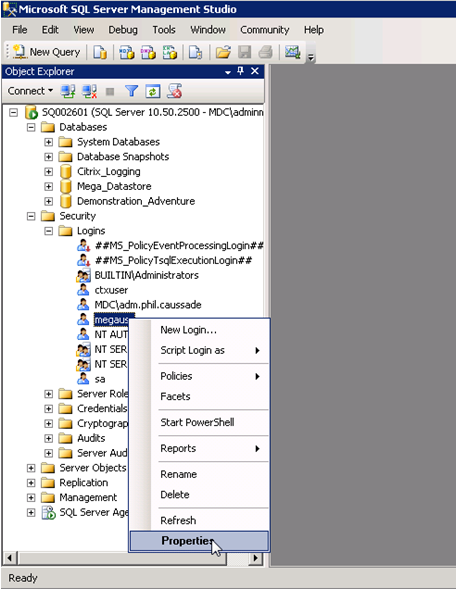
12. In ManagementStudio, expand Security folder, and Logins folder.
13. Right-click the account that you will use to connect the application to SQL Server (for example: login « megausr ») and select Properties.
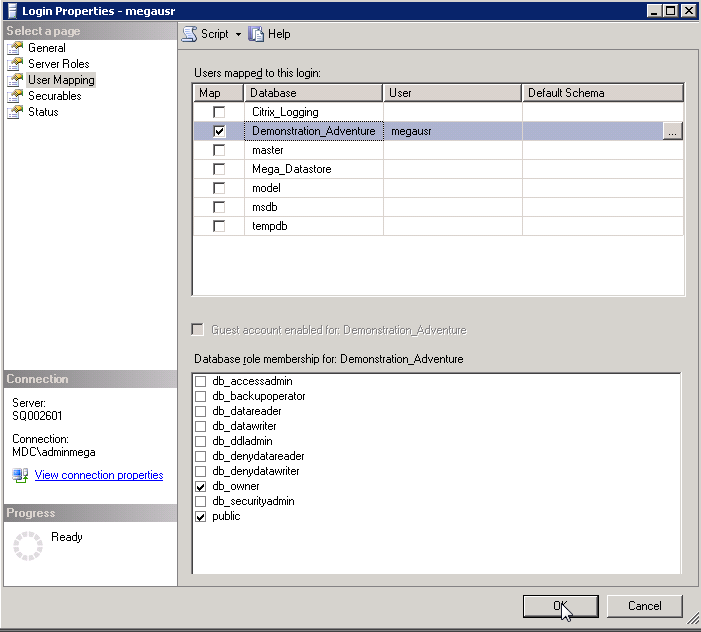
14. In the Login Properties - <login> window, select User Mapping page, and select the Map corresponding to the database lin you just restored.
15. In the Database role membering for: <database name> pane, select « db_owner ».
16. Click OK.
IF you moved from a version of SQL Server to a more recent one, you have to upgrade the compatibility level of your database.
In this example, the source database came from an SQL Server 2005 instance, and was restore on an SQL Server 2008 instance.
If you stay on the same version, go directly to the next section.
To upgrade:
1. Right-click the database and select Properties.

2. Select the Options page, in the Compatibility level drop down list select the appropriate version (for example « SQL Server 2008 (100) »).
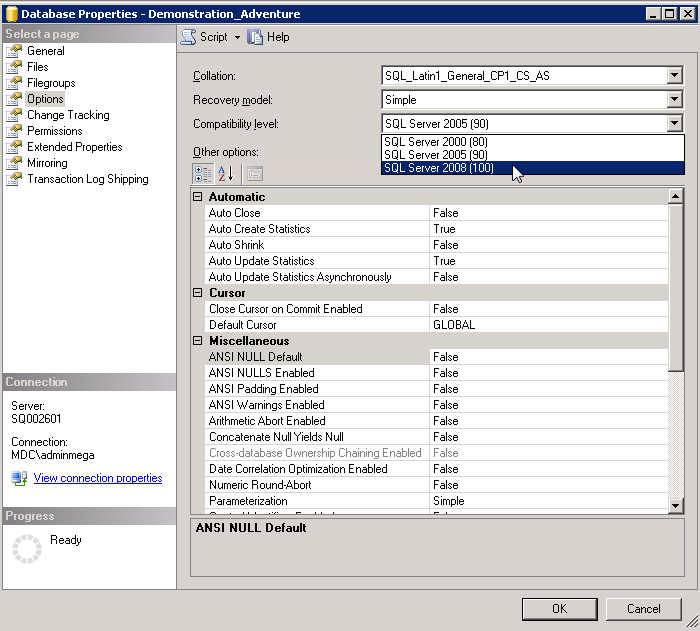
3. Click OK.
When duplicating a repository in an environment – Expert mode
This section is only if you are very confident about your HOPEX and RDBMS skills, since you have to modify data directly in some tables of your database.
In case you want, within an environment, duplicate a specific repository, you need to tweak the data manually in two tables of your restored database.
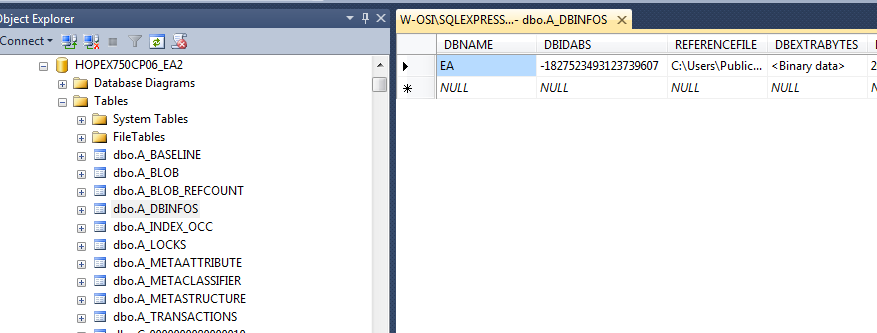
For example: you want to duplicate repository “EA” to have a repository “EA2” in the environment “HOPEX750CP06”.
1. You have restored database EA twice, in databases “HOPEX750CP06_EA” and “HOPEX750CP06_EA2”.
2. Using SQL Server Management Studio, open database “HOPEX750CP06_EA2”, and edit the table “dbo.A_DBINFOS”:
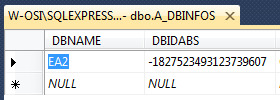
3. Modify the DBNAME field of that line, to enter the name of your duplicate, i.e. how you want it to appear in your environment (for example: here, “EA2”).
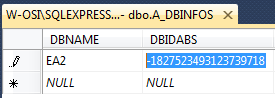
4. Modify the DBIDABS field that is the unique identifier of the repository within your environment.
You need to change its value, and make sure that it is unique for all other repositories, so you need to check in all schemas. Make sure that when you change one or two characters, it will create a string that is not used by any other (for example: here, we modified the last 3 digits from “ 607” to “718”).
5. Save your updates and close the table.