Creating an ArchiMate® Relationship
ArchiMate® relationships can be created using a Link button available in the toolbar of any diagram view or using the nesting mechanism.
When creating a relationship, a dialog box displays the list of possible relationship types available between the two elements in the current viewpoint.
Creating an ArchiMate® Relationship using the toolbar
To create an ArchiMate® Relationship using a diagram toolbar, you can click the button corresponding a relationship type or click the Link button.
To create an ArchiMate® Relationship using the Link button:
1. In the insert toolbar, click the Link button  .
.
. 2. Click an ArchiMate® Element and, holding down the mouse button, drag the cursor to the ArchiMate® Element to be connected and release the mouse button.
The two ArchiMate® Elements are highlighted, and a dotted line indicates the path that will be taken by the graphic link.
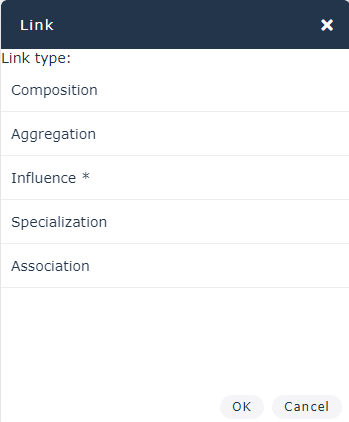
3. In the Link a dialog box, select the relationship type you want to create.
Creating an ArchiMate® Relationship using the nesting mechanism
To use the HOPEX for the ArchiMate Framework nesting mechanism:
1. Select an ArchiMate® Element in the diagram and move in within the frame of the ArchiMate® Element to be connected.
2. In the Link a dialog box, select the relationship type you want to create.
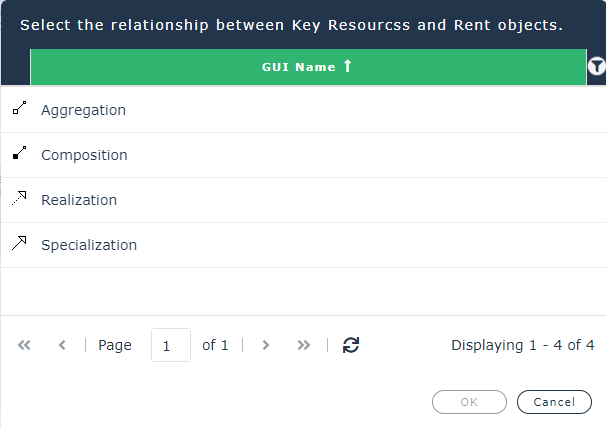
3. Click OK.
The first ArchiMate® Element appears in the second ArchiMate® Element frame and the relationship is created.