HOPEX Customizing Desktop Description
By default, the HOPEX Customizing desktop (Windows Front-End) includes the following elements:
You can also display the following information:
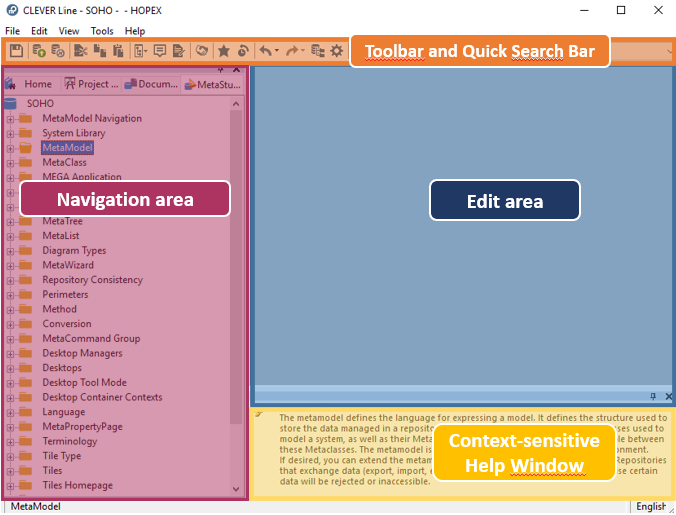
Toolbar and Quick Search Bar
The toolbar enables fast access to:
• main objects.
• certain actions available from the desktop.

The search bar enables quick searches in the entire repository.
The following table describes the toolbar buttons.
Icon | Definition | Description |
|---|---|---|
 | Save All | Saves all your actions in your desktop Shortcut of File > Save All |
 | Dispatch | Dispatches your work in the HOPEX repository. This action allows other users to access your work Shortcut of File > Dispatch |
 | Refresh | Updates your desktop with the latest modifications made by other repository users Shortcut of File > Refresh |
 | Cut | Cuts an object in the navigation or edit areas Shortcut of Edit > Cut |
 | Copy | Copies an object in the navigation or edit areas Shortcut of Edit > Copy |
 | Paste | Pastes an object in the edit area Shortcut of Edit > Paste |
 | Navigation window | Opens a new navigation window Shortcut of View > Navigation Windows See Navigation Area. |
 | Properties | Opens the properties window of the selected object Shortcut of View > Edit Windows > Properties See Properties Window. |
 | Comment | Opens the comment window in the edit area Shortcut of View > Edit Windows > Comment See Comment Window. |
 | Favorites | Adds the Favorites tab in the navigation area Shortcut of View > Favorites See Managing Favorites. |
 | Deep history | Adds the History tab of actions executed in HOPEX in the navigation area Shortcut of View > History See Using the History. |
 | Undo | Cancels chronologically the latest actions executed. You can delete actions singly or several at one time Shortcut of Edit > Undo |
 | Redo | Restores chronologically the latest actions canceled. You can redo actions singly or several at one time Shortcut of Edit > Redo |
 | Explore | Opens the explore window Shortcut of Diagram > Explore See The Explorer. |
 | Options | Opens the options window of the current user Shortcut of Tools > Options |
 | Query | Open the advanced query tool. Shortcut of Tools > Query |
Navigation Area
The navigation area contains tabs that allow you to navigate in the repository and easily access objects.
The navigation area comprises:
• an active navigation window, including the tree used to access repository objects.
• tabs, which allow navigation in the navigation area windows.
• a title bar, which enables organization of the display of windows in the desktop.

At access to the repository in read-only, a padlock alongside an object indicates that it cannot be modified.
Edit Area
The edit area is mainly used to open and edit diagrams.
The start page in the edit area allows you to:
• build your diagrams using the diagram creation wizard.
• create your projects based on methods proposed by HOPEX.
• rapidly access the different HOPEX modules.
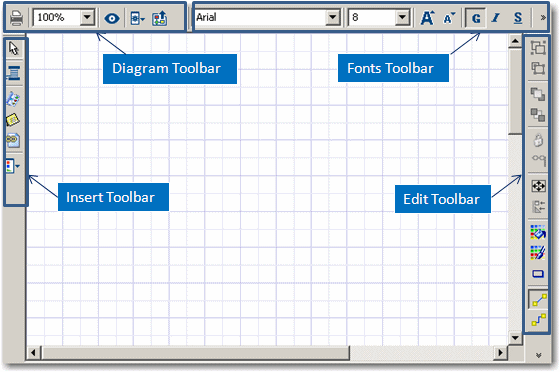
Here is the diagram editor:
Help Window
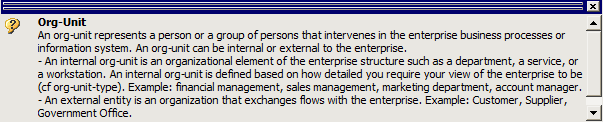
The context-sensitive help window provides basic information on each concept or repository object type selected.
To display the context-sensitive help window, in the HOPEX Windows Front-End menu bar, select View > Help Window.
Properties Window
The properties window presents all the information relating to the selected object. It allows you to consult and modify information on this object.
To display the properties window:
or select View > Edit Windows > Properties.So, when you select an object in a navigation window, in a diagram or in a query result dialog box, you can easily modify its properties in this window docked in the workspace, then move on to those of another object.
This saves you having to activate the pop-up menu of the object each time you wish to access its properties.
For more details on object properties, see Defining Object Properties.
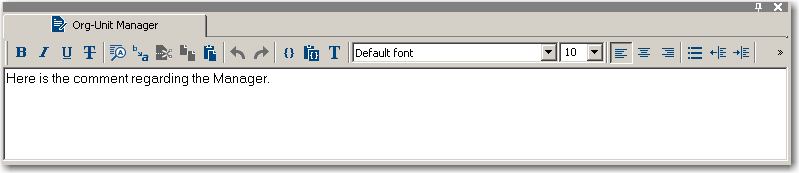
Comment Window
The comment window enables specification of information on the selected object.
To display the comment window:
 or select View > Edit Windows > Comment.
When you click an object in a navigation window, in a diagram, or in a query result dialog box, the comment of the selected (active) object appears in this window. You can therefore easily modify the comment of the object then pass to that of another object.
For more details on how to enter the comment of an object, see Naming Objects.