Creating a Collaborative Workspace
You can create a collaborative workspace:
• when you have created or modified one or several objects in your private workspace
You want to share your work with other users before dispatching it in the repository.
• as soon as you create a private workspace
You want to directly share your work with other users.
To create a collaborative workspace:
1. In your HOPEX desktop, click Main menu > Collaborative Workspace > New Workspace.
The collaborative workspace creation window appears.
You are the Owner of this collaborative workspace.
2. (Optional) In the Comment pane, you can enter information regarding the creation of this collaborative workspace.
For example enter information regarding the objective of this collaborative work.
3. Click Next.
The window to add participants appears.
4. Click Connect  to define users with whom you want to share your private workspace.
to define users with whom you want to share your private workspace.The add persons window appears.
5. Select the person (use [CTRL] key to select several persons) with whom you want to share your work, then click Connect.
The person or persons are added to the list of collaborative workspace participants with the Viewer access level.
6. (If needed) To change the access level of a participant, in the Access Level field of the person, select another access level.
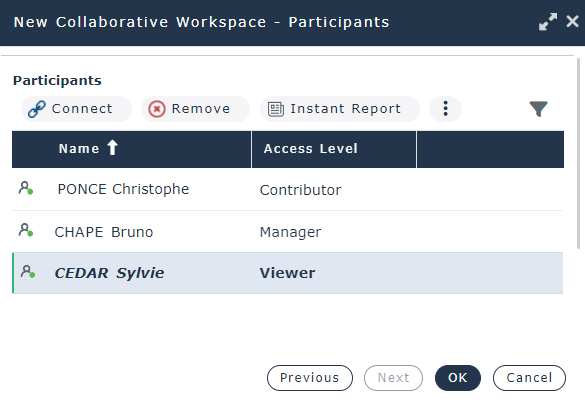
7. Click OK.
If you have already created or modified objects in your private workspace, before creating the collaborative workspace, these objects are now part of your collaborative workspace objects. They can be modified by the collaborative workspace participants and are locked for the other users.
All of the participants can start working: create objects and/or modify any unlock objects of the repository.