Post Installation Tasks
This section describes the tasks you need to carry out after duplicating the HOPEX data that were stored in the SQL Server database.
The first part details what to do to reattach to the set of duplicated data from HOPEX point of view.
As all is not stored inside the SQL Server, you need to copy from the original HOPEX environment to the new HOPEX environment pointing at the duplicate SQL Server data.
Create/Attach an environment in HOPEX
Creating an environment
To create an environment:
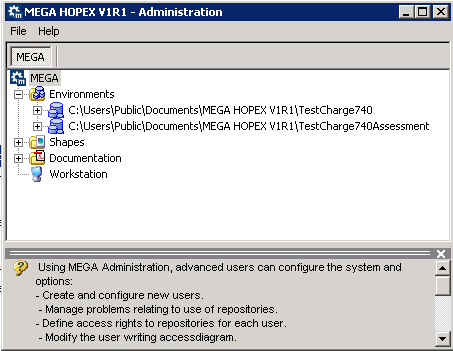
1. Connect to HOPEX Administration.
2. In the navigation tree, right-click Environments and select New.
3. Enter the Name of the new environment.
The environment name must respect Windows folder naming constraints.
It is the beginning of the name of the system database. It should be called <environment>_SystemDb, where <environment is the string that you enter in the HOPEX admin tool. In this example, the environment is called “GGS“.
4. (Optional) Location of the environment is specified by default; you can modify it if necessary using the Browse button.
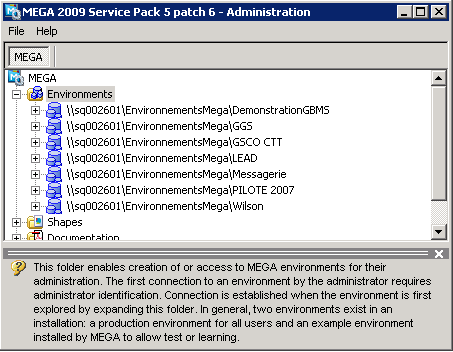
In this example, we created a share on the server hosting the SQL Server instance, that will host the environment files, and that is called \\sq002601\EnvironnementsMega.
The RDBMS repository server type for the new environment is already selected: SQL Server.
5. Select Restore which allows to connect to an existing SQL Server database on an instance.
6. Click OK.
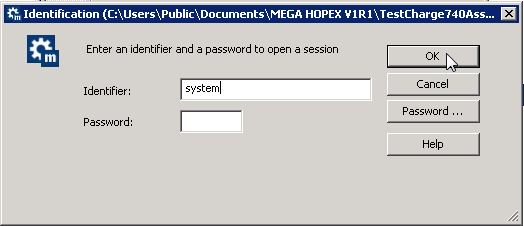
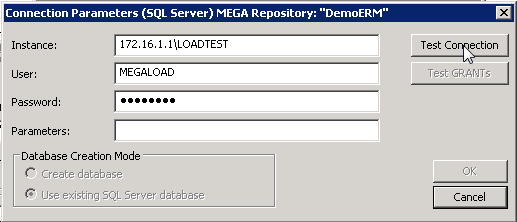
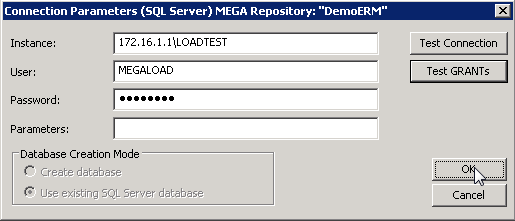
7. Enter the connection parameters for the Instance.
Do not enter anything in the Parameters field.
Note:
The syntax for a named instance on SQL Server is: server_name\instance_name. In this example, the instance is the default one, without a specific name. That is why we only provide the name of the server where the instance is running.
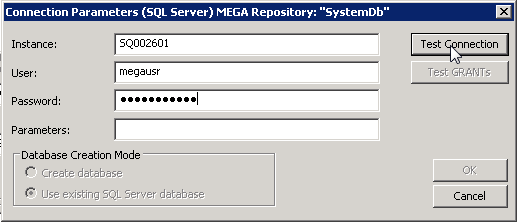
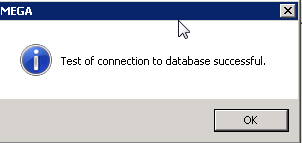
8. Click Test Connection.
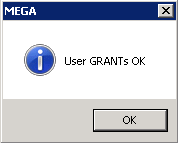
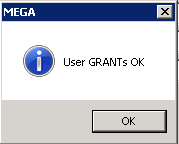
9. Click Test GRANTS.
10. Click OK.
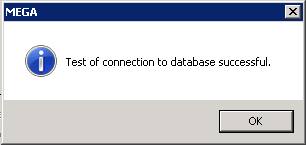
A popup indicating that the environment was successfully created appears, and the new environment is displayed in the list (for example here « \\sql002601\EnvironmentsMega\GGS).
Attaching the working database(s) to the environment
Once your environment is created, you still have to attach the working database(s) to this environment.
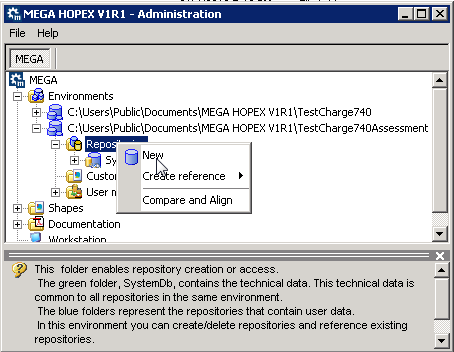
In Repositories you only have the SystemDb.
Now you have to connect to the environment, and add the HOPEX repositories. The first time you connect, you receive warning message(s) telling you that database “X” (“X” being the name of the repository that existed in the source environment, and most likely one of the repositories you are trying to attach) is not referenced.
This is because the SystemDb database contains some information about the working repositories. You can discard this warning, and continue.
To attach a database, previously restored in SQL Server Management Studio:
1. Connect to HOPEX Administration.
2. Connect to the wanted environment (for example “TestEnv”, with System user.
3. Right-click Repositories and select New.
4. Enter the Name of the Repository (in this example “DemoERM”)
In SQL Server, you should have an existing database called “TestEnv_ DemoERM”, with the native SQL Server user db_owner of the database.
5. In the Repository Server Type pane, select SQL Server.
6. Select Restore.
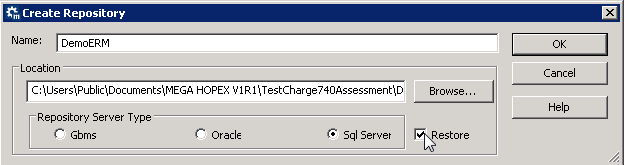
7. Click OK.
8. The connection parameters are already set. Check that they are correct.
9. Click Test Connection.
10. Click Test GRANTs.
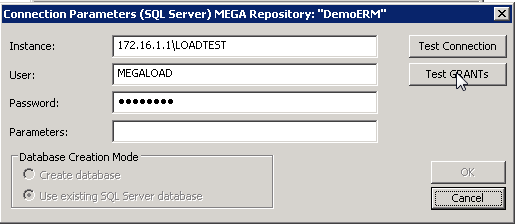
11. Click OK to create the repository.

The “DemoERM” repository appears in the Repositories list.

Copy the documents from source to target
You have to copy the documents from source to target for each repository.
The Word/RTF documents
1. Connect to the source server.
2. Go to the folder hosting the environment (for example environment “GSCO CTT”).
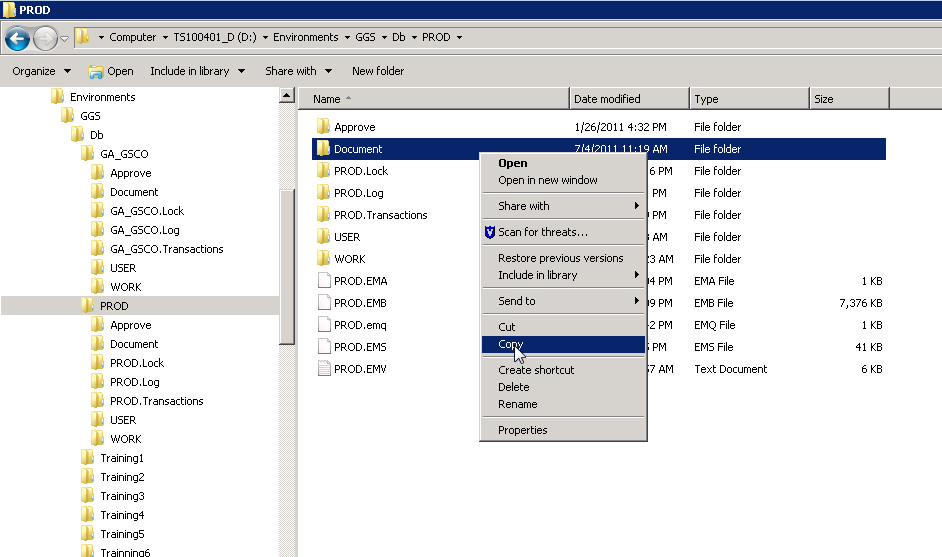
3. Go to the Db folder, and in the sub-folder of each repository you migrated (in this example « D:\Environments\GGS\Db\PROD » contains the data of the repository called “CTFTM_OLD” ).

4. From the source server, open an explorer on the target server, in the same folder.
In this example, the environments on the target server are hosted on the server with 10.3.133.151 IP address, and on that server the environments are located on the F drive in the “EnvironnementsMega” folder, so that the syntax is:
\\10.3.133.151\f$\EnvironnementsMega\
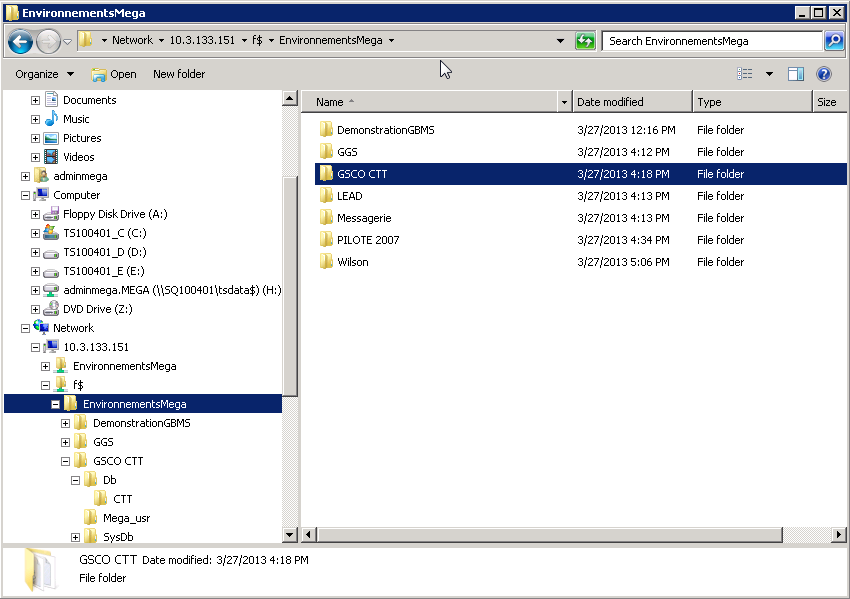
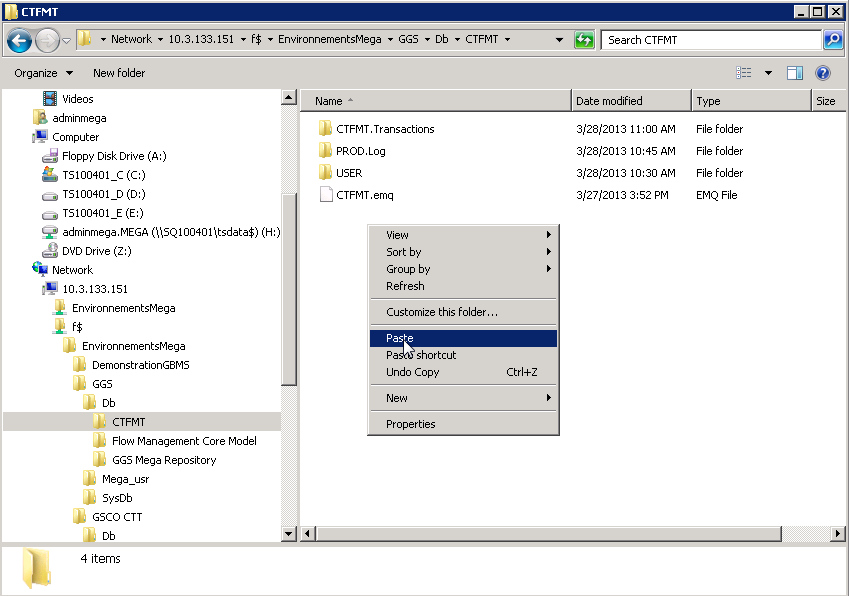
5. Go to the same sub-folder « …\GGS\Db\CTFMT ».
Note: If you are wondering why it is not the same environment name and the same repository name, that is because in this example, this repository was taken from one environment to another, with a rename.
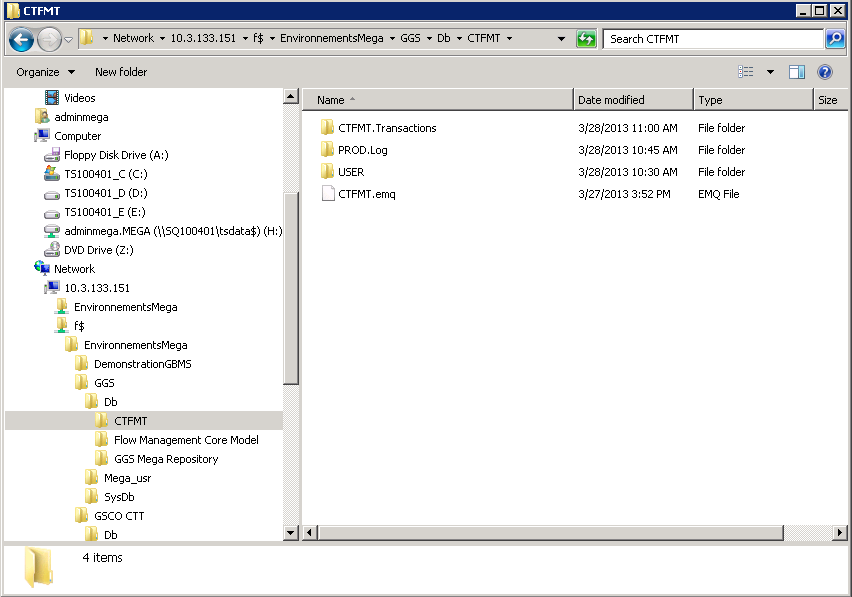
6. Right-click the Document folder from the source and select Copy.
7. Paste it on the target (future Production) :
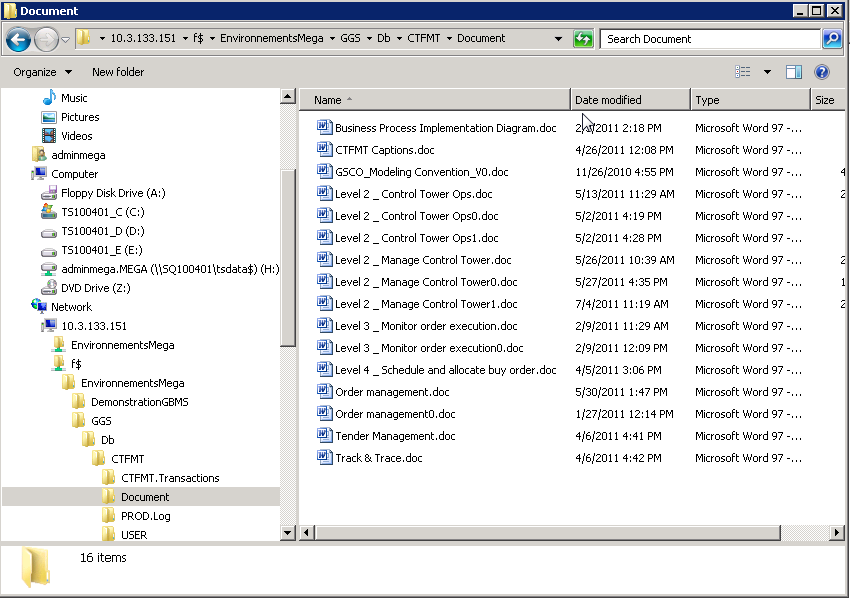
8. Check that the documents are all in the target folder.
The internal documents (.DAT files)
Some documents can also be stored partially inside the SQL Server databases (as references) and partially in .DAT files (generated in the folder of each repository of the migrated environment).
By restoring the SQL Server databases, you already retrieved the references. Now you have to copy a folder from source to target.
1. From the source environment, expand the Db folder and the sub-folder of the database.
In this example, on server vp-ps-hopex, we are looking at environment py aRESTER3 from source to target.the migrated environment).ry name, that is because in tX V1R1\FORRESTER3\Db\GRCxa
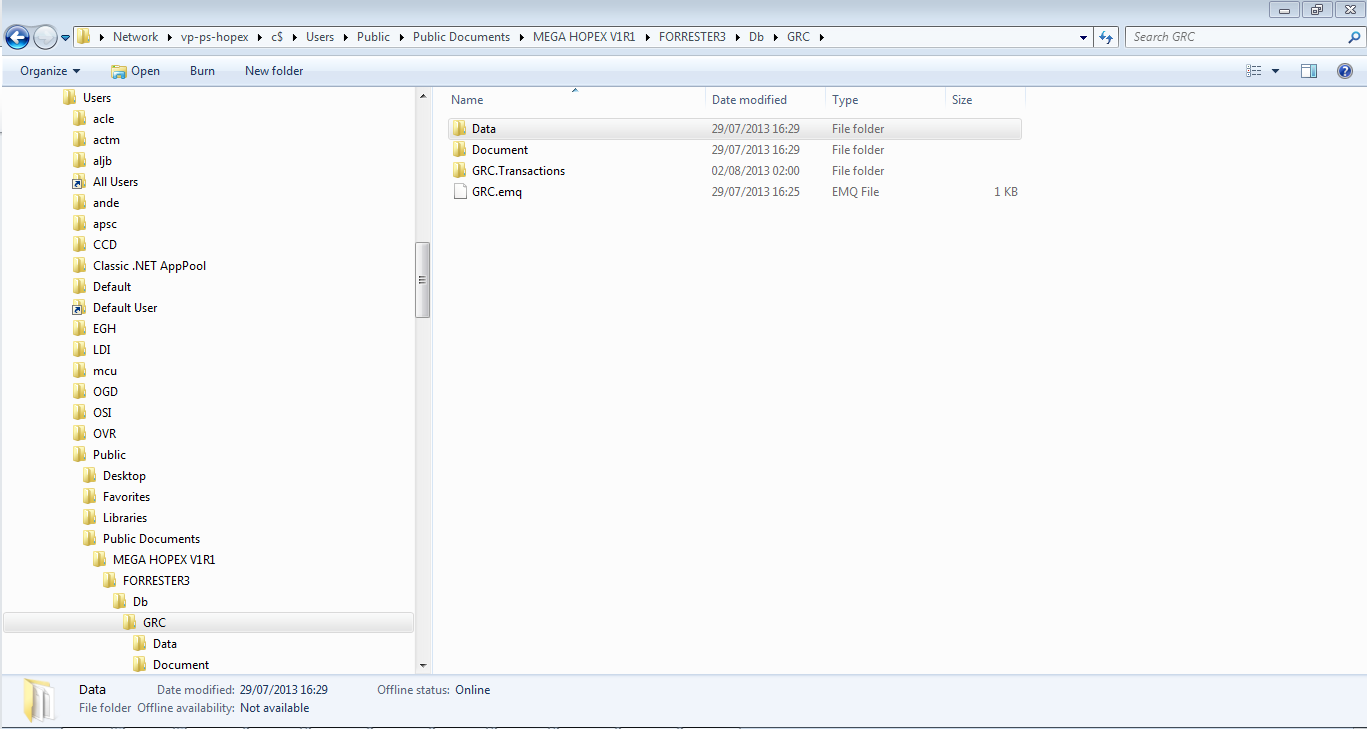
2. Right-click the Data folder and select Copy.
3. Paste it at the same level on the target folder.
Get the parameters of the environment
For each environment, you need to retrieve certain types of configuration included in:
• the MegaEnv.ini file
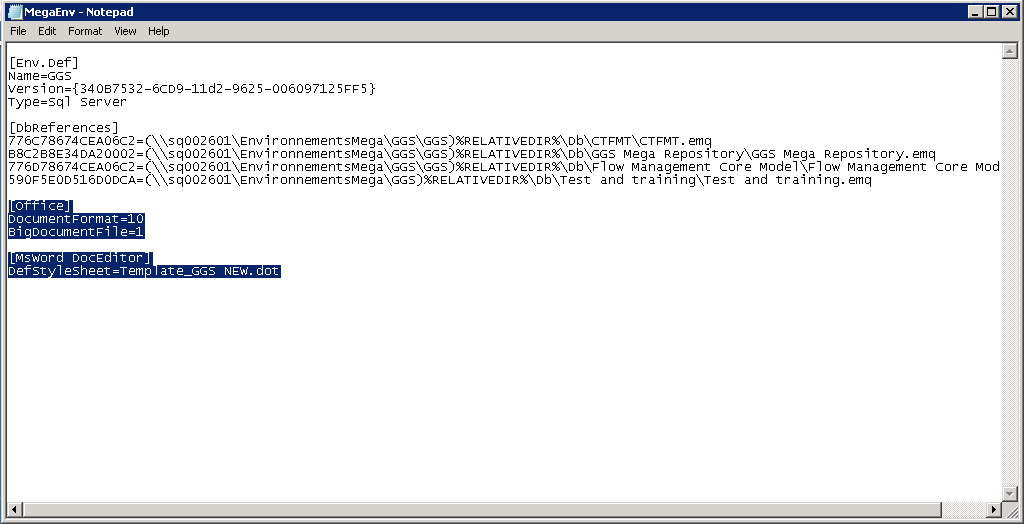
MegaEnv.ini file
The MegaEnv.ini file is located at the root level of each environment (in this example, in the GGS environment folder) on the source server.
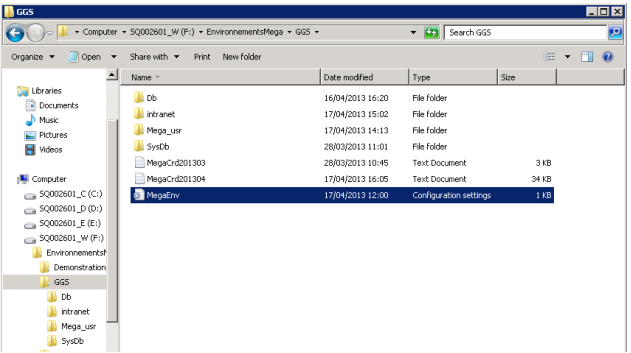
1. Open the MegaEnv.ini file on the source server.
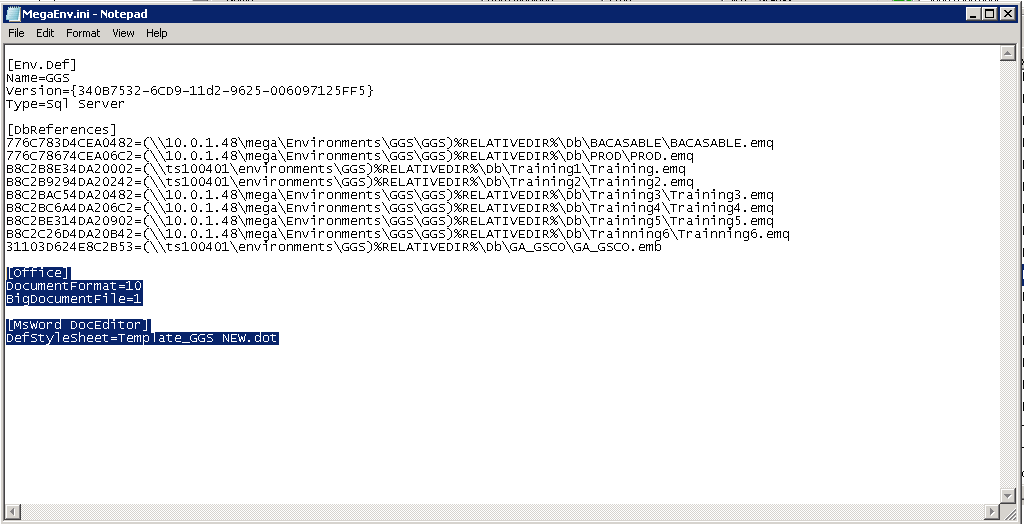
2. Below the [DbReferences] section, you find the environment-specific parameters, like the type of document (DocumentFormat=10 meaning that they were converted from .DOC to .RTF) or the templates used by default.
Copy this specific section.
3. Open the MegaEnv.ini of the target server.
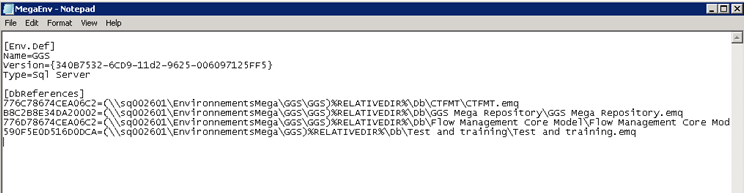
4. Paste this section at the same level in the file and save the document.