2. HOPEX in Microsoft Teams
If this is the first time you use the app to embed HOPEX in Microsoft Teams, go to HOPEX Configuration section and follow the step-by-step instructions to configure the module.
2.1. Adding the App to your Teams (optional)
In your Teams:
1. Open the menu to manage your team.

2. Select the Apps tab.
3. Search for MEGA HOPEX app.

4. Click Add.
2.2. Adding a diagram tab in your Team
|
To add a tab on a channel:
1. Click the plus sign.
2. Select MEGA HOPEX app.
|
 |
|
• URL of your HOPEX server
• API credentials/API Key
4. Click Login.
|
 |
|
5. Select a Diagram:
a) Search for the diagram in the list or enter its name (e.g. Car Repair)
b) Select the diagram.
c) Use the preview to check if it is the diagram you want to share.
d) Click Save to create the tab corresponding to the diagram.
|
 |
2.3. Viewing a HOPEX diagram
On the channel select the diagram you want to see. Every team member can view the shared diagram.
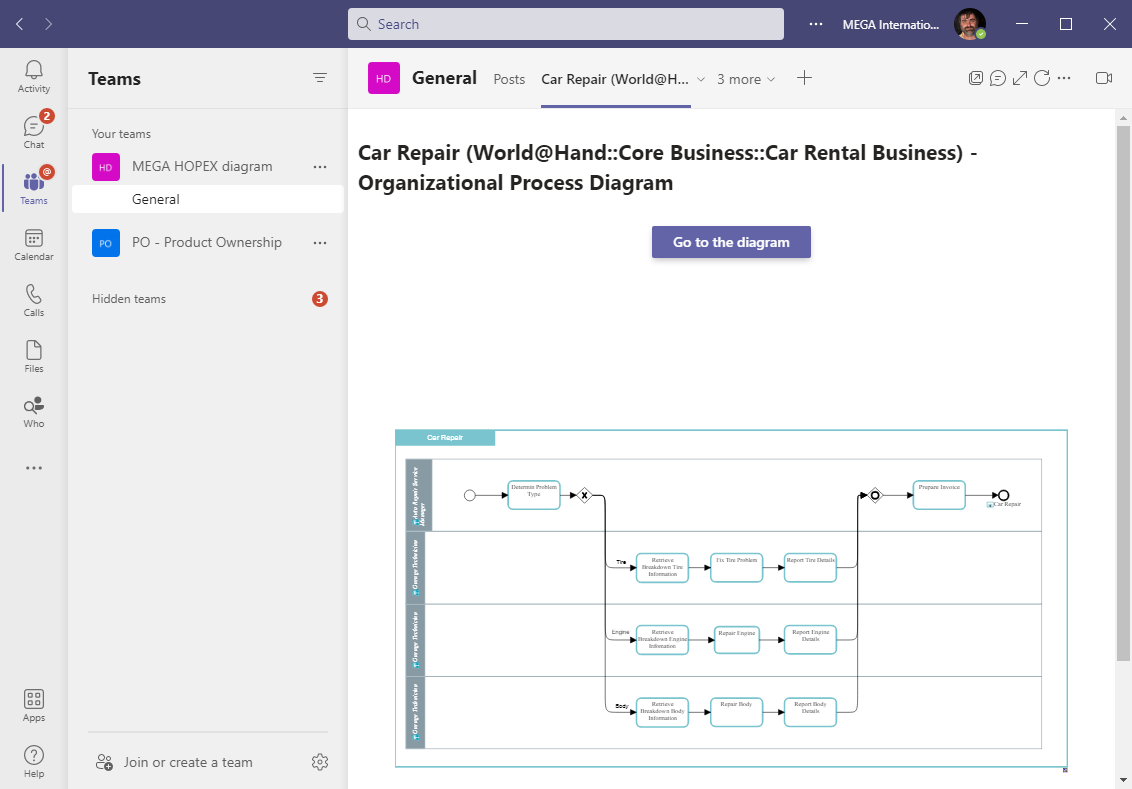
2.4. Editing the HOPEX diagram
To edit the HOPEX diagram:
1. In the channel, select the diagram you want to edit.
2. Click Go to the diagram.
|
A popup appears.
3. Enter your HOPEX credential.
According to your organization, it can be a simple authentication, OpenID Connect, or SAML2. HOPEX can leverage your company authentication system. 4. Click Sign in.
|
 |
|
HOPEX loads into a frame embedded into Microsoft Teams.
|
 |
|
5. Click Logout
 to logout and return to the view mode. to logout and return to the view mode. |
|