Object Diagram
An object diagram or instance diagram contains objects with values illustrating their attributes and links. It shows in detail the state of the system at a given moment.
You can create the object diagram of a class, component, package or use case.
Objects
An object is an entity with a well-defined boundary and identity that encapsulates state and behavior. Its state is represented by the values of its attributes and its relationships with other objects. Its behavior is represented by its operations and methods. An object is an instance of a class.
Examples of objects:
• Business objects:
• John Williams, Elizabeth Davis, Paul Smith are instances of the person class.
• Orders 10533 and 7322 are instances of the order class.
• Sony SPD-1730 Monitor, Compaq Deskpro 200 are instances of the item class.
• Dupont and Burger King are instances of the company class.
• Technical objects used for programming:
• Dlg_Order_Create, Dlg_Client_Query are instances of the window class.
• Str_Client_Name, Str_Product_Comment are instances of the string class.
Creating an object (instance)
To create an object:
1. Click the Instance button. 
You can create objects of different types. The arrow at the right of the button offers a shortcut to Class and Component object types, the most frequently used.
2. Then click in the diagram work area.
The window for adding an instance opens.
3. Enter the instance Name.
4. Specify the Instance Type if necessary.
5. Click Add.
The instance appears in the diagram.
Instance properties
To open the properties dialog box of an instance:
It contains several pages where you can define the properties of an instance.
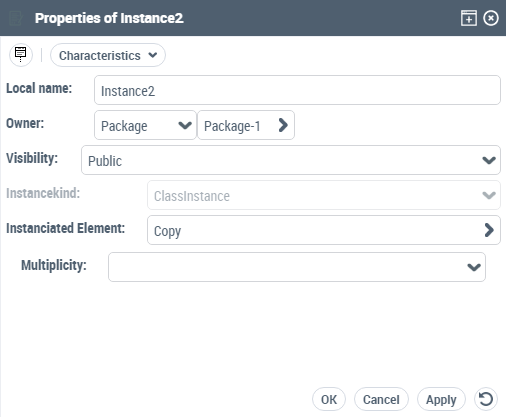
In the Characteristics page, you can:
• Select the Instance kind (Actor, Class, etc.).
• You can specify of which Class, Actor, etc. this object is an instance.
• Indicate a name for this instance.
• Specify its Stereotype.
Value of an attribute
To specify the value of an attribute:
1. Display the properties of the instance of the class that contains the attribute.
2. Select the Attributes page.
3. In the corresponding column, indicate the value of the attribute. You can specify an instanced value or a constant value.
• Instanced value: click in this column to display the list of possible instances for the selected attribute. These are variable values.
• Value: click in the column and enter the value of the attribute.
Links
A link represents an instance of an association between two objects.
Examples of links between objects:
• Order no. 10733 was placed by John Williams.
• Order no. 10733 includes the products Sony SPD-1730 Monitor and Compaq Deskpro 200.
• John Williams works for Dupont.
• The window Dlg_Client_Query displays the string Str_Client_Name.
Creating a link
To create a link:
1. Click the Link button  in the diagram toolbar.
in the diagram toolbar.2. Click one of the objects concerned, and drag the mouse to the second object before releasing the mouse button.
The link then appears in the diagram.
If there is already a link between the two objects, a dialog box asks you to choose an existing link or create a new one.
Link properties
To open the properties dialog box of a link:
Under the Characteristics page, you can specify:
• The Name of the link.
• The link Stereotype.
• The Association corresponding to the link.
• The Visibility of the link.
• The Package containing the link.
In the Link Role page:
• For each Instance connected by this link, the name of the Role and its Multiplicity.
Role properties
To open the properties dialog box of a role:
1. In the properties window of a link, select the Link Role page.
2. Select the role in question and click Properties
 button displays the hidden commands.
The Properties dialog box of the role opens.
In this dialog box you can specify:
• A Name for the role.
• The Role for this instance.
• The Multiplicity for the role.
• The values for the role Qualifiers, defined at the class level.