Managing Triggers
Accessing Scheduled Triggers
The Scheduling window displays the following tabs:
• Triggers (Mega)
Triggers provided with HOPEX and available in all the installations. These Triggers are defined on the System repository.
• Triggers
Triggers defined by the HOPEX administrator. These Triggers can be defined on a data repository or on the System repository.
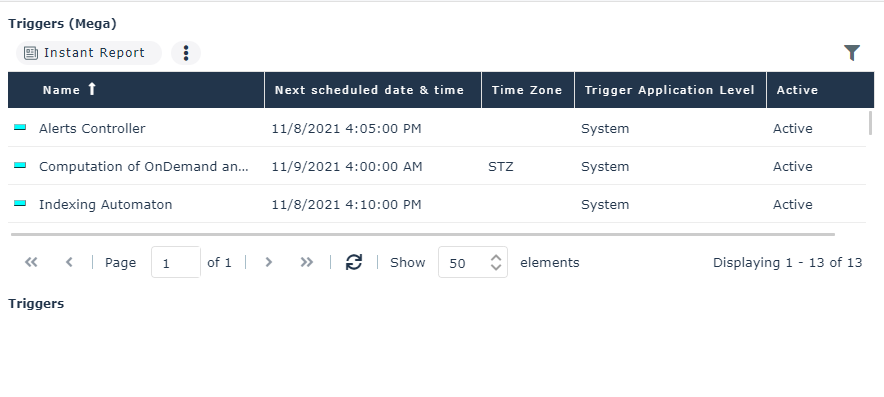
For each scheduled Trigger, it indicates:
• its name
• the date and time of its next execution
• its time zone
E.g.: UTC, <name of the user local time>, STZ (Server Time Zone).
• its status (enabled or disabled)
To access the Triggers:
1. Connect to HOPEX with one of the required profiles.
E.g.: HOPEX Administrator, Functional administrator of <Name of the Solution>, HOPEX Customizer.
2. Depending on the desktop:
• Web Administration desktop: select Tools > Scheduling management > Scheduling.
• other desktops: select the Main menu > Scheduling Management > Scheduling.
Managing a Trigger
You can:
• update the Trigger scheduling
• activate/deactivate a Trigger
By default a Trigger is active.
To temporarily suspend the job execution, you can temporarily deactivate its Trigger.
• execute a Trigger
To immediately execute the job associated with the Trigger (outside its scheduling).
For example, to test a job.
• delete a Trigger
If you want to reuse the Trigger later, instead of deleting the Trigger you can deactivate it.
• display the Trigger properties
• The Scheduling page details the scheduling definition.
• The Next execution page lists all the next executions of the Trigger.
To manage a Trigger:
1. Access the Trigger management.
2. Right-click the Trigger concerned and select:
• Update Scheduling
• Activate/Deactivate
• Execute
• Delete
• Properties