Macro Template
Installing the HOPEX macro template
To install the HOPEX macro template:
Use the VSIX file provided: Mega.Macro.Extension.vsix.
This Visual Studio extension adds a new C# template in Hopex sub-section.
Creating a macro
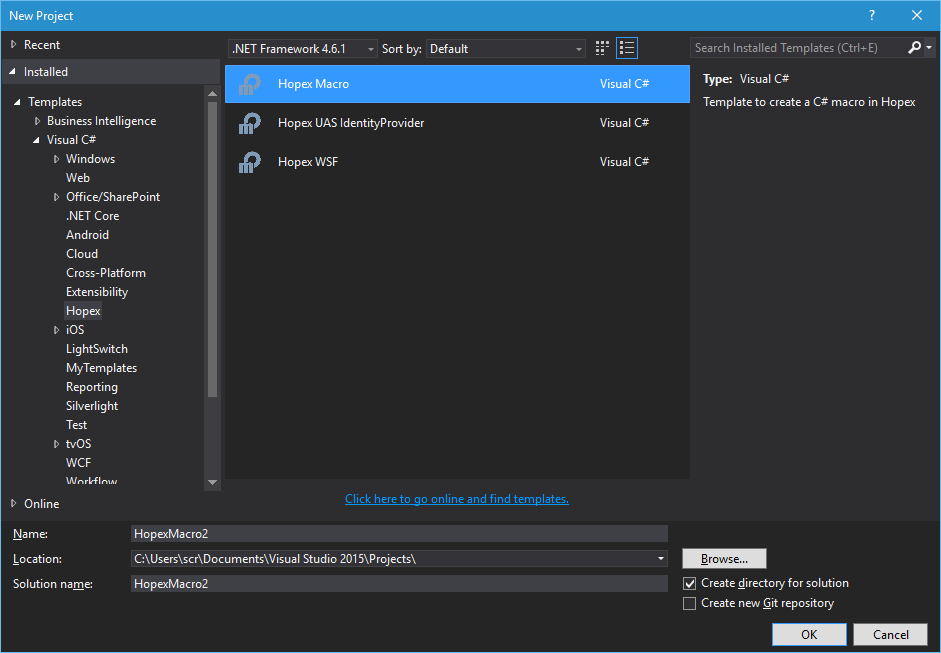
To create a macro:
1) Create a new project in Visual Studio.
2) Expand Templates/Visual C#
3) Select Hopex folder
4) Select Hopex Macro type project.
5) Select .NET Framework 4.6.1
6) Change the project's default name
7) Click OK.
When you create this new project, a new project is created with the required packages and references, and one class (Macro) that contains your macro implementation:

Deploying a macro
To deploy a macro:
1) Compile your DLL.
2) Copy your DLL to \\HOPEXINSTALLDIR\dotnet\assemblies_usr.
3) Create a macro in HOPEX.
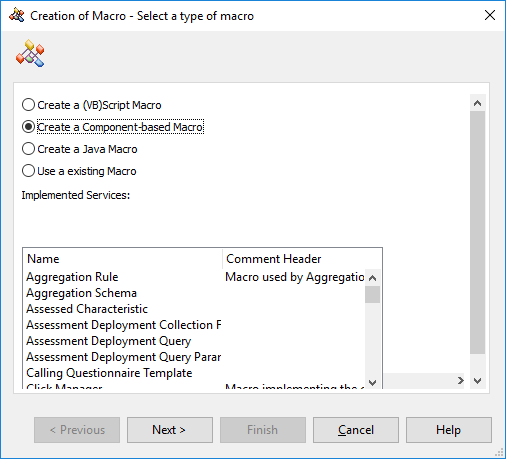
4) Click Next, keep default values.
5) Click Finish.
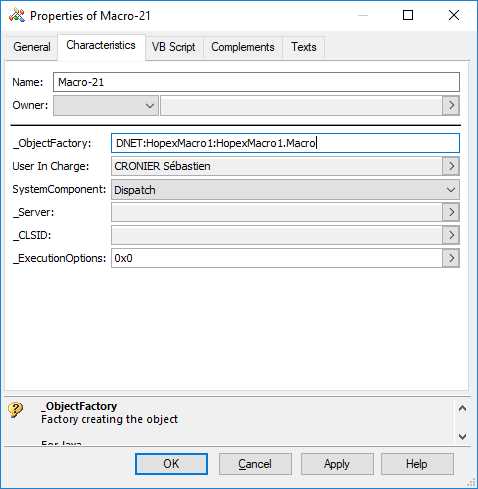
6) Open the macro property pages.
7) In the _ObjectFactory field, reference your DLL:
DNET:HopexMacro1:HopexMacro1.Macro
Calling a macro
You can execute your macro in HOPEX.
To execute your macro:
1) In HOPEX, open the script editor.
2) Copy the following script replacing macro name by your values:
set m = currentenvironment.getMacro("Macro-21")
print m.Add(1,2)