Create a Hopex C# macro
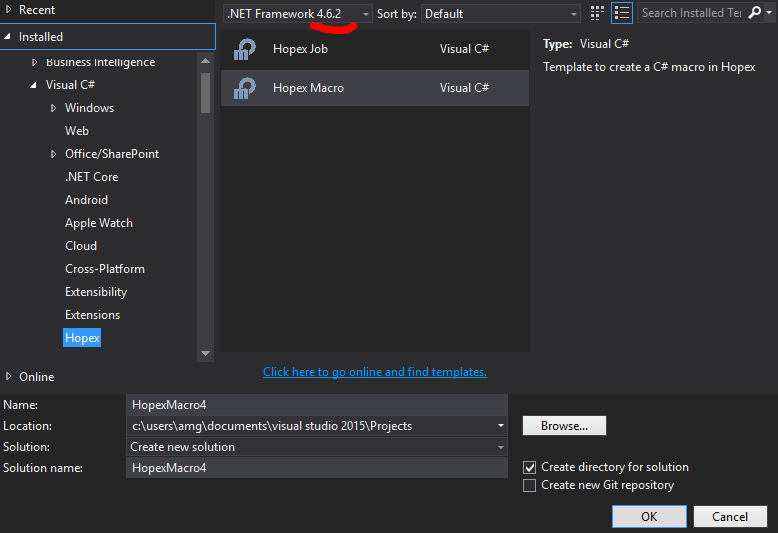
Creating a new class library project with the HOPEX Macro template
Prerequisites
Check that:
• the Mega Macro Template extension is installed.
Contact your local administrator if it this not the case.
• your target framework version is 4.6.1 or newer.
Debugging configuration
To facilitate debugging:
1. Access the project property.
2. In the Output path field, enter:
<HOPEX installation folder>\dotnet\assemblies

Implementing the macro
To facilitate debugging:
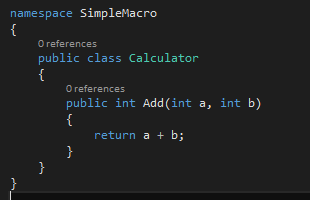
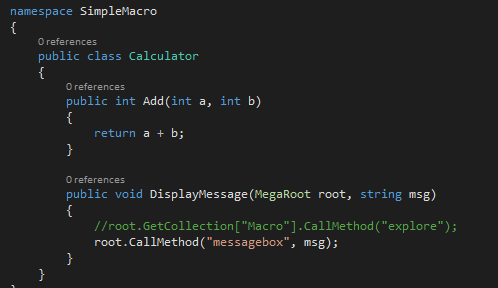
1. Create a simple class called as you want.
2. Add a public method to your class.
All of the macro assemblies must be copied into <HOPEX installation folder>\dotnet\assemblies folder (or Assemblies_usr folder for customized macros) with its dependencies (except Mega.Macro.Wrapper).

Declaring the macro in Hopex Studio
At this time, the dotnet wizard is not present.
To declare the macro in HOPEX:
3. Create a component-based macro.
4. Select Create a Component-based macro.
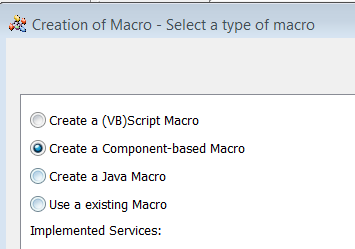
5. Click Next.
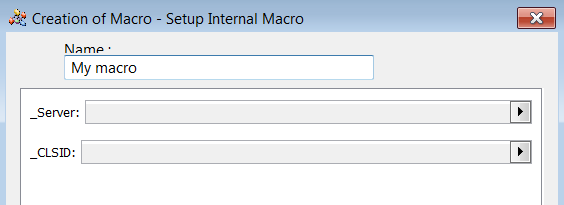
6. Keep the _Server and _CLSID fields empty, and click Finish.
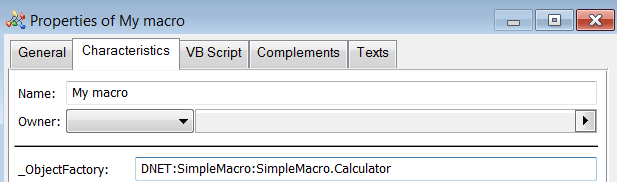
7. In the macro properties, select Characteristics tab.
8. In the _ObjectFactory field enter the standardized dotnet macro declaration string:
DNET:<assembly name>:<full class name>
Exemple: DNET:SimpleMacro:SimpleMacro.Calculator
Testing your macro
To test the macro:
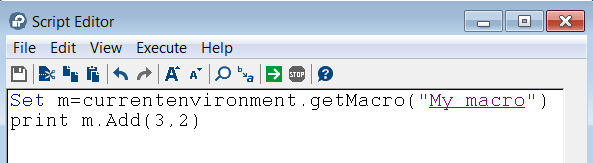
1. In the HOPEX script editor, enter the following command:
Set m=currentenvironment.getMacro("My macro")
print m.Add(3,2)
Advanced macros
If you have used the macro template to create your project, you can directly use wrapper class like MegaRoot or MegaCollection. These wrappers belong to Mega.Macro.API namespace.
If you have not use the template, you must add the Nuget package Mega.Macro.Wrapper.
You can now use directly Hopex object like:
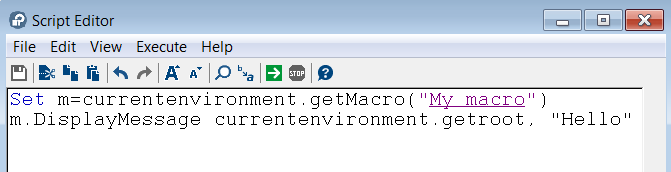
You can also use the dynamic keyword to call any method on an object.

How to debug
To debug:
1. Attach your project to the mgwmapp.exe desktop process running on your machine with ‘Debug/Attach to process' option.
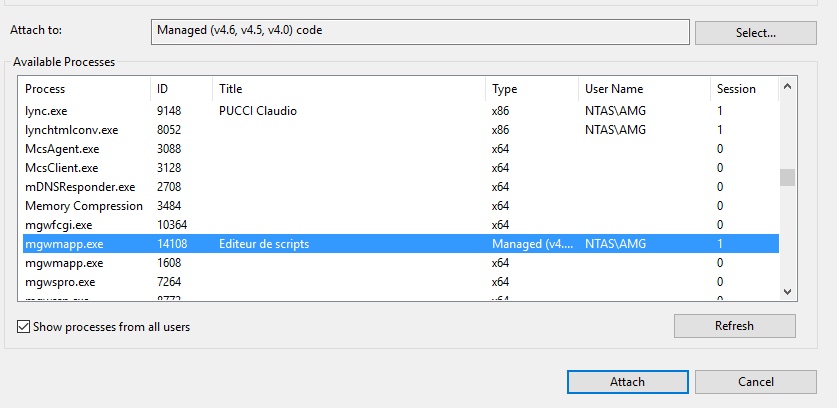
2. Set a breakpoint anywhere on your macro and execute it from Hopex.