Creating Execution Campaigns
The execution campaign creation wizard enables definition of campaign scope.
Creating Execution Campaigns
To create an execution campaign:
1. In the HOPEX IRM desktop, select Execution > Campaigns.
2. Click New.
3. In the creation window that appears, modify the proposed dates if necessary.
The campaign Begin Date marks the start of the execution campaign.
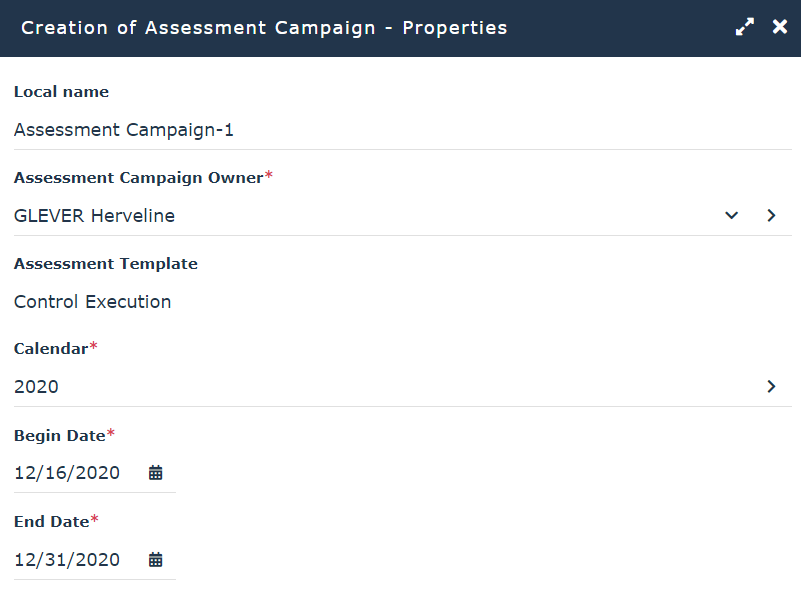
4. Click Next.
You will now define the scope of your execution campaign.
5. In the Assessed Parameters field, find the root entity that interests you, using the arrows on the right of the field.
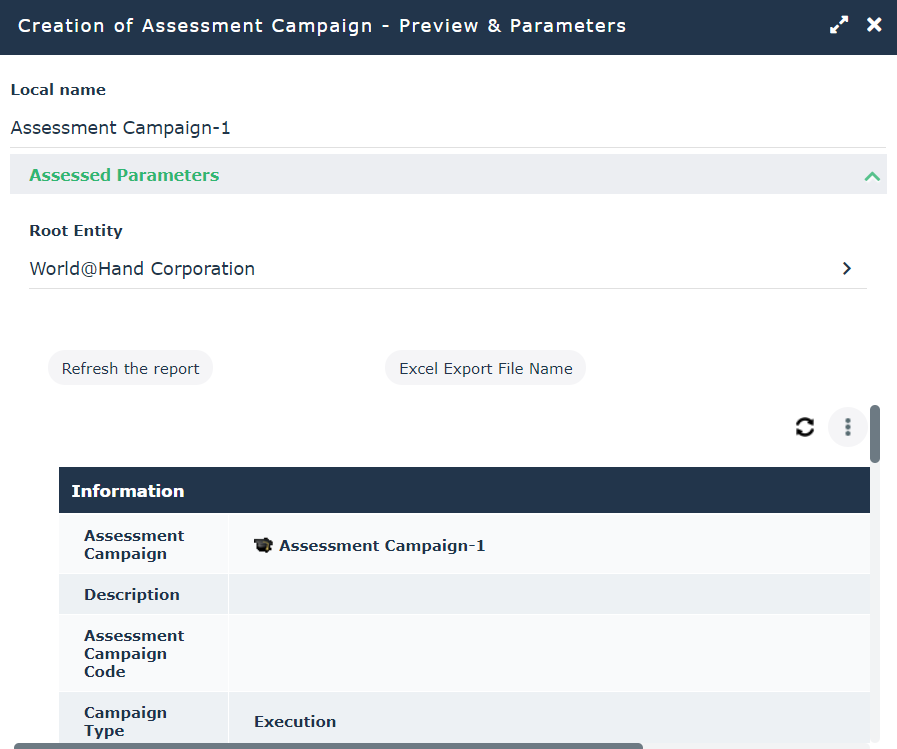
6. In the preview window, click Refresh the Report.
Elements concerning the assessment campaign appear:
• general information: for example begin and end dates, person responsible, number of objects to be assessed, number of respondents, number of contexts
• assessed objects (controls)
• context objects (entities and organizational/business processes)
• respondents
• assessment nodes, presenting objects to be assessed in their context, with specified respondent
7. Click OK.
The campaign appears in the list.
Previewing the execution campaign
To preview execution campaign scope, before launching the campaign:
You can check data such as respondent, email, control scope. If data seems incorrect or incomplete, you can modify it before starting the campaign.