MEGA HOPEX Setup
Choosing your setup type
HOPEX offers two ways to install the Web Front-End:
- Standalone Setup: automatically installs the Web Front-End and its dependencies (SSP,…) on a single standalone server without SSL/TLS.
- Advanced Setup: allows more complex installation scenarios. Use it for any multi-server installation (scale out or scale up), or if you require SSL/TLS.
Web Front-End Standalone Setup
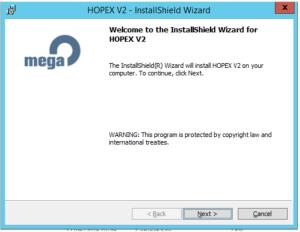
1. Launch the Setup program by double-clicking on it.
2. If prompted, answer “Yes” to “Do you want to allow the following program to make changes to this computer?”
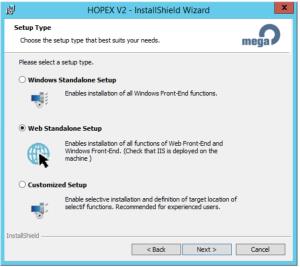
3. Go through each of the following screens:
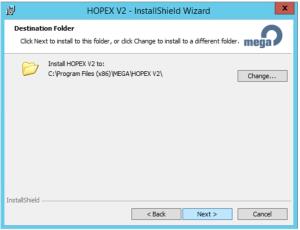
4. Choose the installation folder for the Mega Software by clicking on “Change”, or keep the default if wanted:
5. Select Web Standalone Setup.
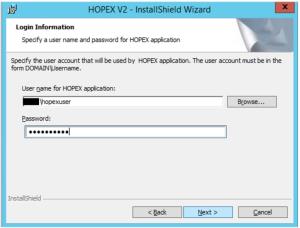
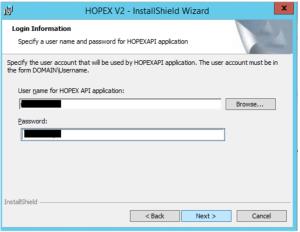
6. Enter the username and password of the Windows User for Mega Hopex you have chosen in the previous section of this document. It will be used for impersonation of the Web application:
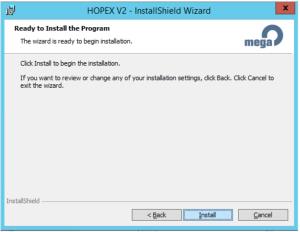
7. You are now ready to launch the installation by clicking Install :
Advanced Setup
Advanced Setup is similar to the standalone setup, except for the initial choice screens and extra parameter choices.
Choice Screen
1. Choose Customized Setup:
2. Choose the features that you want to install. Depending on how many servers you have, and the type of deployment you choose (see the “Web Front-end Architecture Overview” document), you need at least :
o HOPEX (IIS) and its subfeature
o Mega Web Access for Hopex
o Mega Site Service Provider
o The default “Mega Software” suite, already activated
In this example we install all those features on a single server:
Note that by selecting each item, you can click on « Change » to modify the installation
location of the files that are linked to a specific feature.
3. The “HOPEX API” feature, above, is needed when you have to add web services on the platform. It requires another Windows user, different from the one used by the “Mega Web Access for Hopex” feature. If no
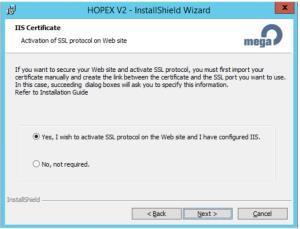
4. Choose to activate use of SSL/TLS or not. SSL/TLS is highly recommended; however, it requires some prior configuration of IIS (see Prerequisites section). Moreover, don’t choose “Yes” unless the certificate is deployed in IIS. Otherwise, the installation will roll back:
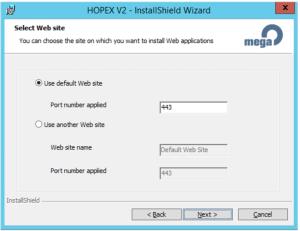
5. Choose the IIS web-site where you want to install the Hopex Web Front-End. Please note that the installer will check that there is a website running on the chosen port, and will install in the first site using that port that is available. So make sure to properly manage your websites and their ports before choosing one for the Hopex deployment. If you choose a port that is bound to no site, and that isn’t listening during the installation, the setup will roll back :
6. Enter the username and password of the Windows User for Mega Hopex you have chosen in the previous section of this document. It will be used for impersonation of the Web application:
Advanced Parameters
Parameters depend of the components you have chosen to install. Here is the list of parameters that are not proposed in the standalone setup.
HOPEX API user
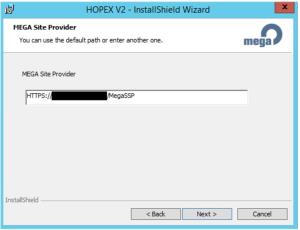
Mega Site Provider (SSP) URL
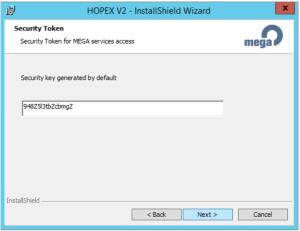
Security Token
It should be identical on all Hopex installs (Web, Windows, SSP,..) that work together in a scale up or scale out scenario
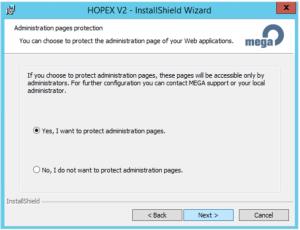
Protection of administration pages
Defines wether to protect or not the /admin subdirectory of the Hopex installation (highly recommended)
URL of HOPEX MWAS Web Site
Defined on a web server to indicate the application server
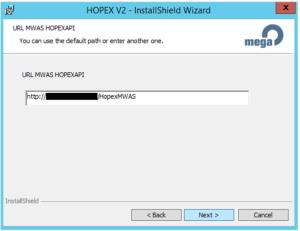
URL of HOPEX API MWAS Web Site
Defined on a web server where you activate the “HOPEX API” feature:
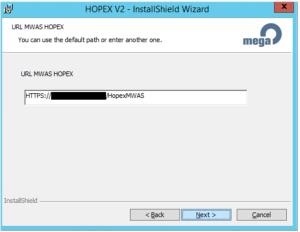
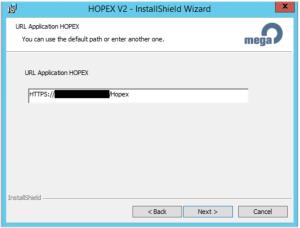
URL of HOPEX Web Site
Defined on a MWAS server to indicate the web server