Handling Links Between Objects
Described here are the operations you can execute on links between modeling objects in HOPEX.
Creating Links
Connecting Objects
1. In the diagram insert toolbar, click the
Create Link icon

.
2. Click on the first object and, keeping the mouse button pressed down, draw a line to the second.
Changing Target of a Link
You can easily modify the target of an object, that is the object to which an object is connected.
To change target of an object:

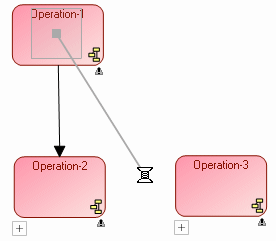
Select the end of the link, then holding the <Shift> key down, move the link to another target object.

This action allows you to retain the characteristics of the link.
Managing Link Joints
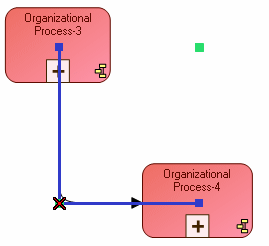
The <Ctrl> key enables action on link joints.
Context of use | Effect of <Ctrl> key |
Click a free link and move it, holding the <Ctrl> key down. | A joint is created. |
When several joints exist, click one of these holding the Ctrl key down. | The selected joint is deleted. |
Double-click the joint of an orthogonal link. | The position of the orthogonal link is reversed. |
To delete a link joint when only one joint exists, select the joint and click button

. The link becomes straight.
Modifying Links
Making a link orthogonal
Having created a link between two objects, you can easily modify its presentation to make it orthogonal.
To make a link orthogonal:
1. Open the dialog you have just created.
2. Click

.
The link becomes orthogonal.
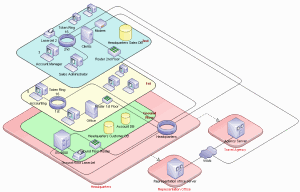
Perspective links
In technical architecture diagrams of
HOPEX IT Architecture, links can be in perspective (

).