Organizing Reading Access Areas
Creating reading access areas
To create a reading access area in the diagram:
1. Open the reading access diagram.
2. In the diagram insert toolbar, click General Reading Access Area  , then click in the diagram.
, then click in the diagram.3. In the creation wizard dialog box that appears, enter the name of the reading access area and click Create.
The creation wizard allows you to modify the reading access area type if necessary.
4. Click Finish.
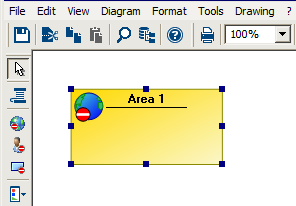
The general reading access area appears in the diagram.
Connecting two reading access areas
Reading access areas must be hierarchically interlinked. Except for Maximum Reading Access and Standard reading access areas, each reading access area must be connected to a lower level area and a higher level area.
To connect two reading access areas:
1. Open the reading access diagram.
2. In the diagram insert toolbar, click Link  and draw a link between the two reading access areas (from the higher level reading access area to the lower level reading access area).
and draw a link between the two reading access areas (from the higher level reading access area to the lower level reading access area).Displaying reading access areas associated with a reading access area
To display object (or user) reading access areas associated with a reading access area:
1. Open the reading access diagram.
2. Open the properties dialog box of the reading access area in question.
3. Select the Matching Object reading access areas or Matching User reading access areas.
The associated object reading access areas or user reading access areas are listed.