Modifying Writing Access Areas of Objects
If you have a writing access area of level higher than or equal to that of an object, you can modify the writing access area of this object in the object properties dialog box.
To modify writing access area of an object:
1. Connect to HOPEX.
2. In your HOPEX desktop, open the object properties window, select the General tab, then the Administration sub-tab.
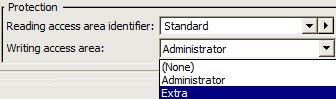
3. In the Protection pane, in the Writing Access Area field, select a writing access area via the drop-down menu.
4. Click OK.
Modifying Writing Access Areas of an Object Group
If you have a writing access area of level higher than or equal to that of an object group, you can modify the writing access area of this object group.
To modify the writing access area of an object group:
1. Connect to HOPEX.
2. In your HOPEX workspace, select Tools > Manage > Protect Objects.
The Protect Objects dialog box opens.
3. In the Objects pane, click Query and select the object group.
4. In the Writing Access Areas pane, select the writing access area you want to assign to the object group.
5. (Optional) Select Propagate if you want the writing access area to be propagated to all dependent objects of the object group, as a function of the perimeter selected.
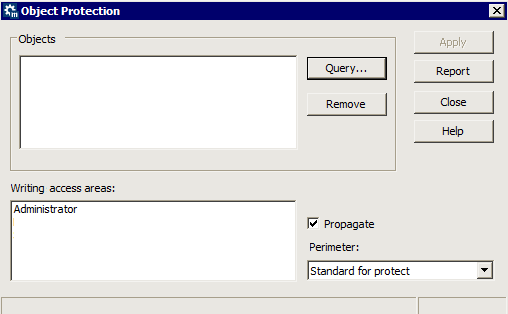
6. Click Apply.
Object protection is applied.
7. Click Report to check if a conflict has been encountered at protection propagation in the repository.
Conflicts may arise, especially when Propagate is selected and that some children objects already have a defined writing access area (through a direct link).
To solve this conflict, on each object in conflict, you must manually delete the link between the object and the writing acces area, to define the writing access area you want to keep it.