Importing a Module into HOPEX
To import a module in HOPEX:
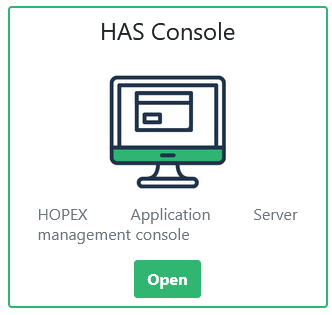
1. Access HAS console:
• In your web browser enter the http address, then click Open.
• Enter the login and password of HAS administrator and click Sign in.
2. In the navigation menus of HAS console, select Modules > Module List
3. In the right pane, click the Add new tab.
4. Click the module you want to upload.
 to upload it.
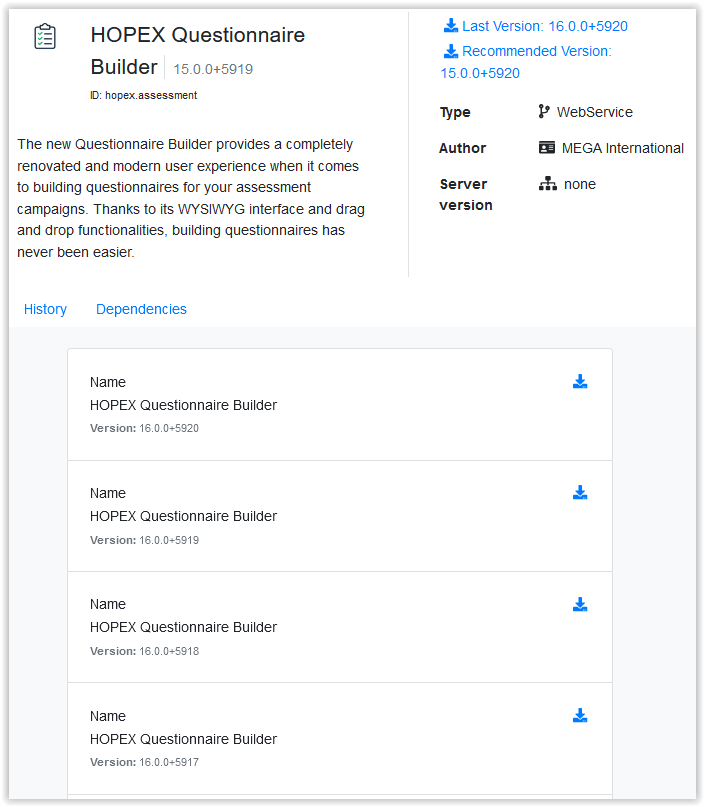
5. In the module page, check that all the required modules are installed: click Dependencies.
6. Upload the required version of the module: click  .
.
.In the Installed tab, the module is added to the installed module list.
7. (If needed) Upload other modules.
8. In the Administration application (Administration.exe):
• Connect to the environment.
• Right-click the environment and select Environment automatic update.
If the System Repository Update message is displayed, stop HOPEX Core Back-End before proceeding:
In HAS console, Cluster navigation menu, Modules tab: on HOPEX Core Back-End module, click Plus  > Stop.
> Stop.• In the Environment Update Center window, validate the Warning and click Next.
The environment is updated with the uploaded module(s).
In HAS console, Cluster navigation menu, Modules tab: on HOPEX Core Back-End module, click Plus > Start.
> Start.