Organizing your HOPEX Customizing Desktop
The HOPEX Customizing desktop (Windows Front-End) comprises various windows enabling repository access:
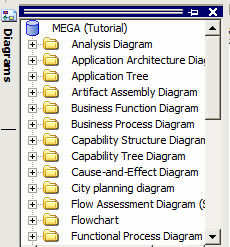
• a navigation window that contains navigators dedicated to objects, projects, diagrams, utilities, etc.
• an Edit windows (Comment and Properties)
You can customize the display of these windows.
To organize your desktop, you can:
• add or close a window
• define position of a window
• create folders in navigation trees
Adding Windows
To add a window in your desktop (Windows Front-End):
1. In the HOPEX menu bar, select:
• View > Navigation Windows
• View > Edit Windows
2. Select the window you want to add.
Positioning Windows
You can organize your desktop as you like. You can show/hide/move navigation and edit windows.
You can:
• float, dock, fix, auto hide or enlarge navigation windows.
• merge several windows and access these via tabs.
• integrate a navigation window in the main edit window.
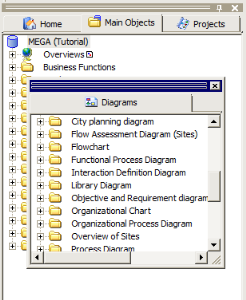
Floating a window
You can detach a window then move it to make it "float" on the desktop.
You can, for example, detach the navigation tabs (such as Home and Main Objects)
To float a window:
1. Right-click the navigation area title bar and clear Fixed.
2. Select the window and drag it to where you want.
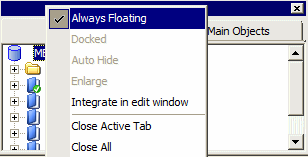
Permanently floating a window
You may decide that a window should always float and never be docked. To do this:
Docking a window
You can dock windows in the desktop. A window is said to be Docked, as distinct from floating, when it is integrated in the desktop.
 To dock a window:
1. Select the floating window and move it in the desktop.
When the mouse pointer passes close to a sensitive area, a colored frame appears indicating future positioning of the window when docked.
2. When you have found a satisfactory position, release the mouse button.
The window is docked.
Fixing a window
You can fix a docked window so that it always remains in the same position in the desktop.
To fix a window:
Automatically hiding a window
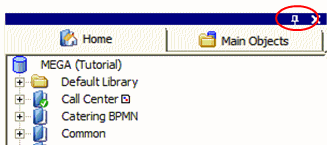
A pushpin in window title bars facilitates switching to "Auto Hide" mode. This function allows you to increase viewable display and editing space by auto hiding navigation and edit windows.

To automatically hide a window:
 .
. 
The window is automatically hidden and is positioned at the edge of the application.
To access an auto-hidden window:
The window appears.
To hide a window again:
To deactivate auto hide:
 in the title bar.
 The window reappears and can be used.
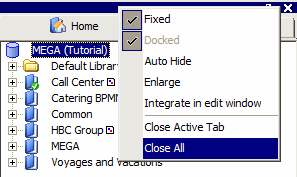
Closing a tab
To close a tab:
To simultaneously close all tabs of the navigation area:
1. Right-click in the navigation title bar.
2. Select Close All.
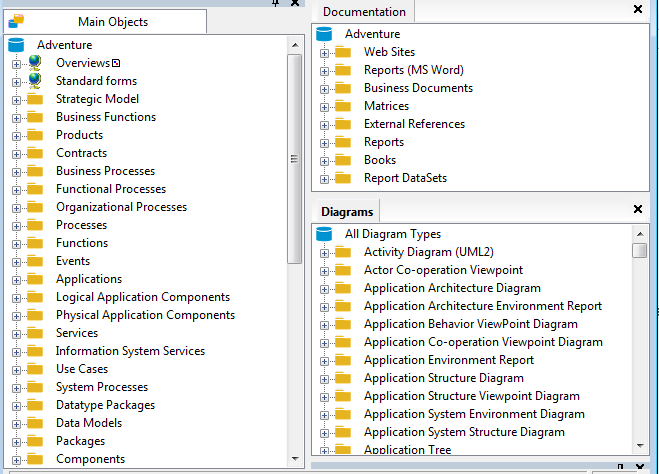
Integrating a navigation tab in the edit window
To integrate a navigation tab in the edit window:
The tab is moved into the edit window.
Creating several edit windows
When you have moved a navigation window into the edit window, you can organize this desktop as you wish:
• create new windows
• move tabs in edit windows
• return tabs to the navigation area.
To create a new edit window:
1. In the edit window, right-click the desired tab and select:
• New vertical window or
• New horizontal window.
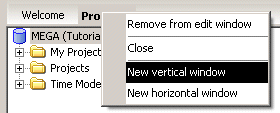
The new window appears.
Enlarging a navigation window
You can enlarge a navigation window so that it occupies the entire desktop.
To enlarge a navigation window
1. Right-click the title bar.
2. Select Fixed.
3. Select Enlarge.
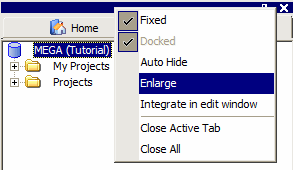
The window now occupies the entire desktop.