Handling Links Between Objects
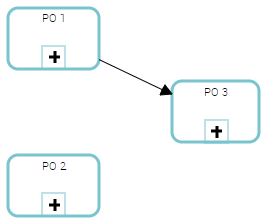
Creating links
To connect objects:
1. In the object inserting bar, select Link  .
.
.2. Click the source object.
3. Hold down your click and drag the cursor towards the target object.
If the target object is eligible, the cursor turns into a cross  and green attachment points appear.
and green attachment points appear. Possible attachment points are:
• centered on the target object edges or in its center, or
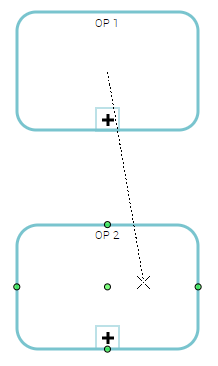
• orthogonally located to the source end of the link
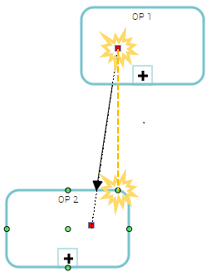
4. release the button on an available attachment point or on a free location.
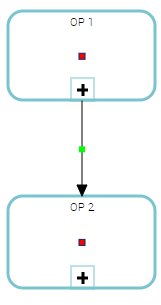
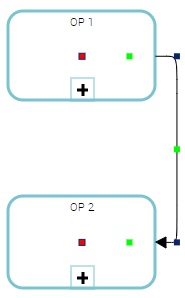
Shifting the attachment point of a link
You can move the source and/or target attachment point of a link
To shift the attachment point of a link:
1. Click the link.
Both its red-squared edges appear.
2. Click the end that you want to shift, hold down your click and move the cursor to the place where you want to put the end.
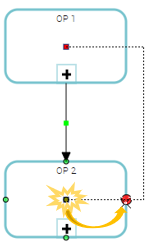
3. Release the mouse button.
Changing the target of a link
You can modify the target of an object, that is to say the object to which the first object is connected.
To change the target of an object:
1. Click the link.
Both its red-squared edges appear.
2. Click the edge of the link to shift, hold down your click and move the cursor to an other target object.
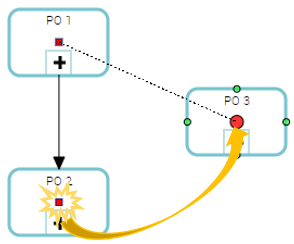
3. Release the mouse button.
Modifying a link appearance
Links are attached to the objects that they connect. In diagrams, links behave as lines. You can modify their shape or their appearance, for example.
Moving a link text
For certain links, text zones can be displayed.
Example: cardinalities.
To modify the position of the text with respect to the line:
1. Select the text zone.
2. Keep the selection and drag the cursor along the line.
3. Release the mouse button.
Possible movements are limited so that the text remains attached to the link. This way, the text can be positioned above, below, or over the line.