Prerequisites for Using HOPEX Suite for TOGAF
Before using the HOPEX Suite for TOGAF product, the HOPEX suite must be installed. You must then:
• Create the users of the product
• Import the TOGAF 9 module
• Import the Metamodel Customizations module
• Configure access to the TOGAF 9 libraries
Creating the main users
HOPEX Suite for TOGAF is intended for two kind of user profiles:
• The Method managers responsible for adapting the TOGAF 9 methods to the company's needs
• The Project managers who use the method phases recommended by the method managers to carry out their projects.
To create the different users for each profile:
1. In the HOPEX installation folder, start the administration tool Administration.exe.
2. Select the environment in which you want to work, for example, "Demonstration".
3. Log in with a user that has access rights to administer data, for example, "System".
4. Expand the environment and the User Accounts folders.
5. Right-click on Authorizations and select Open Diagram.
The authorizations diagram opens.
6. Use the Authorization icon in the object toolbar to create a "Method Manager" and a "Project Manager" authorization.
7. Link these authorizations to the "System" authorization.
8. Create the users for each profile.
9. Save and close the authorization diagram.
The diagram is automatically compiled.
Configuring access to TOGAF 9 libraries
The aim of this step is to define the rights of the different profile users on the library objects imported.
To define these rights:
1. Start the HOPEX application, MEGA.exe and log in with a user that has administration rights.
2. Select the Tools menu > Manage > Protect Objects.
The Object Protection dialog box appears.
3. Select the TOGAF library in the Objects section and the authorization profile in the "Authorizations" section, for example, "Method Manager".
4. Click on Apply.
The confidentiality level changes.
5. If you have imported the TOGAF 9 - Sample framework, redo the steps above with the TOGAF 9 - Sample library and the "Project Manager" authorization.
6. Click Close .
7. Quit HOPEX by dispatching your transaction.
Additional Requirements
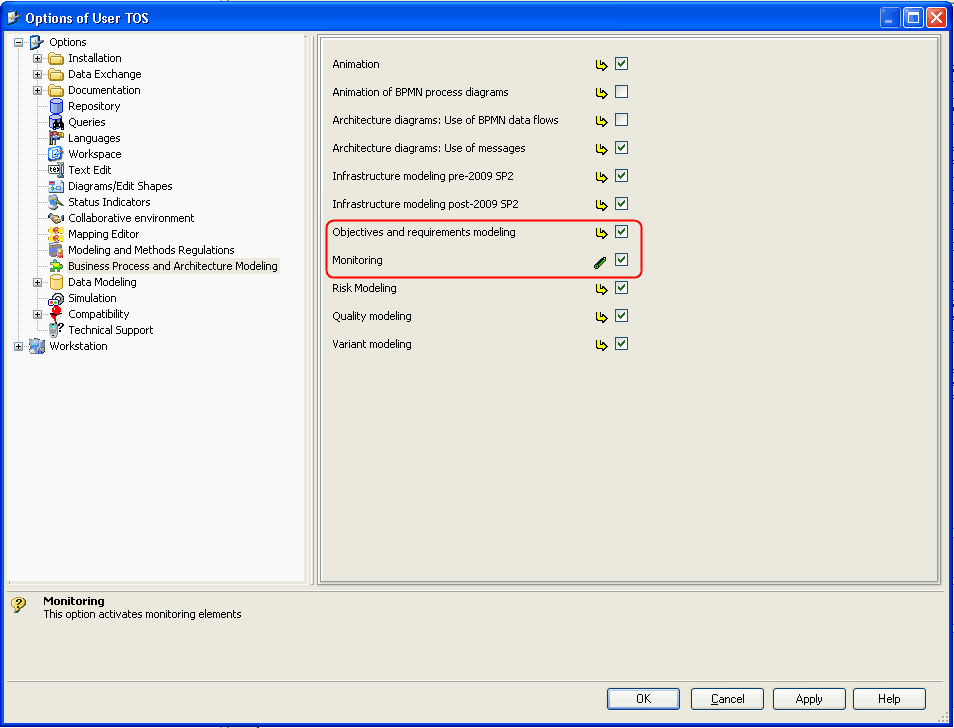
The HOPEX Modeling Suite offers the possibility of attaching objectives and requirements to architecture objects as well as indicators that can be used to determine to what extent objectives have been met.
To ensure that objectives and requirements are displayed in the TOGAF 9 project, activate the Objectives and requirements modeling option:
To ensure that indicators are visible in the project activate the Monitoring option.