Drawing a sketching with HOPEX Web Front-End
Creating a new sketch
To create a sketch with HOPEX:
1. In the navigation menu, select Collaboration > All Sketches.
2. click New.
A sketch creation dialog box opens.
3. Specify the name and click OK.
The sketch appears in the list.
Creating a sketching from a sketch
To create sketching with HOPEX Web Front-End:
1. Click the navigation menu then select Collaboration > All Sketches.
2. Select the sketch that interests you, open its contextual menu and select New > Diagram.
3. Select Sketching and click OK.
The diagram opens.
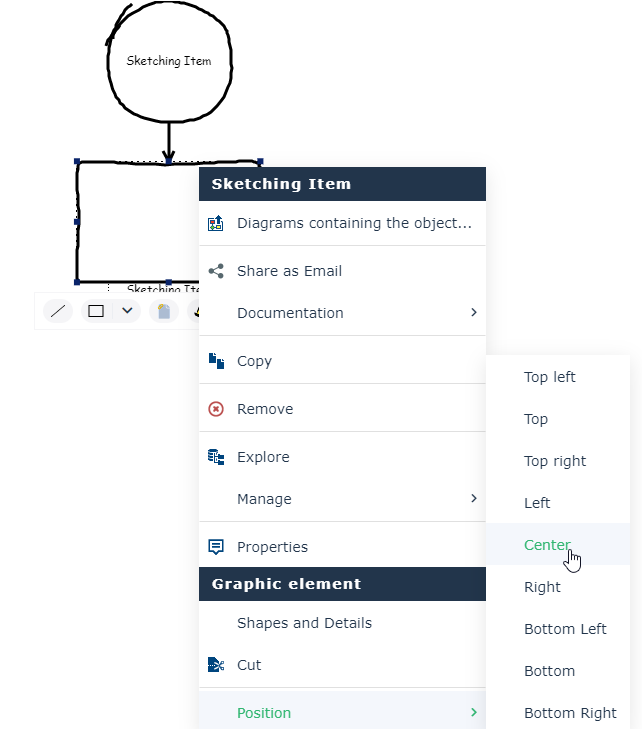
Modifying the position of a sketching item name
In a sketch, a shape may be associated with an explanatory text rather than a name. In the case, it may be interesting to move the name of the shape in its center.
To move tha name of a shape:
1. Select the shape that interests you and open its contextual menu.
2. In the Graphical Element sectionPosition > Center.
The name appears in the center of the shape.
Connecting a sketching item with a repository object
If a sketching item represents an object already created in the repository, you can connect the sketching item to the architecture element.
To do this:
1. Open the properties of the sketching item.
2. In Characteristics property page, from the Represented object field, connect a repository object.
3. (Optional) In Appearance section, check the box Use represented object representation.
The sketching item appears in the form of the object type selected.