Using the Pools
Swimlane and pool
The swimlane is a tool that enables graphical presentation of certain diagram types.
E.g.: organizational process diagram.
The zone including several swimlanes is called pool.
Operating principle
Objects inserted in a pool have identical size.
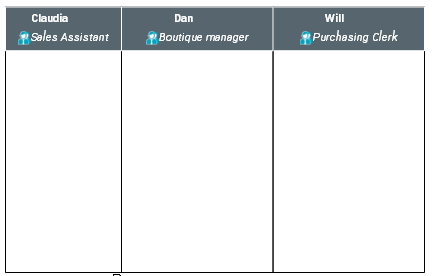
Object example: a participant (organizational process diagram).
When a diagram includes several objects of different dimensions, you can insert these objects in a pool. Thus, they automatically take identical dimensions and are automatically aligned.
The objects can be automatically arranged in:
• vertical swimlanes, or
• horizontal swimlanes.
When creating a new participant in a diagram including a pool, you can add it:
• inside the pool
• outside the pool
Example:
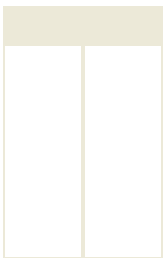
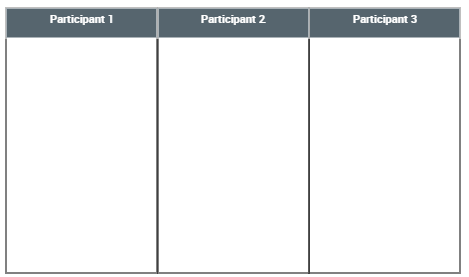
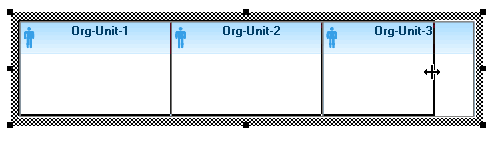
3 participants in a diagram.

3 participants in a pool of a diagram.
Creating a pool
To create a pool:
1. In the diagram inserting bar, click:
• Verticale Pool  to create vertical swimlanes.
to create vertical swimlanes.• Horizontal Pool  to create horizontal swimlanes.
to create horizontal swimlanes.2. Click in the diagram.
The pool is inserted in the diagram.
3. In the diagram inserting bar, click Participant  .
.
.4. Click in the pool.
The pool includes a single swimlane. The participant adapts to the swimlane size.

Adding an object to a pool
To add an object to a pool:
1. In the diagram inserting bar, click Participant .
.2. Click in the pool.
The pool includes two swimlanes of same size. Each participant adapts to the swimlane size.
3. Add as many participants as needed.
Modifying the order of objects in a pool
To modify the object order in a pool:
1. Select the object you want to move.
2. Hold the mouse button down and move the object to the required position.
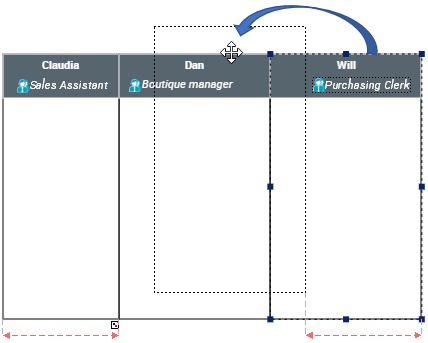
The object is moved and the order modified.
Removing an object from a pool
To remove an object from a pool:
1. In the pool, select the object.
2. Hold the mouse button down and drag and drop the object outside the pool.
Globally modifying size of objects in a pool
You can modify the size of all objects placed in a pool in a single operation.
To globally modify size of objects in a pool:
1. Select the pool and position the cursor on a handle on the desired outside edge, and wait for the cursor shape to turn into a small arrow.
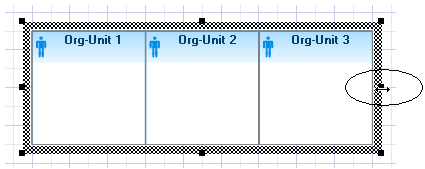
2. Holding the mouse button down, move the cursor to modify the size of the selection.

The size of all objects in the pool is modified in identical proportion.
Modifying the size of a single object in a pool
To modify the size of a single object in a pool:
1. Select the object you want to modify.
A dotted line frame appears around the object.
2. Position the cursor on the dotted line frame.
The cursor shape turns into an arrow.
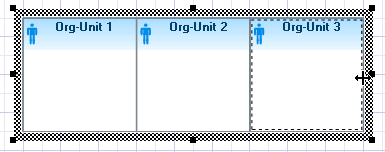
3. Hold the mouse button down and modify your selection size.
Only the selected object is modified.