SAML2 ADFS Server Configuration
To create the Relay Party:
1. Start AD FS Management console.
2. In the AD FS folder, select Relying Party Trust folder.
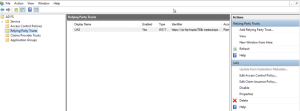
3. In the Actions pane, in the Relying Party Trusts section, click Add Relying Party Trust.
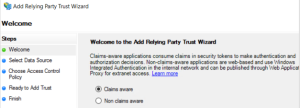
4. In the Welcome page, select Claims aware.
5. In the Specify Display Name page, select Enter data about the relying party manually
6. Enter the Web Front-End server name.
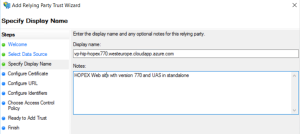
7. Click Next.
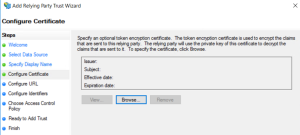
8. Click Browse.
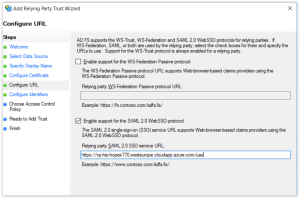
9. In the Configure URL page, select Enable support for the SAML2 Web SSO protocol.
10. Enter the Relying party SAML2 SSO service URL:
http://{servername}/uas/AuthServices/Acs
11. In the Configure Identifiers page, enter the Relying party trust identifier:
http://{servername}/uas
12. Click Add.

13. Click Next.
To add Signature certificate imported from the front server:
1. Import the certificate to the local storage.
2. Export the certificate without the private key.
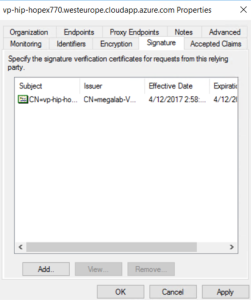
To assign the certificate in ADFS:
1. Right-click the Relay party.
2. In the Signature tab, select the imported certificate file
3. Click OK.
To configure claims to be returned to UAS
1. Select the Relay and click Edit Claim Issuance Policy.
2. Click Add Rule.
3. Select “Send LDAP Attributes as Claims”.
4. Enter the name “Get LDAP Attributes”.
5. Select Active Directory as Attribute store.
6. Add attributes and transformation rules.

7. Click OK.
8. Click Add rule.
9. Select Transform an incoming claim.
10. In the Incoming claim type field, select “E-Mail Address”.
11. In the Outgoing claim type field, select Name ID.
12. In the Outgoing name ID format, select “Email”.
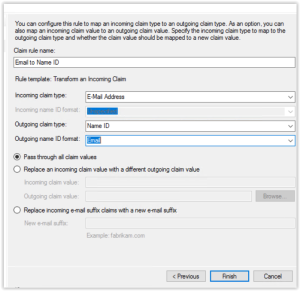
13. Click Finish.
14. Click Add Rule
15. Select Transform an incoming claim.
16. Enter E-Mail Address to sub as rule name.
17. Select “E-Mail Address” as incoming.
18. Enter “sub” as outgoing.
19. Click Finish.
To configure UAS to enable SAML2 Provider and to communicate with ADFS:
1. Open HOPEX Administration.
2. Right-click HOPEX and select Options > Modify.
3. Expand Installation > Authentication > Identity Provider folders.
4. Select Identity provider folder, and in the right pane, select Activation of the SAML2 identity provider.
5. Select SAML2 folder and in the right pane, in: